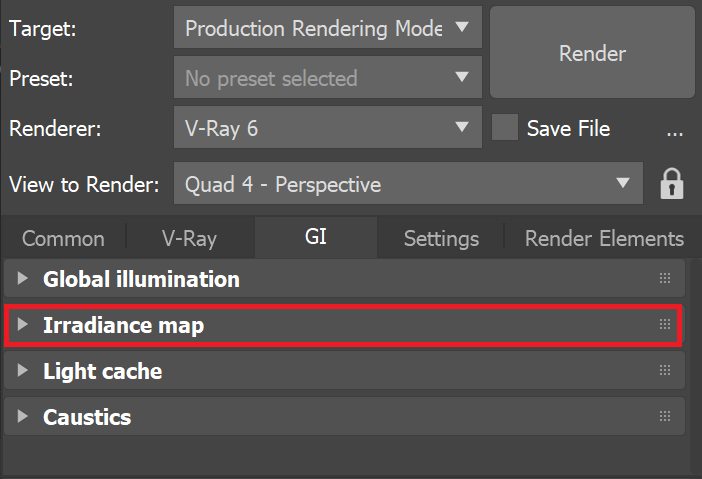
This section allows you to control and fine-tune various aspects of the irradiance map. This rollout is enabled only when the irradiance map is chosen as the Primary engine on the Global Illumination rollout.
You can also make use of the Irradiance Map Viewer, a standalone tool that allows you to navigate through the 3D version of a scene presenting the GI samples taken.
UI Text Box
type
warning
Irradiance Map GI engine is deprecated. It doesn't support some of the new V-Ray features and will be soon removed as an option.
UI Path: ||Render Setup window|| > GI tab > Irradiance map rollout (When Irradiance map is set as the primary GI engine)
Column
width
5%
Column
width
35%
...
Section
Column
width
60%
The following parameters are visible from the Irradiance map rollout when set to the Default Render UI Mode.
Current preset – A list of several predefined settings for some of the irradiance map parameters. You can use these to quickly set the color, normal, and distance thresholds, as well as the min/max rates. The following presets are available:
Very low – Only useful for preview purposes to show the general lighting in the scene; Low – A low-quality preset for preview purposes; Medium – A medium quality preset; works fine in many situations in scenes which don't have small details; Medium animation – A medium quality preset targeted at reducing flickering in animations; the Distance threshold is higher; High – A high-quality preset that works in most situations, even for scenes with small details as well as for most animations; High animation – A high-quality preset that can be used if the High preset produces flickering in animations; the Distance threshold is higher; Very high – A very high quality preset; can be used for scenes with extremely small and intricate details.
Note that the presets are targeted for a typical 640x480 image. Larger images usually can do with lower Min/Max rates than those specified in the presets.
Min rate – Determines the resolution for the first GI pass. A value of 0 means the resolution is the same as the resolution of the final rendered image, which makes the irradiance map similar to the direct computation method. A value of -1 means the resolution is half that of the final image and so on. You would usually want to keep this negative, so that GI is quickly computed for large and flat regions in the image.
Subdivs – Controls the quality of individual GI samples. Smaller values make things faster, but may produce blotchy results. Higher values produce smoother images. This is similar to the Subdivs parameter for direct computation. Note that this is not the actual number of rays that is traced. The actual number of rays is proportional to the square of this value.
Interp. samples – The number of GI samples that is used to interpolate the indirect illumination at a given point. Larger values tend to blur the detail in GI, although the result is smoother. Smaller values produce results with more detail, but may produce blotchiness if low Subdivs are used. Note that if you use interpolated irradiance maps (i.e. the Mode is set to Animation (rendering)), V-Ray actually multiplies this value by the number of irradiance maps used. For example, if you have the Interp. samples set to 20, and the Interp. frames to 2, V-Ray actually uses 100 samples to interpolate. This is done in order to preserve the blurring of the GI solution compared to a single frame irradiance map, however it also slows down the rendering. To speed up the rendering in that case, you can decrease this value to 10 or 5.
Show calc. phase – When enabled, V-Ray shows the irradiance map passes as the irradiance map is calculated. This gives you a rough idea of the indirect illumination even before the final rendering is complete. Note that turning this on slows the calculations a little bit, especially for large images. This option is ignored when rendering to fields - in that case, the calculation phase is never displayed. You can use the drop-down menu on the right to chose how samples are displayed during the calculation phase.
Interp. frames – Determines the number of frames that are used to interpolate GI when the Mode is set to Animation (rendering). In this mode, V-Ray interpolates the irradiance from the maps of several adjacent frames to help smooth out any flickering. Note that the actual number of frames used is 2*(interp. frames)+1, meaning the default value of 2 means that in total 5 irradiance maps are interpolated. Higher values slow down the rendering and may produce "lagging" effect. Lower values render faster but may increase flickering. Note that increasing this value also increases the number of samples used for interpolation from the irradiance map - see the note for the Interp. samples parameter.
Mode – This group of controls allow you to select the way the irradiance map is (re)used.
Single frame – The default mode; a single irradiance map is computed for the whole image, and a new irradiance map is computed for each frame. This is the mode to use when rendering animations of moving objects. In doing so one must make sure that the irradiance map is of sufficiently high quality to avoid flickering. Multiframe incremental – This mode is useful when rendering a sequence of frames (not necessarily consecutive) where only the camera moves around (so-called fly-through animations). V-Ray computes a new full-image irradiance map for the first rendered frame. For all other frames V-Ray tries to reuse and refine the irradiance map that has been computed so far. From file – V-Ray loads the irradiance map from the supplied file at the start of the rendering sequence and uses this map for all the frames in the animation. No new irradiance map is computed. This mode can be used for fly-through animations and works well in network rendering mode. Add to current map – V-Ray computes a completely new irradiance map and adds it to the map that is already in memory. This mode is useful when compiling an irradiance map to render multiple views of a static scene. Note that this mode is not supported for distributed rendering. Incremental add to current map – V-Ray uses the irradiance map that is already in memory and only refines it in places that don't have enough detail. This mode is useful when compiling an irradiance map to render multiple views of a static scene or a fly-through animation. Bucket mode – A separate irradiance map is used for each rendered region ("bucket"). Note that since each bucket is computed independently of the others, there may be differences at the bucket edges. They can be reduced by using higher settings for the irradiance map (the High preset, more hemispheric subdivs and/or smaller Noise threshold for the DMC sampler). Animation (prepass) – V-Ray calculates irradiance maps to be used later on for final rendering with the Animation (rendering) mode. One irradiance map is created for each frame and written into a separate file. Note that in this mode you have to render one map for each frame (i.e. you cannot render every Nth frame). V-Ray automatically disables rendering of the final image in this mode - only irradiance map prepasses are calculated. Animation (rendering) – V-Ray renders a final animation using irradiance maps created with the Animation (prepass) mode. Irradiance maps from several adjacent frames are loaded together and blended so as to reduce flickering. The number of irradiance maps that are interpolated is determined by the Interp. frames parameter.
Note: The irradiance map mode that should be used depends on the particular rendering task - a static scene, a static scene rendered from multiple views, a fly-through animation or an animation with moving objects. Refer to the tutorials section for more information.
Browse – Allows you to select the irradiance map file which is loaded if the From file mode is selected. Alternatively, you can enter the path and name of the file directly in the edit box. An irradiance map can also be loaded by dragging and dropping a .vrmap file directly in your viewport. Just be aware that doing so loads it for usage immediately, enabling GI, changing its Primary engine to Irradiance map and its Mode to From file.
Save to file – Saves the irradiance map currently in memory, to a file. Note that the Don't delete option in the On render end group must be turned on. Otherwise, V-Ray automatically deletes the irradiance map at the end of the rendering process.
Reset irradiance map – Clears the irradiance map from memory.