This page provides a step-by-step introduction to V-Ray for Unreal.
Page Contents
Overview
This tutorial covers the basic workflow of rendering a simple scene with V-Ray for Unreal. By the end of it, you will have a better understand of V-Ray for Unreal and how you can begin using it to render out your own scenes.
To follow this tutorial, you will need to have the V-Ray for Unreal plugin installed. This tutorial is a companion to go along with the QuickStart video posted on our YouTube channel and available here:

Tutorial Assets
To download the files used in this tutorial, please click on the button below.

You can right-click the download button and choose "Save Link As..." or "Save target as.." depending on your browser.. This will bring up a dialog to save the zip file without having to wait for the Preview mode to load.
Part I - Opening Unreal project and initial setup
Step 1. Launch Unreal Engine 4
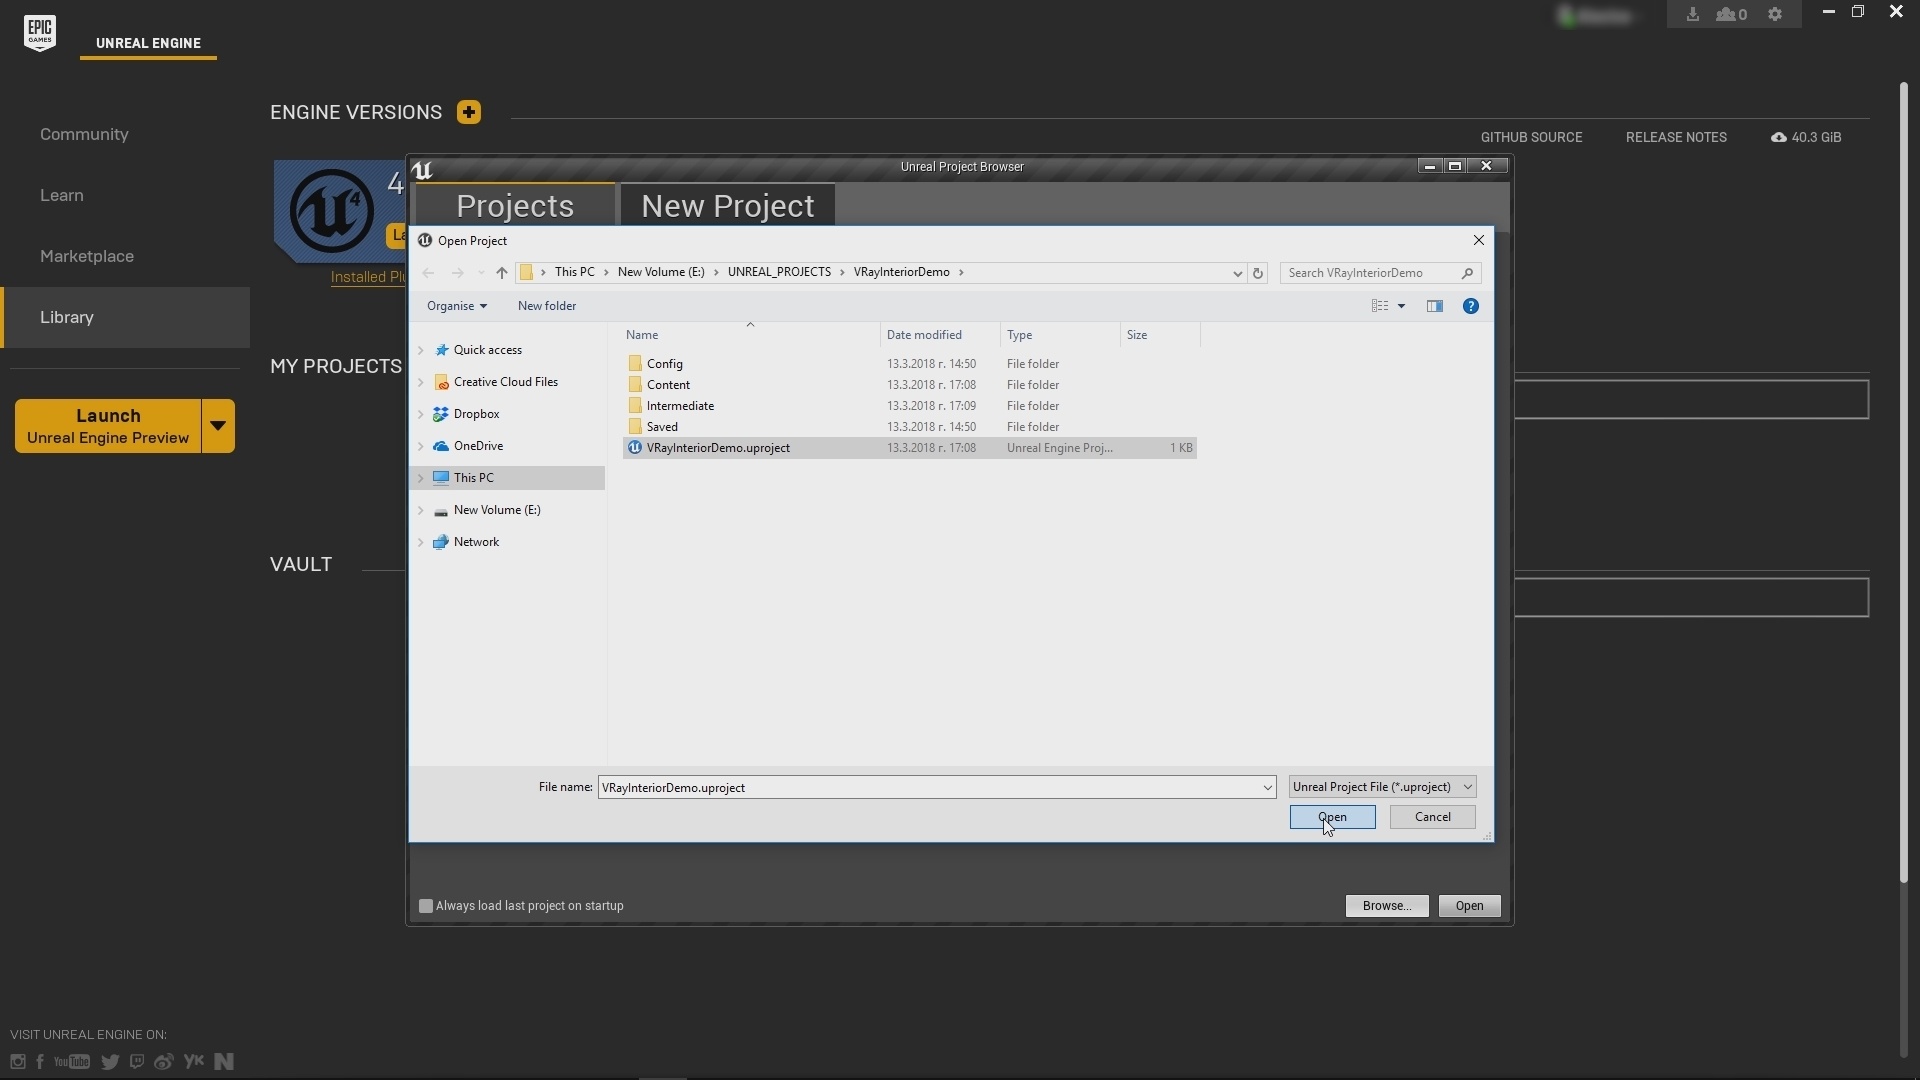
Launch you version of Unreal from the Epic Games Launcher. (currently supported versions are 4.18.3 and 4.19)(1.1). A window appears. Click the Browse button and navigate to the project you wish to open. In our case it is called VRayInteriorDemo.uproject. (1.2)
1.1
1.2
Step 2. Enable The V-Ray Plugin
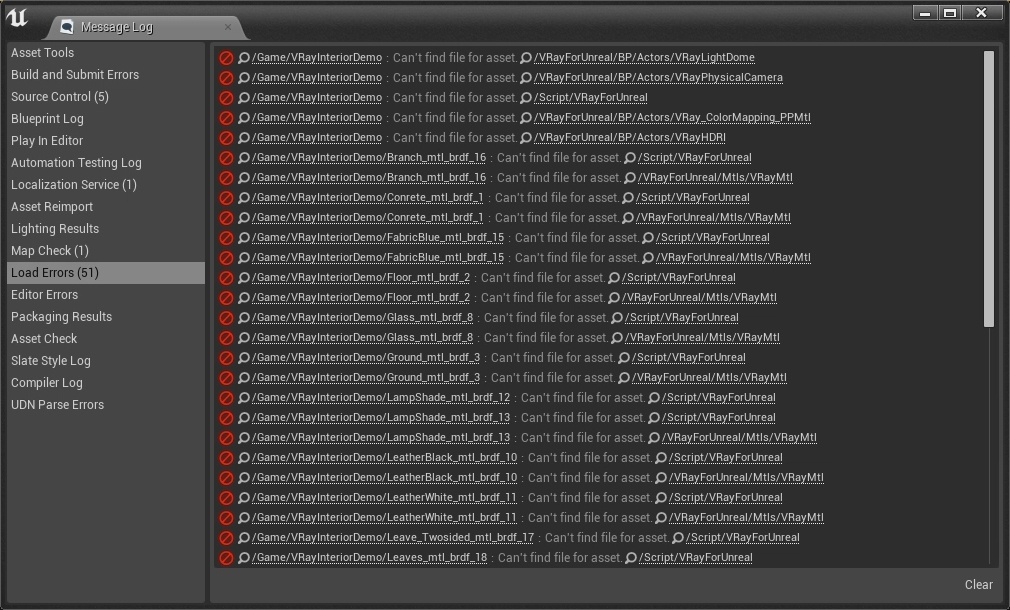
When you open a project created with V-Ray for Unreal and you get a warning message (2.1) that means that the V-Ray plugin isn't enabled. From "Edit/Plugins" enable the VRayForUnreal plugin. You will need to restart Unreal for this to take effect.(2.2)
2.1

2.2
Step 3. Test Lightbake
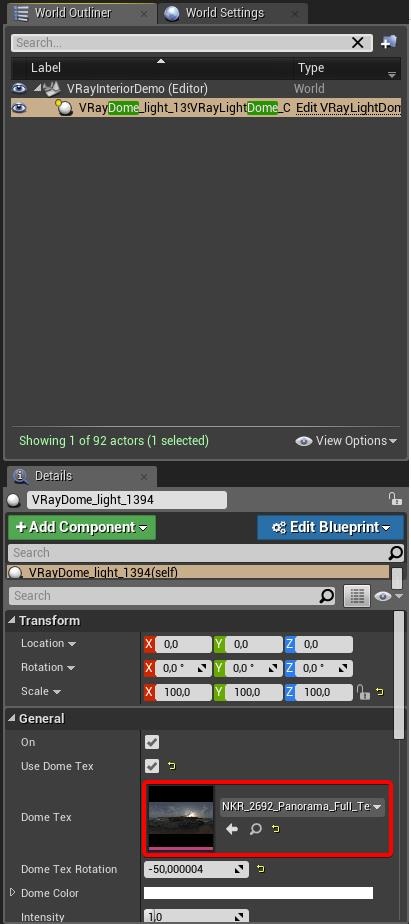
After Unreal is restarted and the project opened, do a test lightbake to get a feel of the lighting in the scene. The scene contains one VRay Light Dome with an HDRI image plugged into the Dome Tex slot (3.1). Make sure to be on Preview in the Lighting quality to speedup the baking process (3.2). To do a test lightbake go to Build options menu > Build Lighting Only (3.3).
3.1
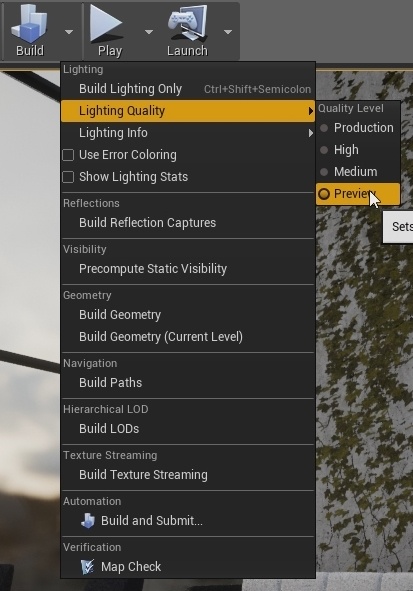
3.2
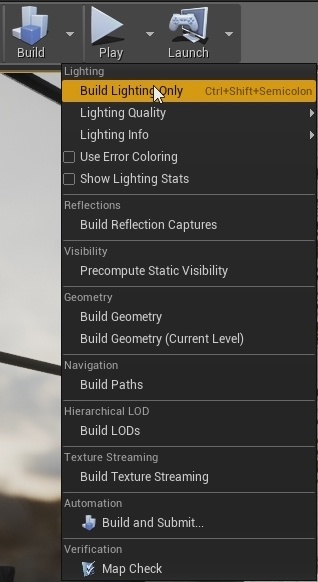
3.3
Part II - Camera, materials and Lightmass settings
Step 1. Post Process Settings
In order to have maximum visual parity between viewport and final render you have to disable some of the Unreal posprocess and lighting components. You can do so from in viewport Show > Post Processing and leave only Postprocess Material (1.1) . From Show > Lighting Component uncheck Ambient Occlusion (1.2).

1.1

1.2
Step 2. Enabling VRayPlugin in Content Browser
To create a V-Ray supported content such as lights and cameras you will have to enable its visibility in the Content Browser. Go to View Options and enable Show Engine Content and Show Plugin Content (2.1).
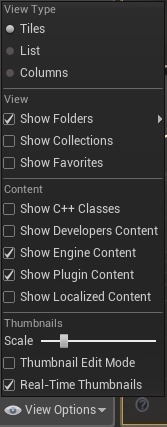
2.1
Step 3. Set up Camera
Next create a camera. Click on the Show or hide the source panel button to see the tree structure of the Content Browser (3.1). From there go to VRayForUnreal > Content > BP > Actors and drag and drop in the viewport the VRayPhysicalCamera (3.2).
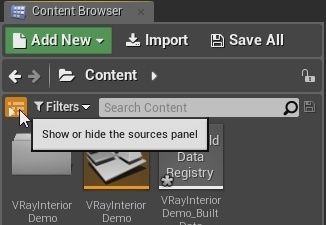
3.1

3.2
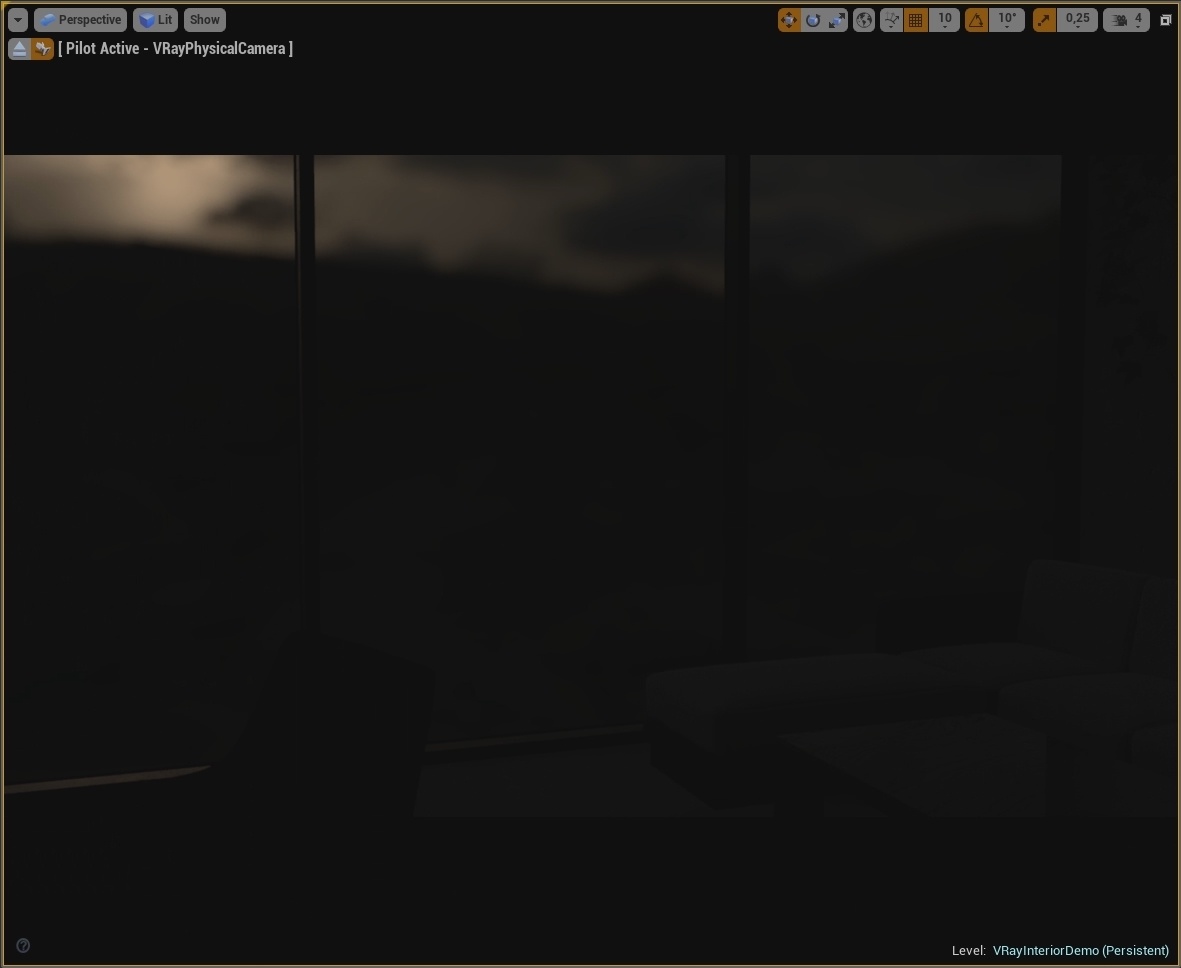
After you've placed the VRayPhysicalCamera in the level you can look through it by going to the Viewport Types and select VRayPhysicalCamera from the dropdown menu (3.3). After that you can position the camera by holding down the Right Mouse Button and using the WASD keys for translation and the mouse for rotation (3.4).

3.3
3.4
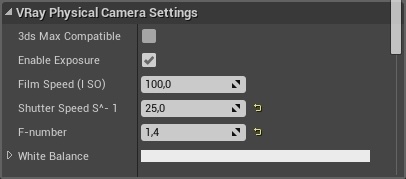
The view looks dark due to the fact that the camera's exposure is not set correctly for this lighting scenario. To change the exposure parameters select the VRayPhysicalCamera and go VRayPhysical Camera Settings category and adjust the Shutter Speed=25 and F-number=1.4 (3.5). Next adjust the Current Focal Length value by going to Current Camera Settings category to make the camera more panoramic. Set Current Focal Length=20 (3.6). Then make any additional changes to the camera's position to make the final composition (3.7).
3.5

3.6

3.7
Step 4. Adjust Materials
Step 5. Inrease Lightmass Settings
Part III - Rendering the final image
Step 1. Render Image
Step 2. Refine the Render inside the VFB
Step 3. Save the Render