This page introduces the different material types in V-Ray for Rhino.
Overview
There are a number of different materials for use with V-Ray for Rhino. These materials are quite versatile and each can be used in a number of ways to achieve different looks as needed from simulating simple surface properties like plastics and metals to complex uses such as translucent objects, subsurface materials such as skin and even light emitting objects.
For more details on each material, please see the dedicated pages.
.vismat files created with V-Ray 1.49 or earlier versions of V-Ray are no longer supported. You can read a .vismat file containing materials in V-Ray but you can no longer save an asset in a .vismat format. Assets can be saved in .vrmat files only.
With V-Ray 5, PBR layers are converted to regular material layers, which preserves the original PBR functionality.
Rhino 7 PBR materials can be rendered directly or converted to V-Ray materials by either changing their Type or using the vrayMtlFromRhino command. This also provides indirect support for Substance (.sbsar) files.
Note that Displacement only works after the material is converted to V-Ray.
With V-Ray 6 materials can be assigned per object's face without the need to explode the object first. To do so, just select the face, then right-click on the material and select Apply to Selection.
UI Paths
Rhino Properties Panel >Create New Material > V-Ray Material
(V-Ray Material creation is also available via the Layer and Object material properties)

- The creation of materials is available from two places in the Asset Editor: the Create Asset button and the Materials category icon (top). If the Materials category is empty, left- or right-clicking the icon prompts you to create a new asset. Otherwise, it selects the category in which case right-click opens the creation menu.
- The Asset creation dropdown lists remain active when the Ctrl key is held, allowing the creation of multiple assets in quick succession. The Asset creation dropdown lists can be activated via the Create Asset button or the Asset Category icons.
- Rhino materials can be converted into V-Ray materials using the UI shown. Although, vice versa conversion is possible, it is not recommended, due to lack of support of most of the features.
||V-Ray Asset Editor|| > Create Asset > Materials
||V-Ray Asset Editor|| > Materials
Options
There are some context options that V-Ray materials have.
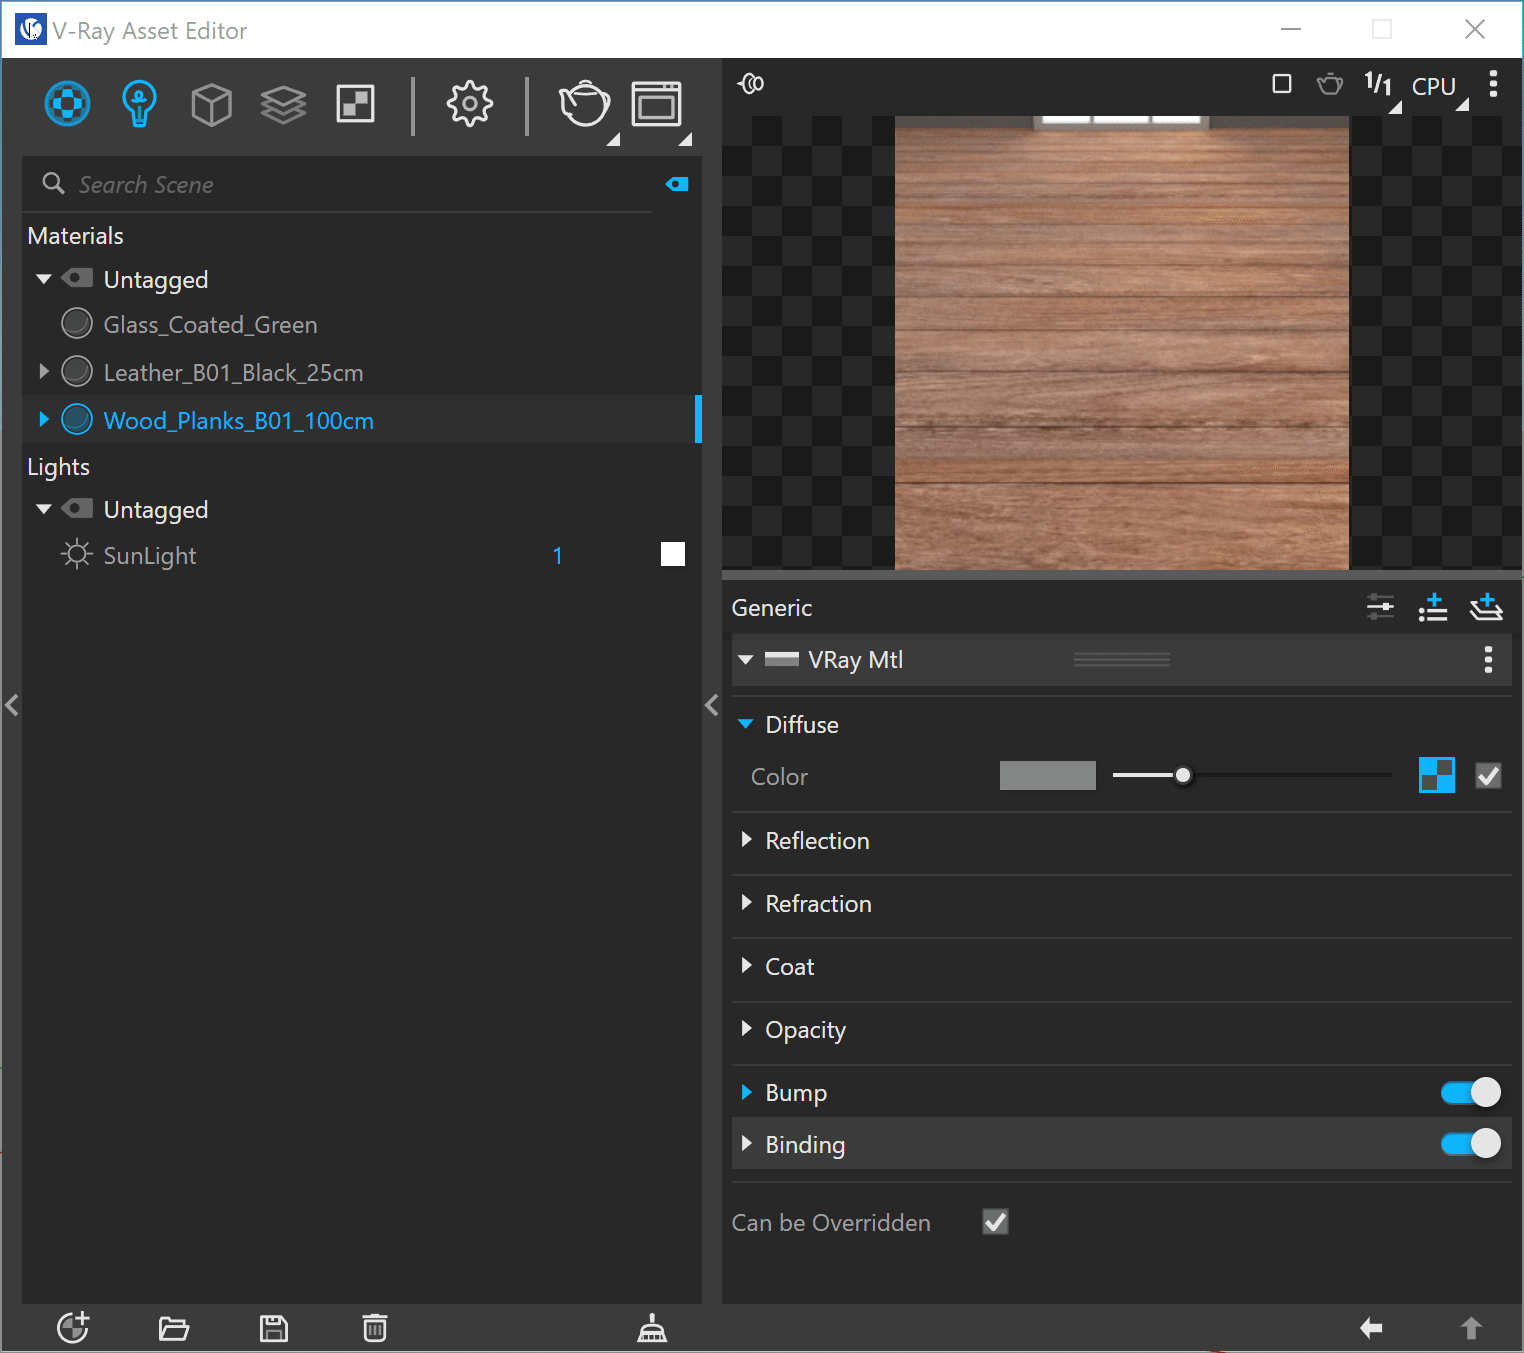
The Search Scene field will search the assets by name from all the categories that are selected.
Right-click on any material in the Material's list for a context menu to appear. You can apply the material to the currently selected object, object's face, or to a layer. Use the Apply To Layer and select any layer to apply the material.
Use the Apply to Selection option and select an object or an object face to apply the material on it.
The Select Objects in Scene option allows selection of groups or components in the viewport that the material will be applied to.
Select a material to Use as Replacement for any other material in the scene. Then, use the Replace In Scene option over the chosen material or the Replace All References to replace this material in all places that is used. For example, a Generic material is used as part of Two Sided and Multi Material. Replace All References will overwrite the Generic material in both Two Sided and Multi Material.
The Asset lists have some additional multi-selection functionalities:
- Ctrl on deselected item - Adds to the selection;
- Ctrl on selected item - Removes it from the selection;
- Ctrl + A - Selects all items in the list/category;
- Shift + Left-click - expands the range of the current selection;
- Click + Drag - Leaves only the clicked item selected;
- Right-Click on deselected item - Shows the context menu for the item, selects the item and deselects all other items;
- Right-Click on selected item - Shows the context menu for the item and doesn't change the selection.
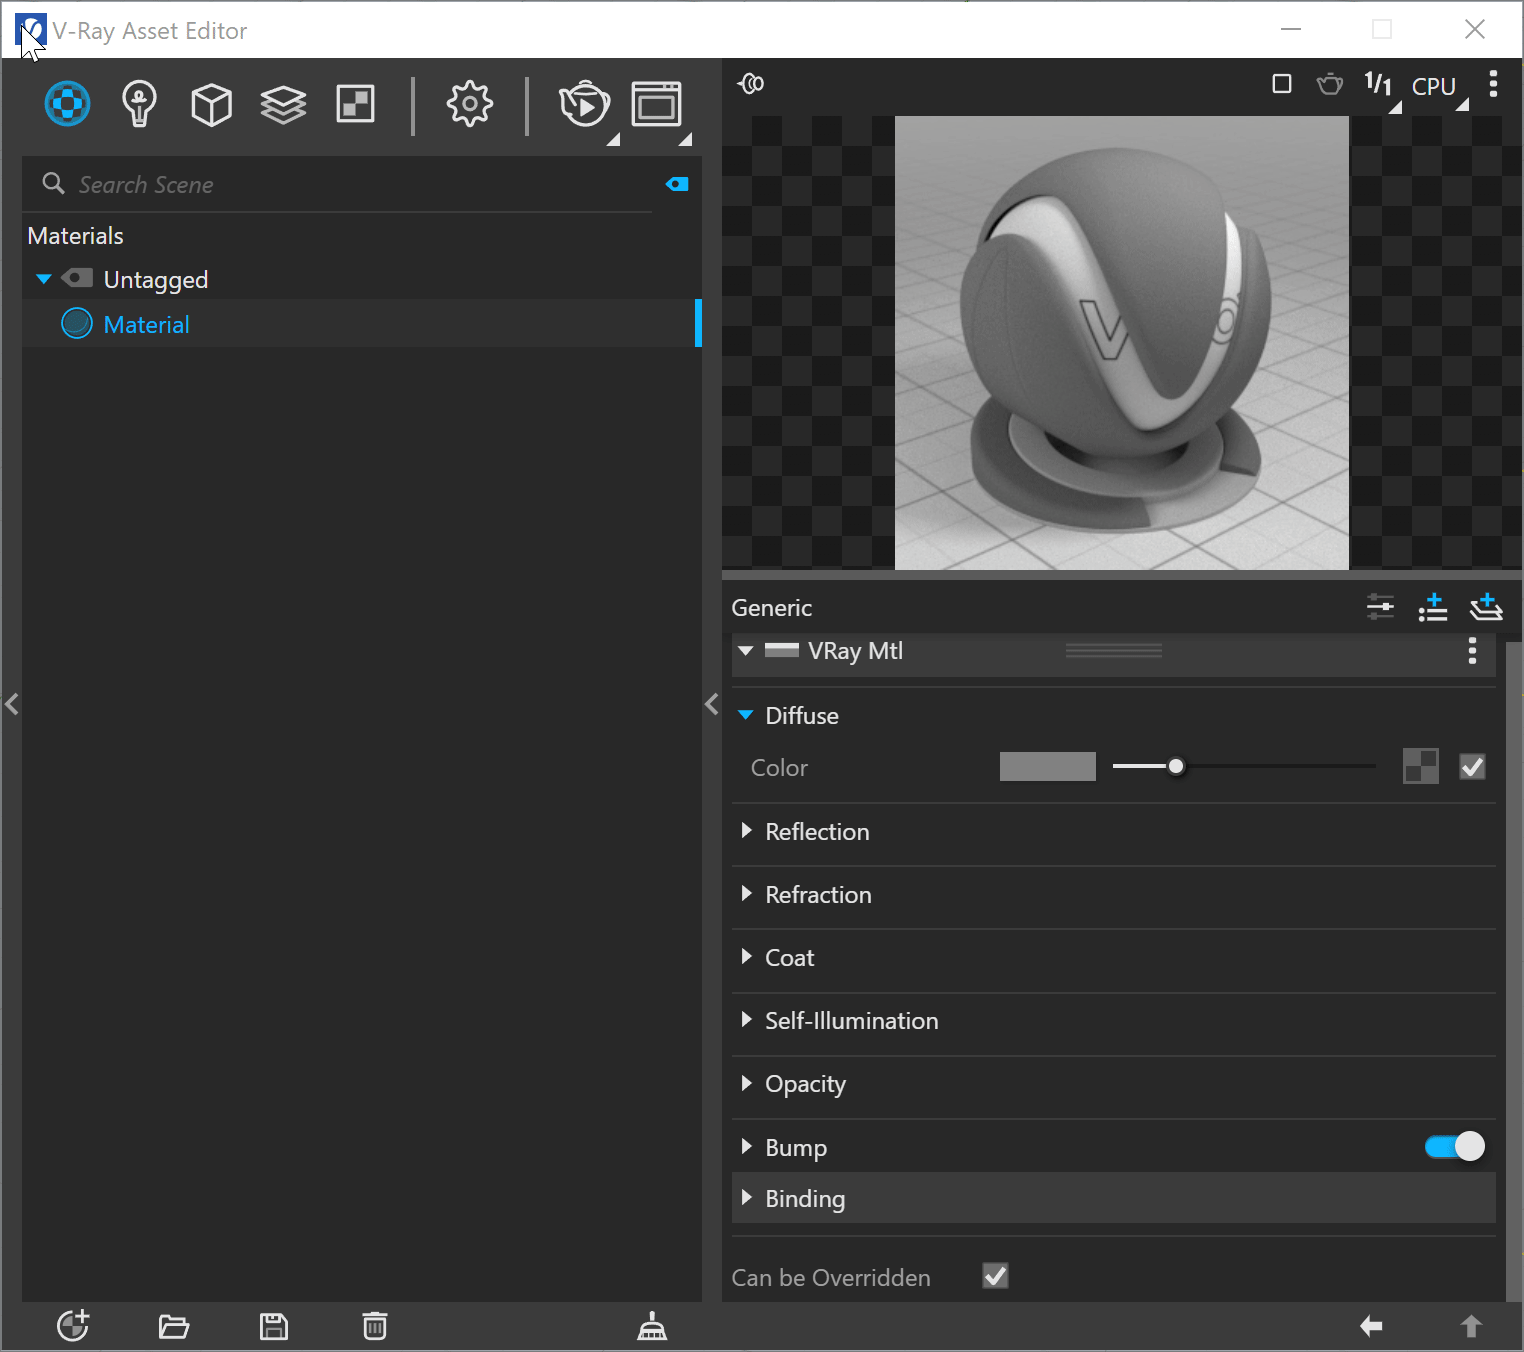
Material's parameters and options are organized in Basic and Advanced modes. You can switch the mode from the toggle bar under the Preview Swatch or globally from the Configuration rollout of the Settings tab.

An Add Attribute button is provided for some V-Ray materials. You can select additional attributes that can add up to the appearance of the material.
Holding down Ctrl while having the Add Attribute menu open, allows selecting multiple entries without closing the dropdown.
The context options of the Color Slot allow to Copy and Paste a color from one color slot to another, as well as to Reset the color selection to a default value.

Multi Material, Blend, Bump, Outline Override, Override and TwoSided materials allow drag-and-dropping to their input slots. The input slot ( ) of these materials also has a context menu available when you right-click on it.
You can Copy, Cut, Clear the selected material or Paste as Instance another material into the slot.

You can reset the Input Number Slider's value to its default value by right-clicking on the slider and selecting the Reset context menu option.

Most numeric V-Ray parameters come with a slider to make fine-tuning easier. Each slider is set to a default range of recommended or commonly used values.
If a value above that range is used the slider adapts by increasing its range accordingly (2x the input value) to maintain usability.
If a value below the current slider range is used, the slider again adjusts its range by shrinking it to twice the amount of the input value.
Note that that the slider range does not indicate the parameter's total minimum and maximum input values.
The absolute minimum and maximum values of each parameter can be found by hovering over its spinbox.

Layers
The ability to add additional layers allows creation of composite materials. Each layer is an additional coat, where the topmost layer is the outermost one. Opacity texture maps can be used to control the appearance of each additional layer. The workflow is generally used for the creation of reflective materials with an extra coat of glossy finish, uneven glaze, extra flakes, or emissive elements.
V-Ray Material, part of which are the Generic and Emissive presets, have the option of stacking additional layers of settings on top of the default ones. The Add Layer button under the Preview Swatch opens a list of available layers that you can add on top of the existing preset. The top and added layers can be moved in the stack. They have a context menu, which allows duplication, renaming or deletion of the selected layer.
Holding down Ctrl while having the Add Layer menu open, allows selecting multiple entries without closing the dropdown.
