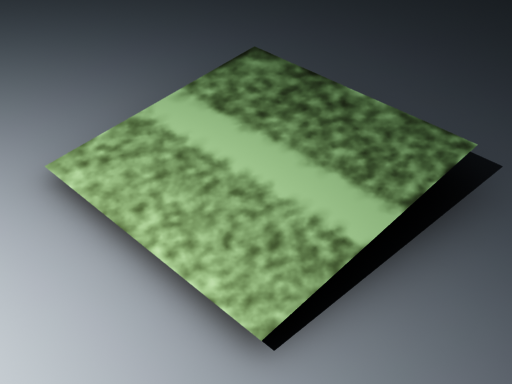
This tab controls subdivision and displacement quality for all objects in the scene. These options are overridden for objects which have the additional displacement attributes added. Hair – Enables or disables rendering of hair geometries. Particles – Enables or disables rendering of particles. Proxy – Enables or disables rendering of V-Ray proxy. Load Meshes from Proxy – Enables or disables rendering of meshes loaded from proxy. Subdivision – Enables or disables rendering subdivision in meshes. Displacement – Enables or disables V-Ray displacement mapping. DisplacementOverride Settings Globally – When enabled, globally overrides other displacement settings. Amount – A scaling parameter for the default displacement. Values larger than 1.0 increase the displacement amount, while values lower than 1.0 reduce it. Edge Length – The maximum length of a subtriangle edge after subdivision. This affects the degree of subdivision before displacement, which in turn affects the quality of the displacement itself. Each triangle of the original mesh is subdivided into a number of subtriangles. More subtriangles mean more detail in the displacement, slower rendering times and more memory usage. Less subtriangles mean less detail, faster rendering and less memory used. Units used for this parameter depend on the View Dependent parameter.
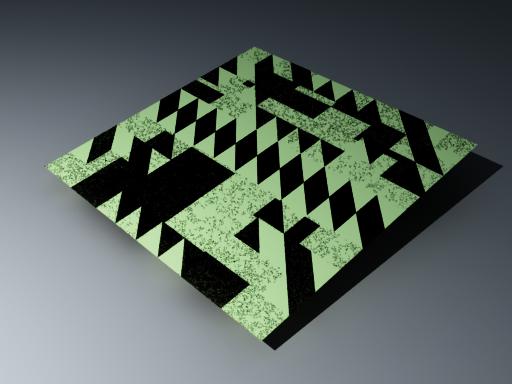
Max Subdivs – Controls the maximum number of subtriangles generated from any one triangle of the original mesh. The square of this value is used. For example, a value of 256 means that at most 256 x 256 = 65536 subtriangles will be generated for any given original triangle. It is recommended that this value not be increased a great deal over the default value of 256. If you need to use higher values, it is better to first tessellate the original mesh itself into smaller triangles before starting the displacement process. View Dependent – Specifies whether Edge Length is expressed in pixels or world units. When this option is enabled, the Edge Length value determines the maximum length of a subtriangle edge in pixels, and a value of 1.0 means that the longest edge of each subtriangle is about one pixel long when projected on the screen. When this option is disabled, Edge Length is the maximum subtriangle edge length in world units. Tight Bounds – When enabled, V-Ray tries to compute the exact bounding volume of the displaced triangles from the original mesh. This requires presampling of the displacement texture, but the rendering is faster if the texture has large black or white areas. However, if the displacement texture is slow to evaluate and varies a lot between full black and white, if might be faster to disable this option. When it is disabled, V-Ray assumes worst-case bounding volumes and does not presample the texture. |
|


