This page provides information on Corona Interactive Rendering, its settings, and usage.
Overview
Interactive Rendering automatically updates the rendered image in real-time as you make changes in your scene. It is a great aid in modifying and transforming objects, tweaking and creating materials, adjusting the environment, lights, cameras, and virtually any part of the rendered scene.
All of this can be done while rendering, without any kind of limitations. There is no need to manually restart or update the rendering, as it happens automatically. It runs completely on the CPU, so it has no limitations and does not require any special hardware.
See also: Corona Interactive Rendering at the Chaos Help Center
Starting Corona Interactive Rendering in a Floating Window
To start Interactive Rendering in a floating window, click the "Start Interactive rendering in Corona VFB (legacy)" button in the Chaos Corona Toolbar or go to the Render Setup > Scene tab and click the Start Interactive button:
Starting Corona Interactive Rendering in a floating window from the Chaos Corona Toolbar.
Starting Corona Interactive Rendering from Render Setup > Scene tab.
Corona Interactive Rendering in a floating (undocked) window.
Starting Corona Interactive Rendering in the Active Viewport
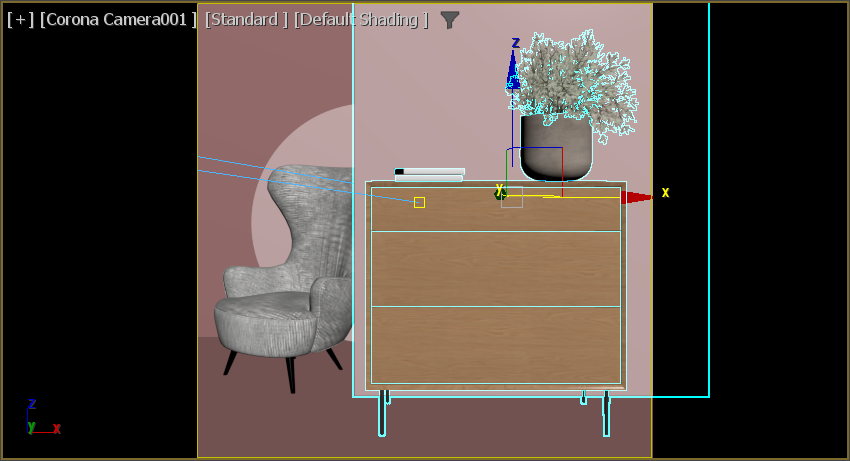
To start Interactive Rendering in the active viewport, click the "Start Interactive rendering in active viewport" button in the Chaos Corona Toolbar:
Starting Corona Interactive Rendering in the active (docked) viewport from Chaos Corona Toolbar.
Corona Interactive Rendering docked in the viewport.
Interactive Rendering Performance Settings
UI Path: ||Render Setup window|| > Performance tab > Interactive Rendering
Max Passes – Limits the maximum number of passes rendered in the interactive rendering mode.
For interactive render regions, this value is best left at 0 to ensure that new or changed regions render (otherwise, they do not render if the max passes value has already been reached).
Force Path Tracing – When on, Path tracing is always used as a primary and secondary solver in interactive rendering. This keeps the interactive rendering responsive, avoiding the cost of UHD Cache precomputation.
Fast Preview Denoise During Render – When enabled, the image is iteratively denoised during the render. This replaces a noisy render preview with a noiseless, albeit low-quality image that gets progressively refined as the render converges. It can help to get a quick estimate of the overall lighting in the scene.
Interactive Rendering System Settings
UI Path: ||Render Setup window|| > System tab > System Settings > Interactive Rendering
# Of Threads Override – Number of cores to use for interactive rendering.
Positive values work in a straightforward way, value of 0 uses all system cores, value of -1 uses all cores but 1, value of -2 uses all but 2, etc.
IR Subsampling – The number of pixelated passes that are determined by the IR subsampling value.
Image Upscaling Factor – Specifies an upscaling factor for the image rendered during interactive rendering. By increasing this value, render resolution gets reduced which makes the interactive rendering more responsive. This is useful for High-DPI displays.
Enable Material Editor – Enables rendering of material editor shader balls during interactive rendering.
Dissolve with previous Image – When enabled, the newly rendered image gradually dissolves into the old image. When disabled, the new rendered image appears only after it has completely replaced the old image (i.e. after one pass).
Denoising
By default, your interactive rendering is denoised in real-time with the NVIDIA AI Denoiser. The main purpose of this denoiser is to provide fast, noise-free previews. It is applied almost in real-time during interactive or regular rendering, and after the rendering is stopped. It requires a supported GPU to work, which is detected during the installation.
Fast preview denoise during render: disabled (left) and enabled (right).
Render Selected
UI Path: ||Render Setup window|| > Scene tab > Render Selected (Pixel Mask)
If you need to change only one or a limited number of objects in the scene, you can save some render time by using the Render Selected option. You can choose to either render only the objects selected in the viewport, or you can create an include/exclude list.
The selected objects render, and have correct shadows, GI, and reflections from other objects in the scene, which means they can be placed into or over a previous render and look as if they had been part of the initial full render.
Any objects that were greatly influenced by GI bounces from the objects you want to re-render, or that showed those objects in refraction or reflection, also need to be included in the render selection so that they update as well.
Render Regions
Corona offers drawing and rendering of regions in the Virtual Frame Buffer.
Select the "Region" mode and draw a region wherever you want. Use Click and Drag to add new regions. Ctrl and Drag on the region border enables ''Fuzzy" region mode, in which the regions are seamlessly blended into the rest of the image.
By holding your mouse over the Region button you can also toggle all regions on and off, and remove all existing regions.
Region mode
Multiple Regions mode
Fuzzy Region mode


