

This page provides information about the panorama and cardboard options in Enscape version 4.1 and earlier.
Overview
This article outlines how to generate 360° panoramas in both stereo and mono with Enscape versions earlier than 4.1.1. It is recommended to upgrade to the newest version. See the newest workflow at Panorama and Cardboard page.
Stereo exports can be used with Google Cardboard. Panoramas exported from Enscape can be saved locally as a file or uploaded into the cloud where mono panoramas from the same CAD project can be combined to make a Gallery or a Tour that can help to showcase a project.
Individual panoramas are assigned a QR code which can be scanned to open the panorama on a mobile device, for example. Once a panorama has been uploaded to the cloud, whether single panoramas or sets of panoramas that are created as either a Gallery or Tour, they can be shared via a link, a QR code, or direct via email. These can then be viewed with a web browser on both desktop computers or mobile devices.
If you render a stereo panorama for Google Cardboard you can enable the cardboard mode on your mobile device by clicking on the cardboard ‘glasses’ symbol on the device when the panorama is open.
How to Export a Panorama
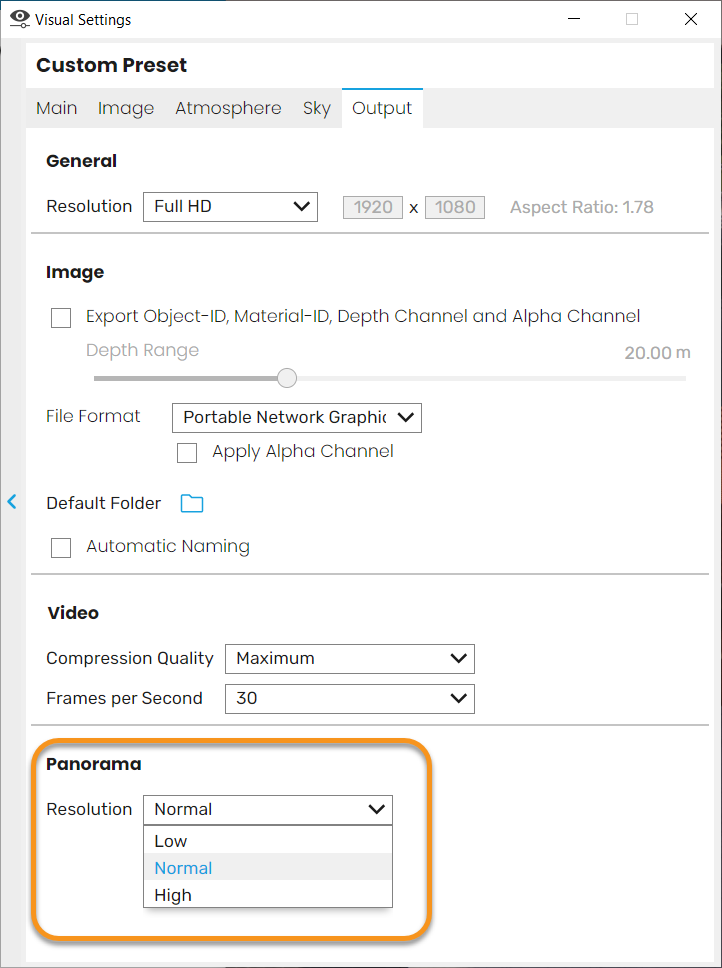
Load a project into your CAD, start Enscape and open the Visual Settings window and set the Projection to Perspective. Optionally, you can adjust the Panorama Resolution in the Visual Settings’ Output tab. Higher panorama resolutions will take longer to export.
Navigate to a position in the Enscape Viewport where you want the panorama to be captured from. You can click the Render Panorama button directly (which will export a Mono Panorama by default) or click the small arrow next to the Render Panorama button to choose Stereo Panorama if you want to view the panorama in Google Cardboard.

Enscape's Render Panorama buttons
The panorama will now be generated and exported, indicated by a progress bar.
Once exported, by opening Enscape’s Upload Management dialog via the associated Upload Management button ![]() located back in Enscape’s CAD specific toolbar, you will be able to manage your exported panoramas further.
located back in Enscape’s CAD specific toolbar, you will be able to manage your exported panoramas further.
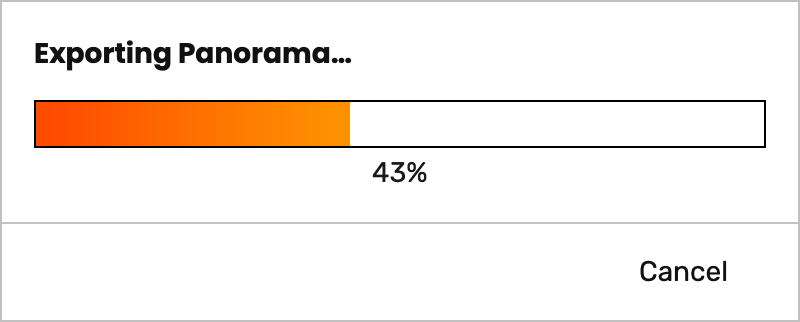
Panorama Export Progress Bar
Workflow
The Upload Management dialog will open and display the Panorama tab by default. If no panorama has yet been exported from a project the dialog will reflect this fact:
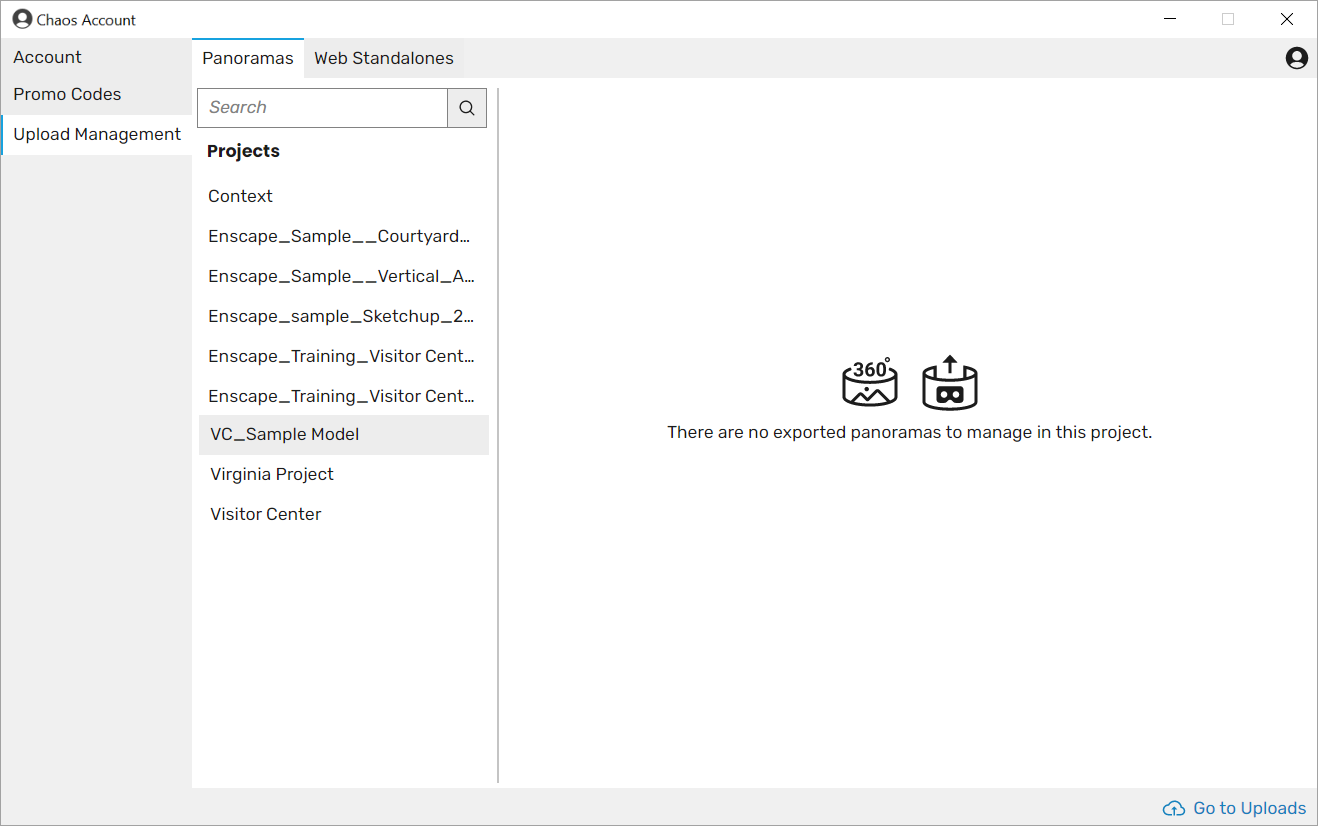
Upload Management dialog if no panoramas have been created
If you haven’t done so already, go ahead and create a panorama as outlined above. Come back to the Upload Management dialog, select the project listed under the Projects section of the dialog and any associated panoramas for that project will be shown in the dialog window.
It’s possible to manage and edit panoramas that have been created in another project whilst having another unrelated project open in the CAD.
Additionally, please make sure to refer to this article regarding managing uploads in Enscape Accounts.
If you have issues uploading a panorama to the cloud, then this may be due to your Firewall. You may need to add some exceptions to your Firewall, and you will find the information you need to do this available here.

A set of exported mono panoramas
Hovering your mouse over any of the panorama thumbnails in the Upload Management dialog will display a set of buttons, as well as some information about which project the panorama is associated with, when it was created, its resolution, and if it is a mono or stereo panorama.
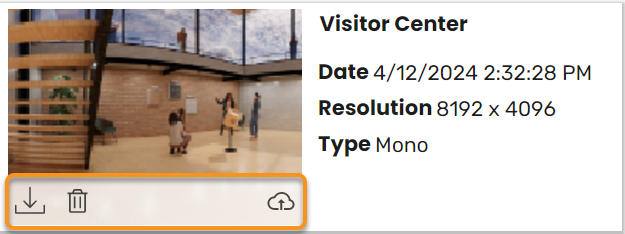
Default buttons available on exported panorama
Thumbnails for stereo panoramas will additionally display a ‘glasses’ icon, as well as indicating the Type of panorama when mousing over it.
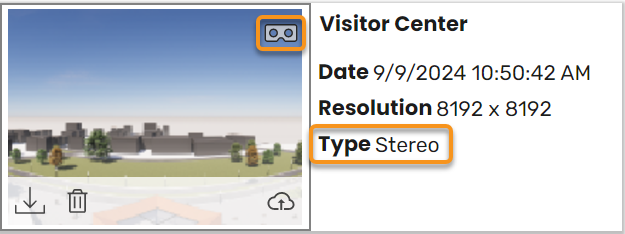
Stereo Panorama
The four buttons along the bottom of the thumbnail allow the following functions:
Save panorama as file… – will prompt you to save the file locally. You will be able to choose from a JPEG Image (*.jpg, *.jpeg), Portable Network Graphics (*.png), Windows BitMap (*.bmp), or Tagged Image File (*.tif, *.tiff).
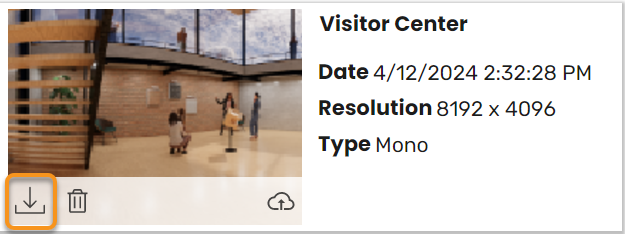
Save panorama as a file button
Delete panorama – file (only available when the panorama is not uploaded to the cloud.
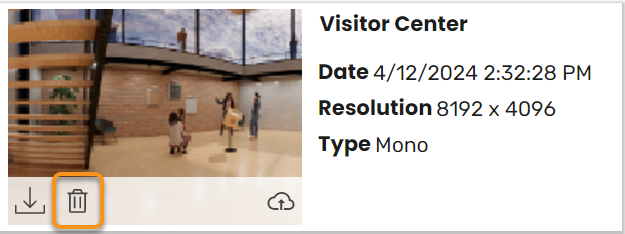
Delete panorama button
Replace uploaded panorama in cloud… – As long as there is already a panorama uploaded to the cloud, then the Replace uploaded panorama in cloud… will become available to the user. This allows the panorama selected in the Upload Management dialog to replace a panorama that is already uploaded to the cloud. When replacing a panorama, any QR Code or URL associated with the panorama in the cloud to be replaced will be adopted by the panorama that replaces it.
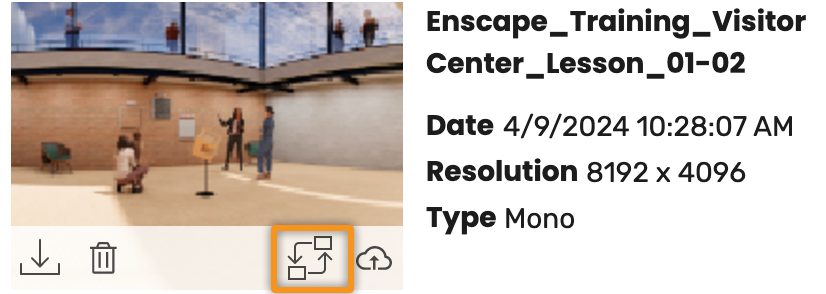
Replace uploaded panorama in the cloud button
Upload panorama to cloud – This will result in the selected panorama being uploaded to the cloud so it can be shared and be used in the Gallery / Tour feature.

Upload panorama to cloud button
Once a panorama has been uploaded to the cloud, the thumbnail will display a small cloud symbol at the top right of the thumbnail image to indicate that image is now also stored in the cloud. If you hover your mouse over panorama thumbnails you will notice the above four buttons have changed slightly to reflect some more functions that become available to a panorama that is stored in the cloud.
You can still download the panorama as a file locally, but deleting it is disabled, and two new buttons appear.
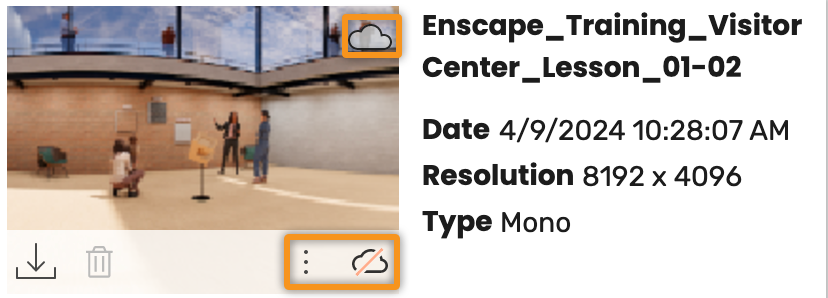
Functions available for panoramas uploaded to the cloud
Clicking on the 3 vertical dots will reveal the following menu which, as well as providing an option to view the panorama in your web browser, also provides a QR code which can be directly scanned or which can be saved as a file locally, or which can be directly copied and then pasted into a document. The Copy link option will copy the panoramas URL.
Note that, if you use the Replace uploaded panorama in cloud… the QR code associated with the file being replaced will be retained and used for the panorama that replaces it.

Menu for QR code, copy link, and open panorama in browser
The last button, a cloud with a line through it, will remove the panorama from the cloud if clicked. The panorama will remain in the Upload Management window until deleted via the Delete panorama button.
You will be prompted to confirm deletion from the cloud.
If you have issues uploading a panorama to the cloud, it may be due to your Firewall. You may need to add some URL exceptions to your Firewall and the information you need to do this can be found here.
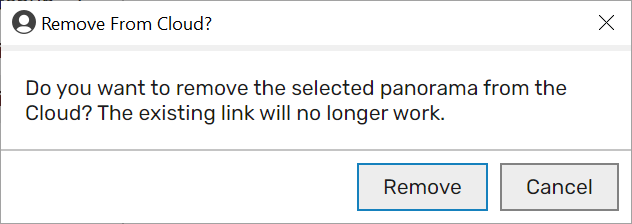
Prompt to confirm removal of panorama from the cloud
Replace a Panorama
To replace a panorama in the cloud you will need at least one panorama already uploaded to the cloud and at least one panorama that is not uploaded to the cloud but is listed in the Upload Management dialog.
Once these requirements are met, click the Replace uploaded panorama in the cloud… button which will open a dialog where you can choose the file you’d like to replace.
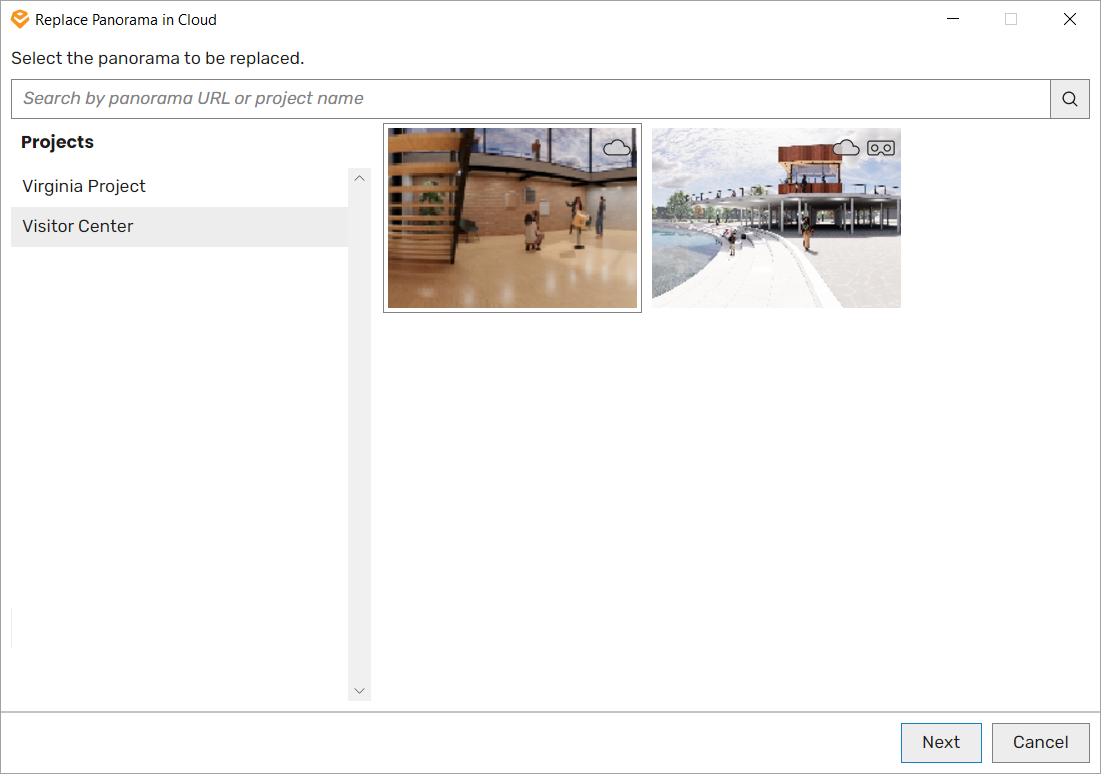
Replace Panorama dialog
Click Next to confirm the replacement, here in this example you’ll notice were replacing a mono panorama with a stereo panorama:

Replacement Confirmation dialog
Go ahead and click the Replace button if you are sure you would like to continue. A ‘Replacing’ progress bar will indicate replacement is processing. Note, the Reference Link will stay the same for the newly uploaded panorama.
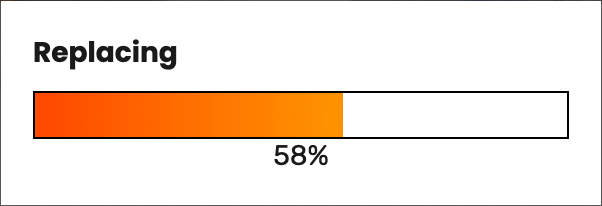
Replacement Process Bar
On completion you will then be informed replacement has succeeded by the message ‘The panorama has been replaced in the cloud’. Click Close.
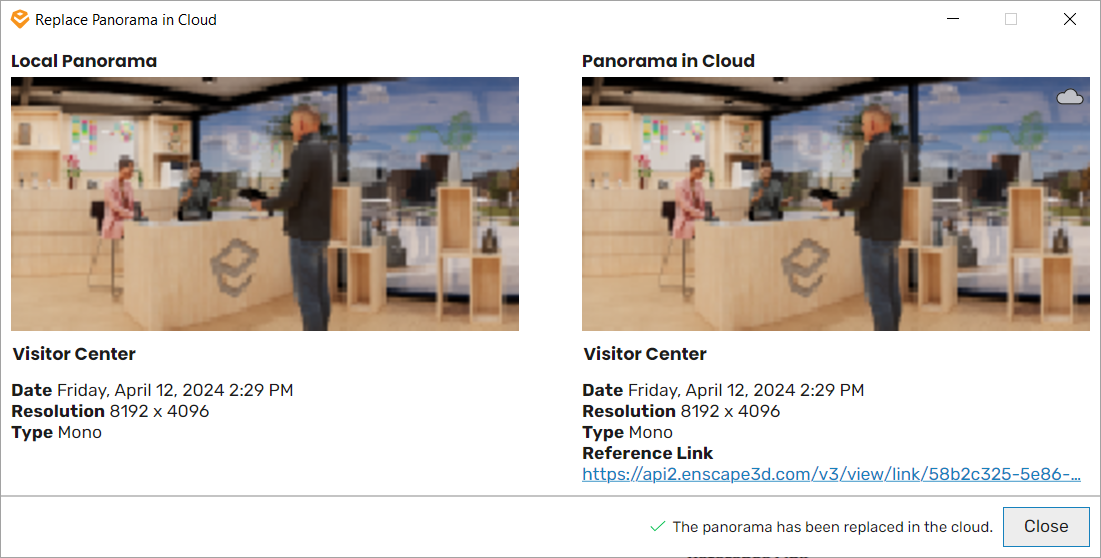
Confirmation that a panorama has been replaced
Tune the Parameters
In the Enscape settings, you can modify the overall rendering quality of panorama files, and this can be found in the Visual Settings‘ Output tab. This also affects the panorama rendering time and quality. Medium generally produces great results at a high speed, Ultra provides the highest quality but takes the longest time.
The resolution can be specified in the Output tab from the Panorama – Resolution drop down menu. Be aware that only the height is taken into account. The width is adjusted accordingly.
Resolution | Mono | Stereo |
Low | 2048×4096 | 4096×4096 |
Normal | 4096×8192 | 8192x 8192 |
High | 8192×16384 | 16384×16384 |
If you are not happy with the exposure brightness in your final panorama, disable Automatic Exposure in the Visual Settings’ Main tab and set a manual exposure that works for you. If Auto Exposure is enabled, Enscape measures a good exposure when starting the panorama capture that might not be ideal for the overall panorama.
Where issues arise exporting ultra high resolution / stereo panoramas, Enscape’s Rendering options should be used.
Preview Panorama
Navigate in the panorama by holding the left mouse button and moving the mouse. Try it:
Enscape Accounts Upload Area
When you are logged in to your Enscape Account, navigate to the Uploads area to access a feature that allows you to create a Gallery or Tour made up of multiple panoramas created from the same CAD project.
Make sure to refer to this Manage Uploads article to understand how having an account will allow you to log in and access this feature.
NOTE: The Panorama Gallery / Tour feature is not available to Trial users (and Students/Educators purchased prior to February 07, 2023). Additionally, the Panorama Gallery / Tour will not work in VR HMD units.
Once you have uploaded a panorama to the cloud, it will be available in the Enscape Account Upload area.
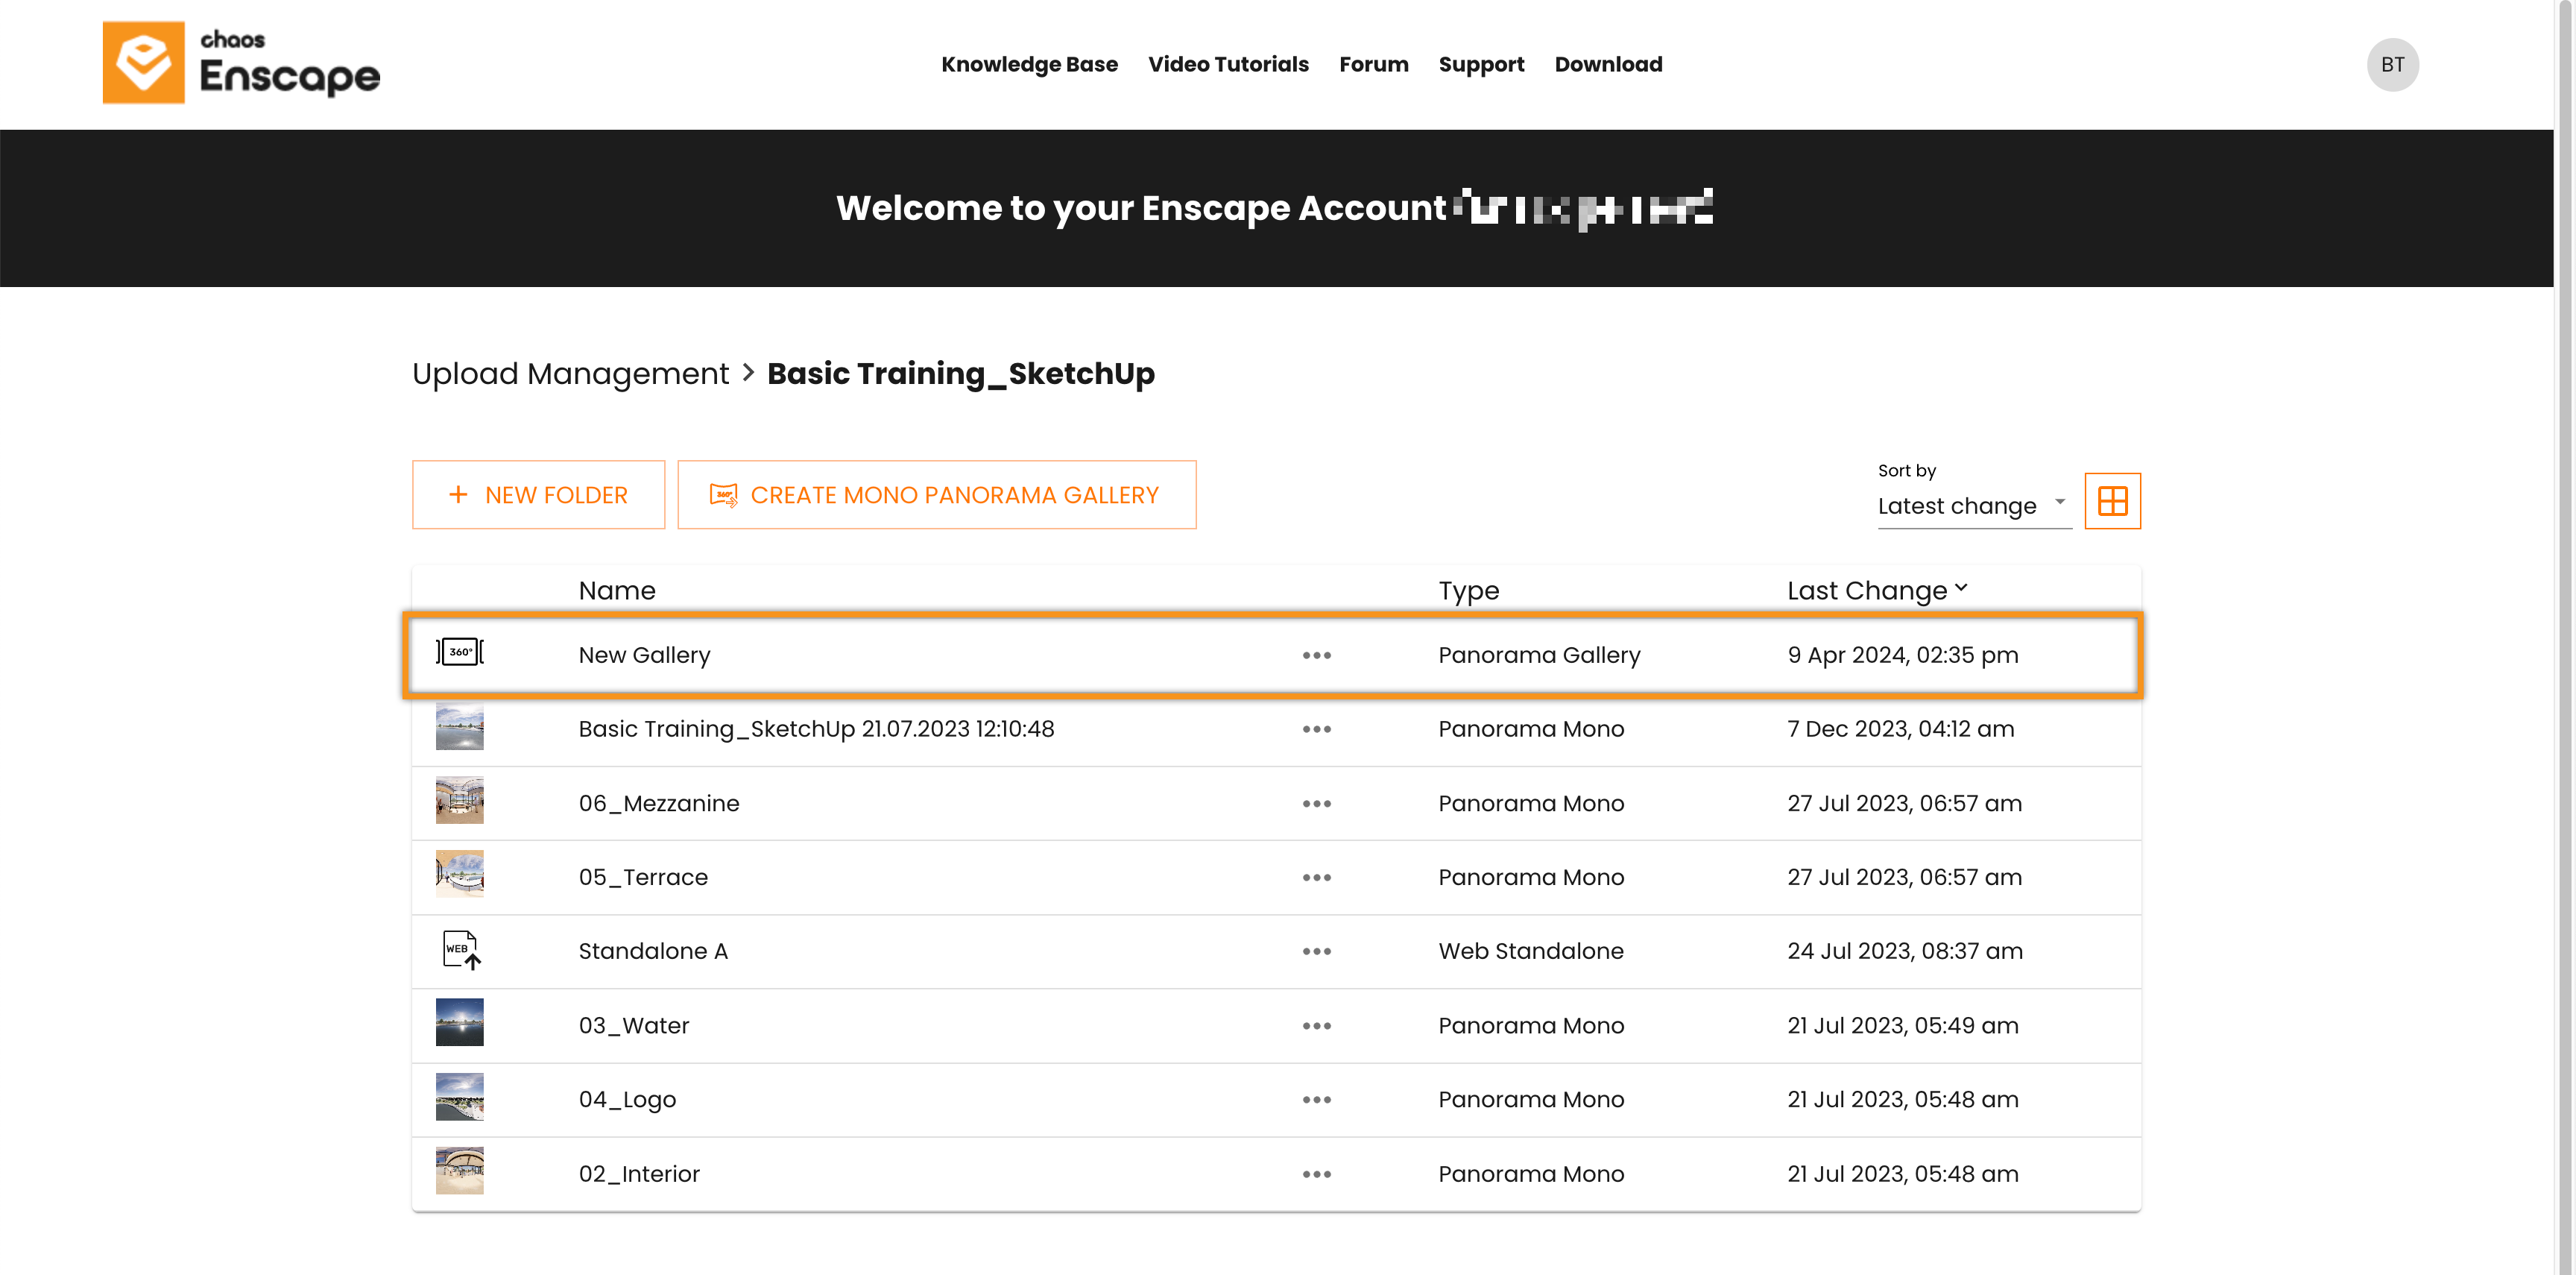
In the Enscape Account -> Uploads area, a folder will be automatically created using the same name as the CAD Project the panorama has been exported from.
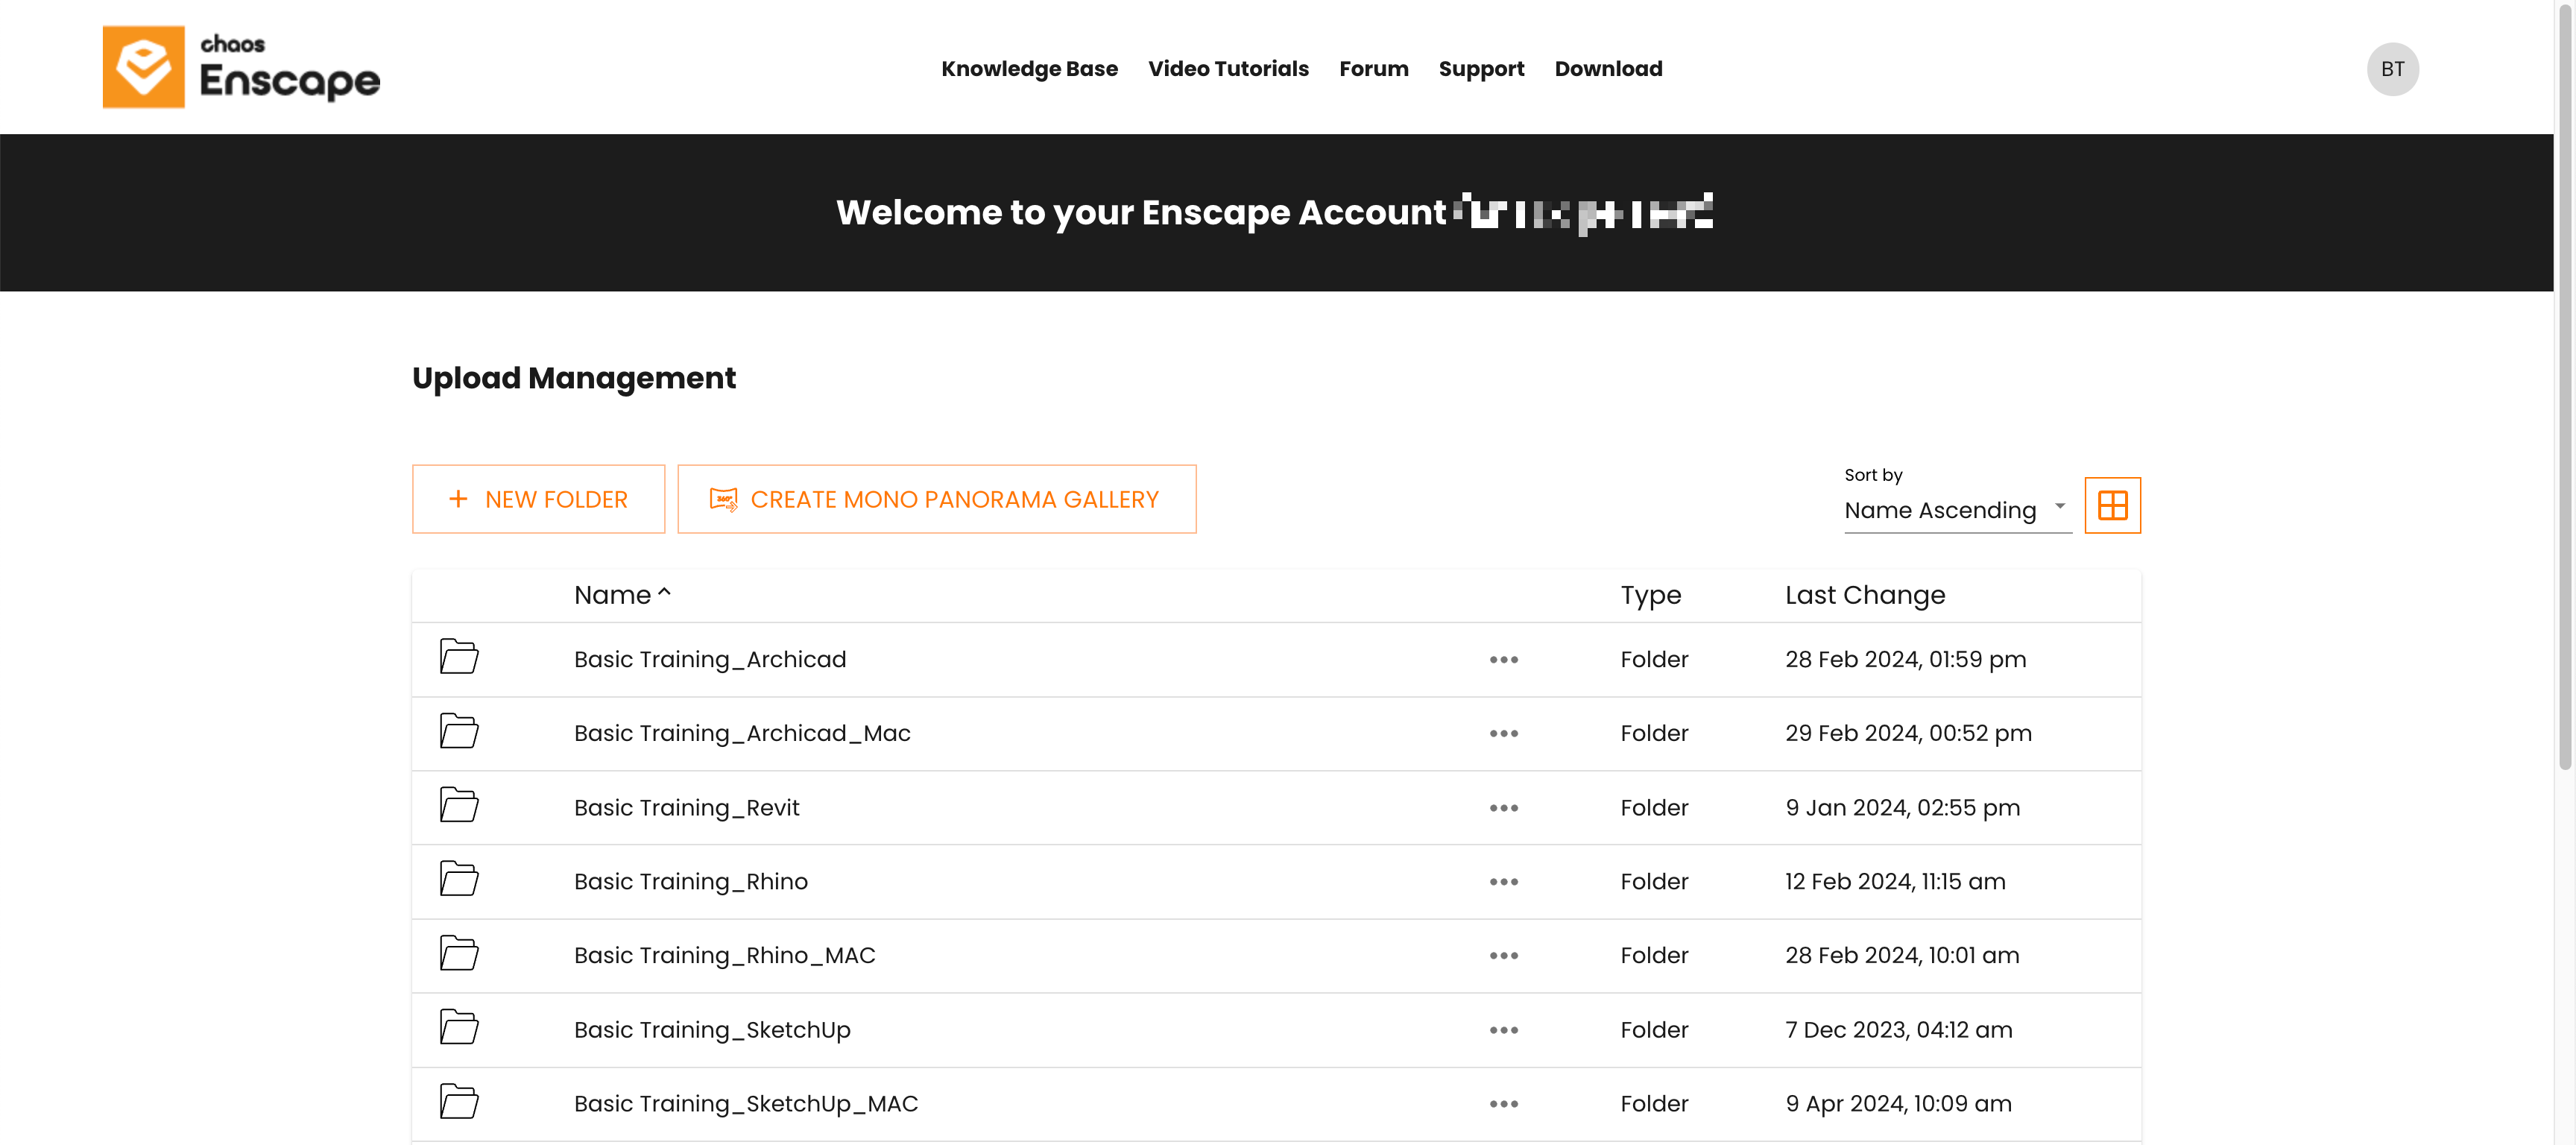
Enscape Account Upload Management
If your panoramas are created in stereo, then these will not be available for selection for a Gallery or Tour, as only mono panoramas are supported. Mono panoramas are listed in the Enscape Account Upload area along with a small thumbnail of the panorama. Stereo panoramas will have a generic icon next to them instead. You will also notice the distinction is also made under the Type column.
Any panoramas that are uploaded to the cloud will use the name, date, and time as their file name by default. These files can be renamed in your Enscape Account -> Uploads area if required.
Renaming, Moving, Deleting, and Share Options can be accessed via the 3 dots menu next to each panorama listed in the Uploads area of your Enscape Account.
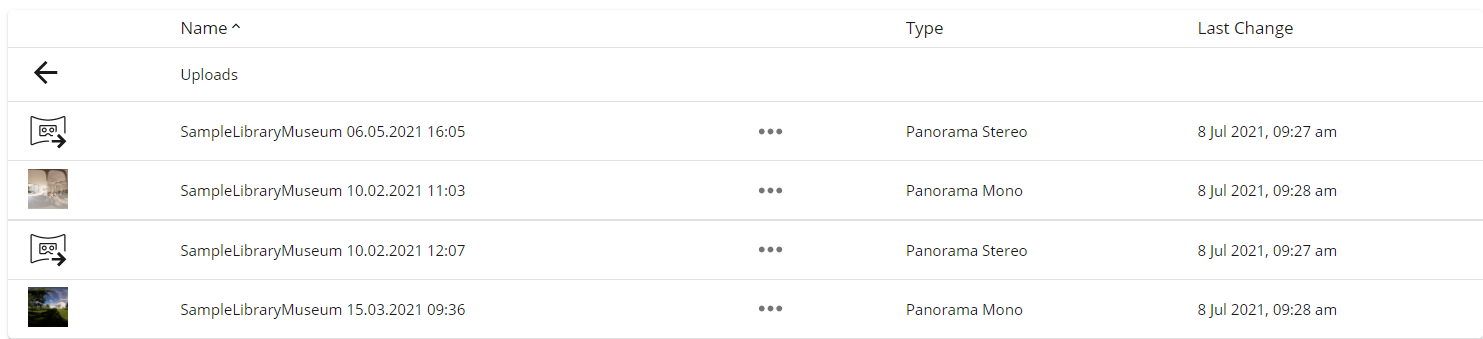
Mono and Stereo Panoramas listed in Upload Management
Create a Panorama Gallery
To begin to create the Gallery / Tour, click on the Create Mono Panorama Gallery button.
Once you have uploaded any Panorama from a project to the Cloud, it will be available in your Enscape Account Upload area.
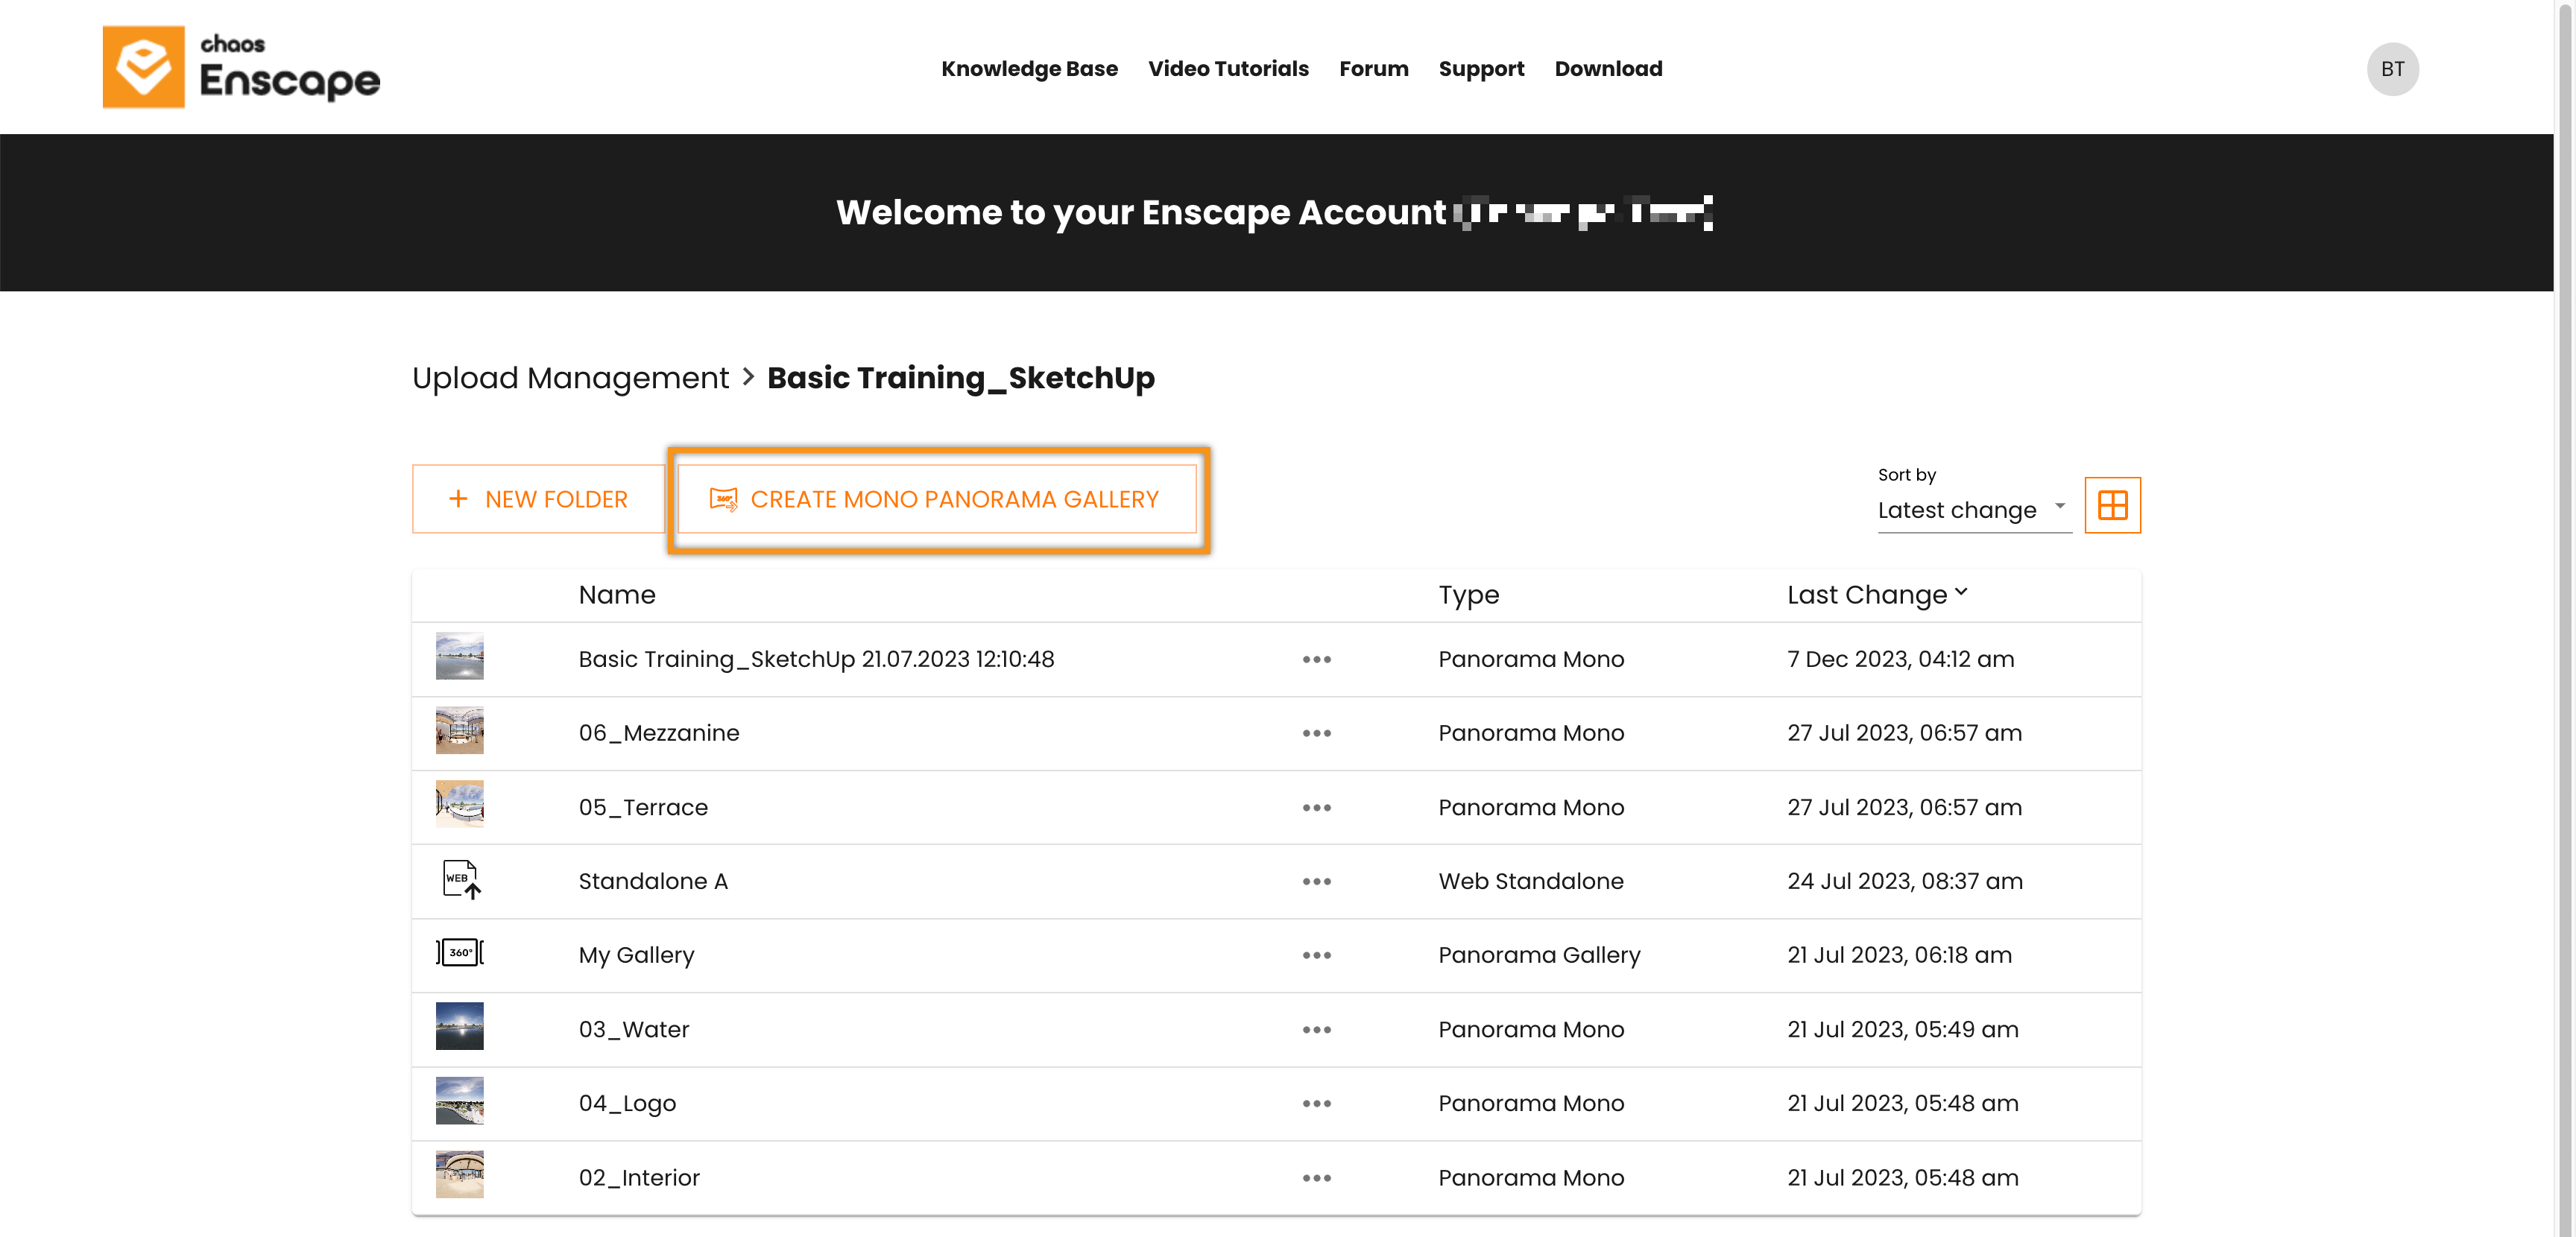
Create Mono Panorama Gallery button
Then select the panoramas you want to use from the Select Panoramas dialog that will appear and press Start Editing once done. Note that you will need to select at least 2 panoramas from the same project to continue past this point and that only mono panoramas can be used.
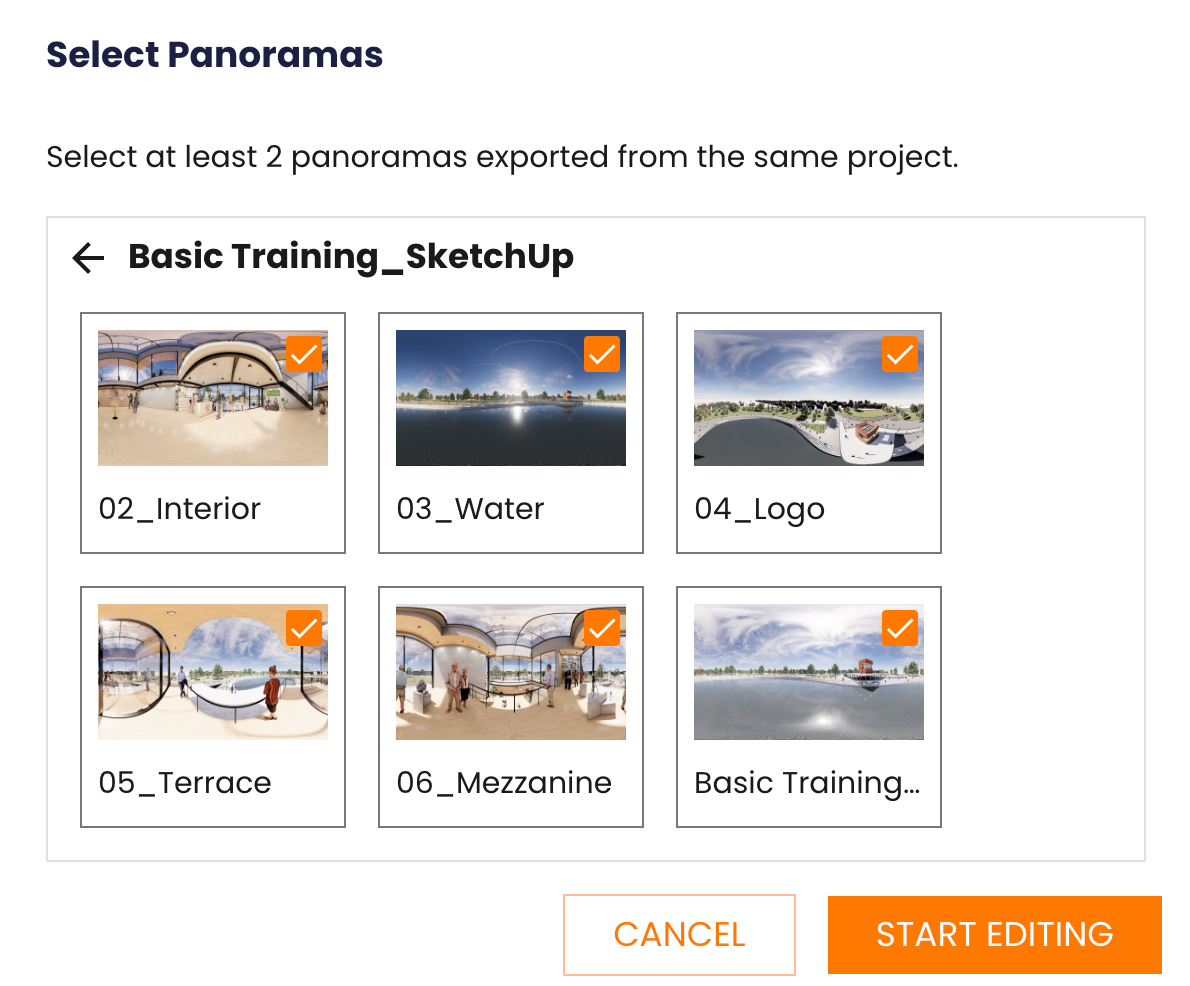
Select the panoramas you want to include in the Gallery
The Gallery provides a slideshow with Previous and Next buttons located at the left and right sides of the browser window.
The Gallery Editing mode can also be set to full screen by clicking the button  located at the bottom right side of the browser window. Press [Esc] to exit full screen mode.

Gallery Navigation buttons
In contrast to creating a Gallery, a Tour can have two methods of deploying waypoints (or hotspots) within a set of panoramas to allow navigation between those panoramas. Show 2 waypoints will only show a maximum of 2 waypoints in a single panorama. These lead to either the Next or the Previous panorama which are set out in the editing strip at the bottom of the browser window.

Show all waypoints will provide all the navigation waypoints between any and all panoramas of a set, no matter the order or position of the panorama within the set.
In more detail:
Once the Gallery / Tour has been saved, it will be listed in your Enscape Account with an associated Gallery / Tour icon as well as being named under the Type column. From here you can move, share, rename, or delete a Gallery / Tour, and this is explained fully in the Manage Uploads article.
The Gallery is now available in your Enscape Account