This page provides an overview on setting up and installing Chaos Phoenix.
Overview
This guide serves as a reference for the installation of Phoenix for 3ds Max and 3ds Max Design. You can download the latest official version of Phoenix from http://www.chaos.com with the account supplied to you by Chaos or your reseller.
This page covers installation of Phoenix through the Phoenix installer. For additional setup and troubleshooting, see the following pages:
- Trial Installation of Phoenix for 3ds Max - Includes details on how to sign up and use the trial version of the software.
- Installation Troubleshooting - Provides solutions to common installation issues.
- Silent Install and Uninstall - Instructions for silently installing or uninstalling Phoenix through the command line.
- Uninstalling Phoenix - Instructions for manually uninstalling Phoenix through the included Phoenix uninstaller.
- Set Up Your Phoenix License - Instructions for setting up and managing the Phoenix floating licensing system.
If you experience any problems, please check the Installation Troubleshooting page.
In order to run Phoenix for 3ds Max, you need to have access to the License Server (installed on your machine or a connection to one over your network).
System requirements
Please make sure that your system fulfills these requirements before installing Phoenix:
Phoenix for 3ds Max comes in 3 build types - compatible with V-Ray 6, V-Ray 5 and V-Ray Next. If you don't have V-Ray, or you are using Corona, then it does not matter at all which one you install - Phoenix would still be able to simulate, load, save and preview caches, and it would render with the Scanline Renderer. If you do have V-Ray 6, V-Ray 5 or V-Ray Next, please take care to install a matching Phoenix build.
| Processor | Intel® 64-bit or compatible processor with SSE 4.2 support |
| RAM | 8 GB RAM and 8 GB swap minimum – recommended 32 GB or more RAM, 32 GB or more swap file |
| Operating system | Windows ® 7 SP1, Windows ® 8.1 Professional, or Windows ® 10 Professional operating system |
| 3ds Max | 3ds Max ® 2020 / 3ds Max Design ® 2020 or later, 64-bit versions only |
| USB port | Required for dongle licensing, USB 2.0 or newer |
| TCP/IP | Only IPv4 is supported. IPv6 is currently not supported |
| Chaos License Server | 6.2.0 or later |
| V-Ray (optional) | V-Ray 6, all V-Ray 5 and V-Ray Next versions are supported |
| Corona (optional) | Corona 6 or newer |
Hardware Advice for Faster Simulating
Here's some tips to help you make sure your Phoenix sims calculate as fast as possible.
| Hardware | Recommendation |
|---|---|
| Bus speed | Phoenix transfers huge amounts of data between memory and the CPU. The entire simulation grid gets processed tens to hundred times per simulation step, so the bus speed is the bottleneck in most simulations. |
| CPU speed | Processor speed is more important than core count. Also, NUMA and multiprocessor architectures do not perform well with Phoenix. Simulating on one NUMA node is often faster than waiting for multiple nodes to synchronize. |
| Fast Storage | Both large and small simulations take significant time just to write the cache files from the simulation and to read them back for the preview, so good storage speed can help decrease simulation times up to 30%. Turning off the preview for all grid and particle channels during large simulations could also help speed up the simulation. |
| GPU | GPUs are currently only used for the GPU preview of fire/smoke simulations. |
Software Advice for Faster Simulating
On some machines, the Anti-Virus software may treat Phoenix's files .aur, .f3d and .vdb as a potential risk and consume significant processing power to scan them. Since cache files are often hundreds of Megabytes or more, this could cause the simulation to slow down several times.
Consider adding an exception in your Anti-Virus software for these file formats.
You may also add Phoenix log file extension (.log) or the log file directory (accessible through the Phoenix Preferences) to the exceptions of the Anti-Virus software.
It may also be beneficial to add an exception for the 3ds Max process (3dsmax.exe).
Here is a short step by step guide by Microsoft on Adding an Exclusion for Windows Defender.
Installation of Phoenix
The Phoenix installer will automatically remove any previous installations. This will allow you to seamlessly upgrade from older versions of Phoenix. If you experience problems, you can manually uninstall the previous versions to perform a clean install. For more information, please refer to the Uninstalling Phoenix page.
Before running the installation, make sure your Windows account has administrative privileges and the dongle is not plugged in.
Setting up the installation
Run the installer.
1. Upon the start of the installation, Windows may ask you for permission to run the installer with administrator privileges. Please confirm.
2. You will be presented with the Phoenix Licensing Agreements. Please take a moment to review the agreements. Click the I accept the Agreement button to proceed.
3. If you press the Advanced button during the next step, you will see the full list of customizable settings:
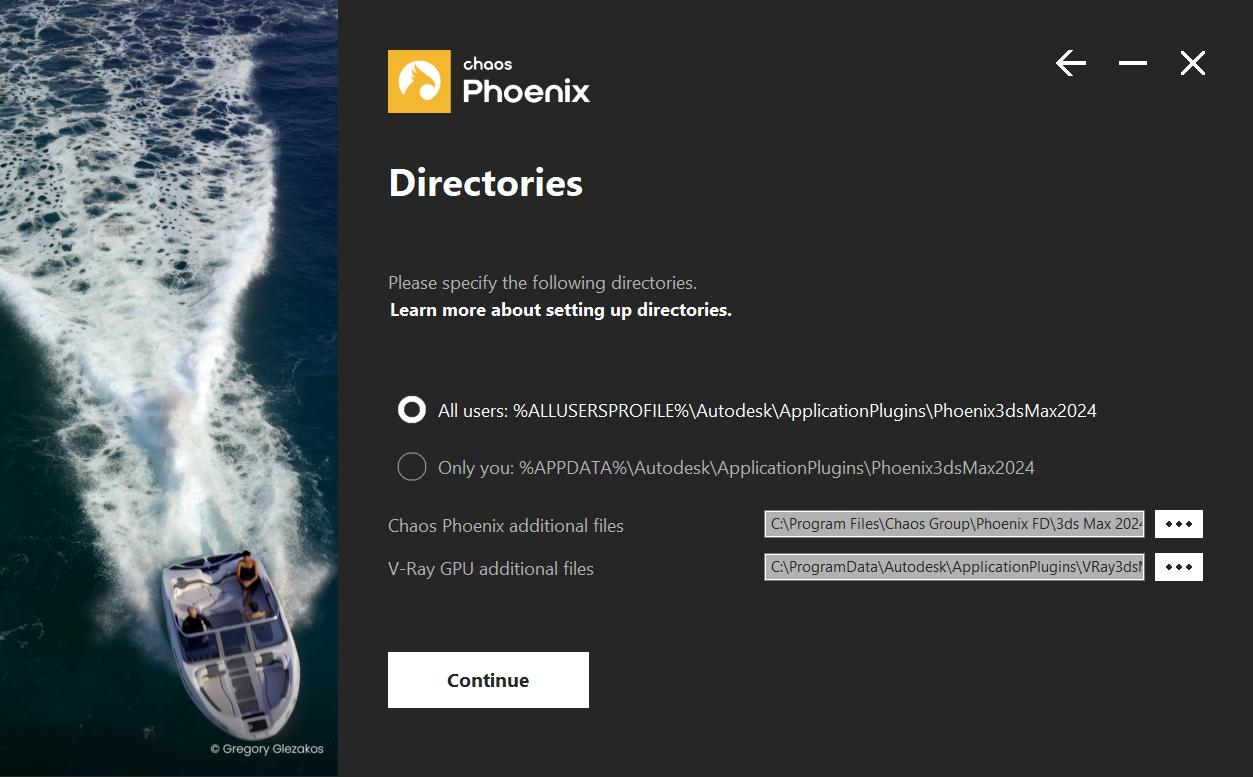
Directories – Please check if the default folders are correct. Common settings for an installation for 3ds Max 2021 with default paths should look like the screenshot below.
Learn more about setting up directories - Will open a new browser window/tab to the Phoenix for 3ds Max Setup and Installation page.
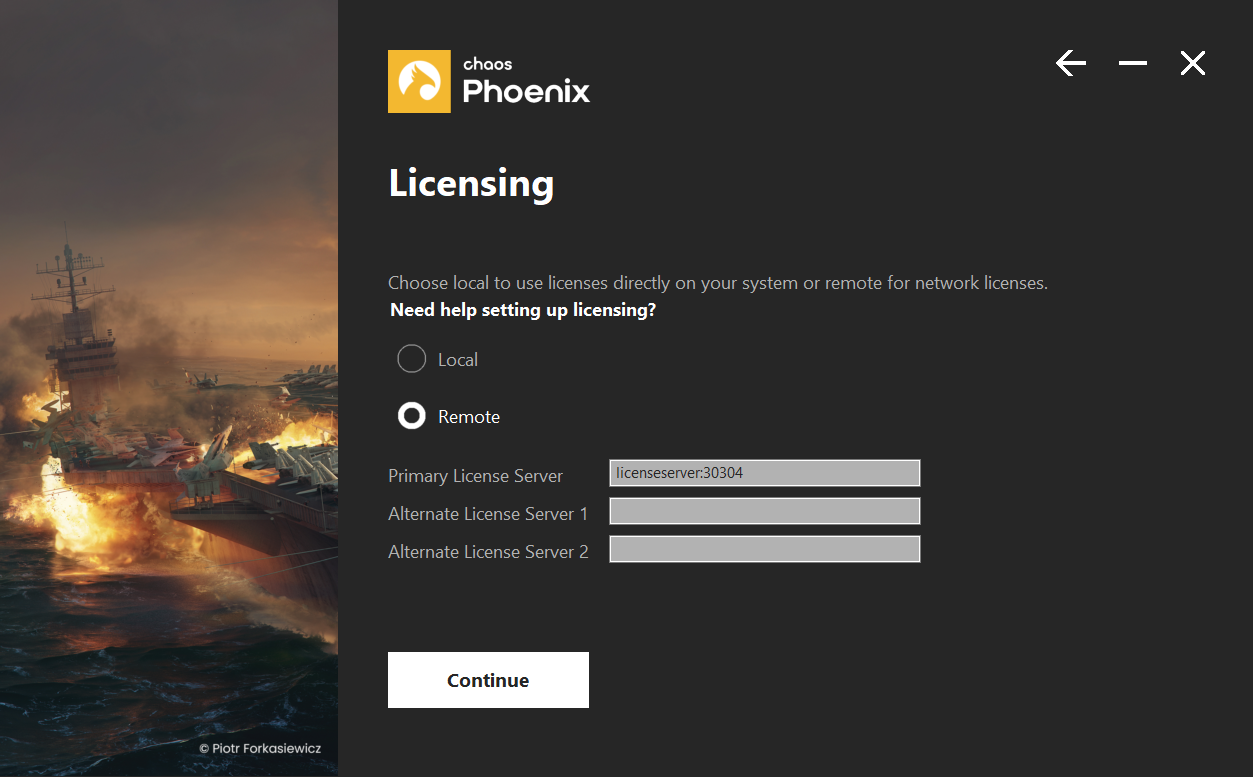
4. Licensing – Specifies whether the Chaos License Server will run locally or on another machine.
Need help setting up licensing? – Will open a new browser window/tab to the Phoenix for 3ds Max documentation page.
If you select the Remote option, you will have to fill in the IP address of your Chaos License Server in the field labeled Primary License Server. Please leave the port 30304 unchanged.
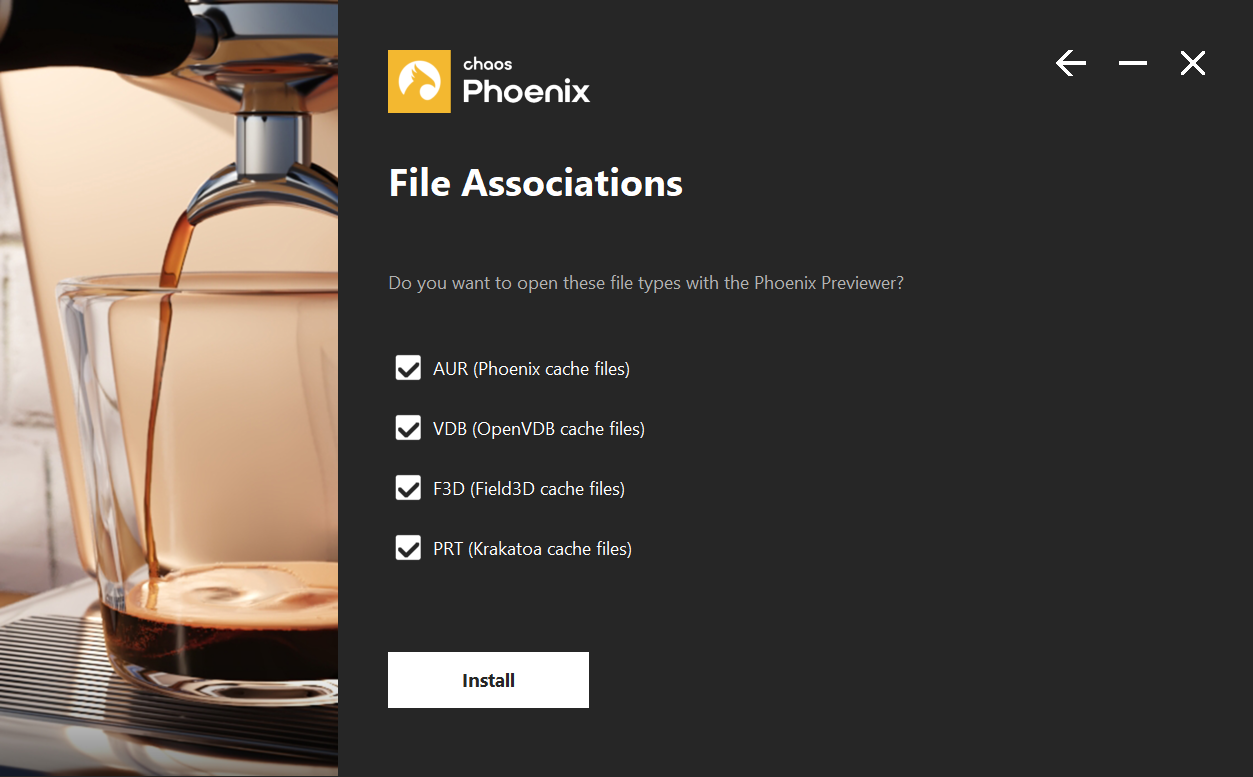
5. File Associations – The selected file types will be associated and opened by default with the Phoenix Standalone Previewer.
6. When ready, click the Install button.
Completing the installation
1. After you click the Install button, the installer will proceed to uninstall any previous versions and install Phoenix on your machine.
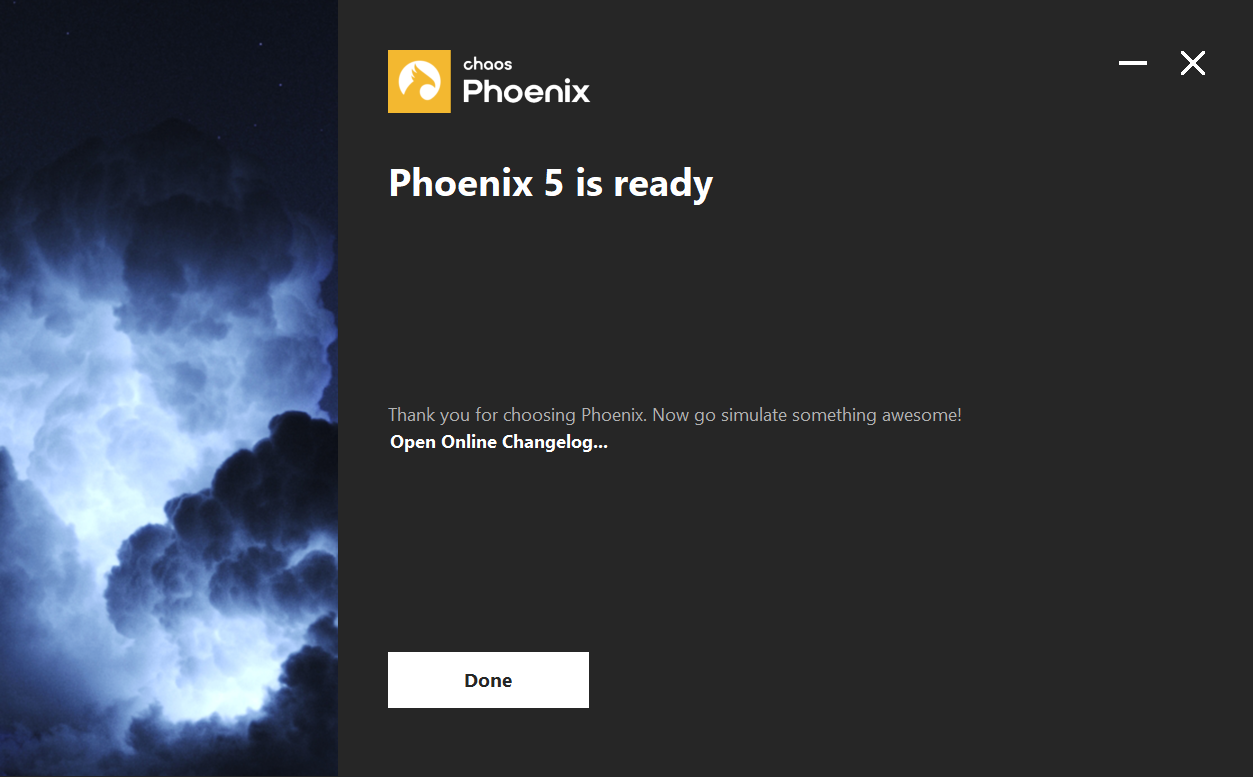
2. If the installation was successful, you will get the screen shown in the screenshot below.
Open Online Changelog will open the text file with changes broken down by releases (also available through the Version Change Logs).
3. Click the Done button.
To make sure that your license server is up and running and you have the necessary licenses, please proceed to the Set Up Your Phoenix License page.


