These are small and simple tech demos showing different techniques. They are more complicated than the Тоolbar Quick Setup presets but are simpler than the big Example Scenes.
Want to follow along but don’t have a license?: Download Free Trial
Coffee
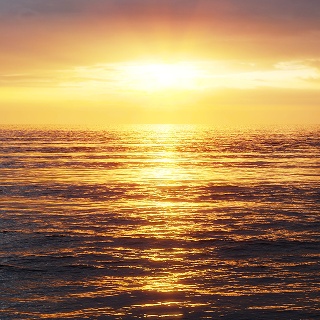
Infinite Ocean
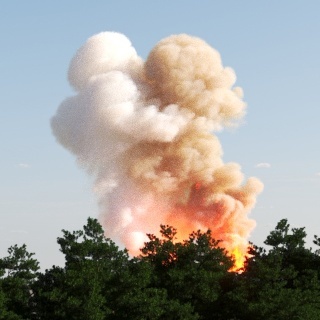
Burning Forest
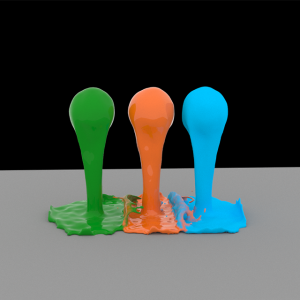
Blending Three Materials
The scene shows how you can blend three materials in one Phoenix Simulator. There are 3 different Phoenix Sources and each one has a different color for the RGB channel. There is 1 pure red, 1 pure green and 1 pure blue.
A Phoenix Grid Texture is used to read the Grid RGB data from the simulator. Then 3 Color Correct nodes are connected to Phoenix Grid Texture (one for each color channel) and used as masks in a V-Ray Blend Material with 3 different materials used as coats.
Water Sprinkler
The scene is using a very thin Phoenix Simulator and a small emitter cylinder inside a curved tube used to simulate a high pressure water system. In order for the fluid to be directed in a specific direction the Source is using Polygon IDs of an object to limit the emission only to those faces which share a certain ID. Everything is set in real scale so it should fit in any project when imported - approximately 10 meters wide and 1,5m. in height.
Additionally the effect is enhanced by V-Ray Environment Fog under the water arc.
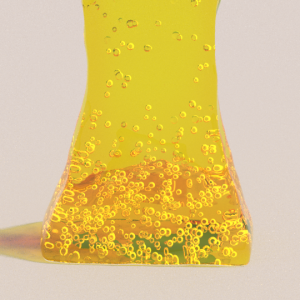
Honey Bubbles
The liquid particles from the honey simulation are used in a Phoenix Particle Shader. The Count Multiplier is set to a value of 0.005 so that just only a few particles will be rendered. The render mode for the Particle Shader is set to Bubbles.
Make sure to simulate the liquid with ID channel exported from the Output rollout so that the Count multiplier would always remove the same particles during animation.
Droplets on a windshield
The box is used as an emitter and for the Source's Outgoing Velocity there are two noise textures used as a mask to randomize the emission and create small and big droplets.
In the Dynamics rollout the Surface Tension to 1 so that the liquid can be accumulated in a bigger drops while travelling downwards and a Droplet Formation of 0.4 is set so that droplets can be formed. The Wetting is turned on and some Sticky Liquid is added in order for the drops to stick to the surface.
As we want some drops to stay stationary and some to fall dawn there is a Phoenix Mapper node added which sets the Viscosity for the Grid to 0.2 using an Output map. As this works on the whole grid a noise texture is added as a mask so only some parts will be affected by the Mapper and the rest will not.
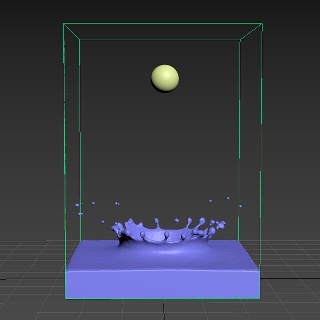
Droplet Splash
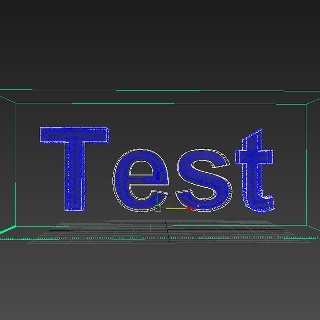
Body Force Text Fill up
Liquid Cascade simulation
Fire/Smoke Cascade Simulation
The scene shows cascading setup between two simulators. The Phoenix Source clamps the texture values between 0-1 so smoke and fuel will naturally transition fine, but temperature which goes above 1 - up to several thousand Kelvin - will need to be remapped before being plugged into the source. This is why an Output map is added after the grid texture reading the Temperature channel. The temperatures for the source for sim 1 and for the brush source are set to 2000K, and the Output Amount of the Output map to 1/2000 = 0.0005.
- You need to enable Motion Velocity on the Brush source so that the velocities will be transferred as well and of course you need to have velocity exported from the first sim.
- The area which overlaps will be rendered twice, unless you put a box as a render cutter for the first sim.
- Grid-based self-shadowing won't work between the cascade grids - you need to switch to the slower but more robust Ray-Traced self-shadowing.
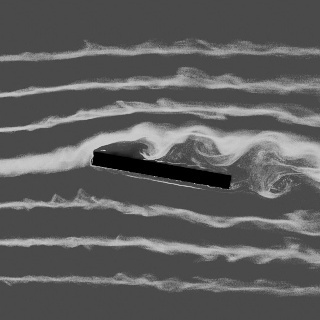
Wind Tunnel
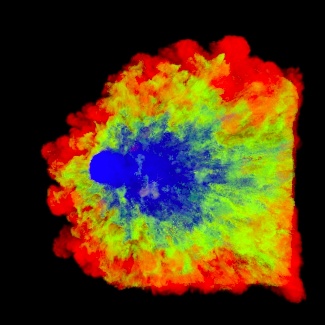
Smoke color by age
Unlike particles which have an Age channel, the voxel grid does not have such a channel, but it can easily be achieved by using the RGB color grid channel. In this scene, we emit white smoke from a Source, and a Phoenix Mapper using a Black texture Map and a long Buildup Time gradually modifies the RGB channel of the Simulator and darkens the white color over time. This way the oldest smoke has black RGB channel and the newly emitted is white.
The scene uses a cylinder emitting smoke. The Smoke Source has the Temperature set to 10 Kelvins so the smoke will fall down and the RGB channel is enabled with a white color set. The Mapper's Buildup Time is set to 2 seconds.
For the rendering the Smoke color is set to be based on Texture and an Output map is used. The Output map uses a Phoenix Grid Texture which reads the RGB channel as an input, representing the age, and then the color is remapped to create a ramp from blue for the youngest Smoke which has RGB of 1, through green, to red for the oldest smoke which has RGB of 0.
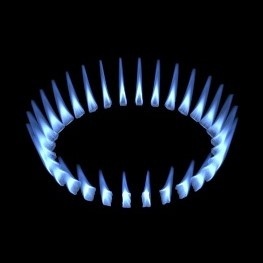
Gas stove flames
Tweaking of the following options has a significant impact on the final simulation’s result:
- Outgoing Velocity value in the source;
- Grid Resolution - for this kind of a scene it's pretty low;
- Cooling - more cooling leads to shorter flames;
- Steps Per Frame - high values produce smoother flames;
- Volumetric Options - tune the fire color, light emission, shape and a lot more from here.
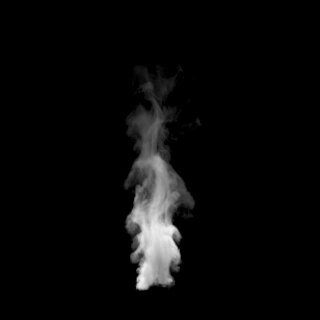
Hot steam
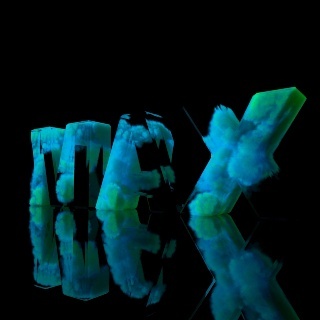
Smoke Inside of Text
Colorful Particle Explosion
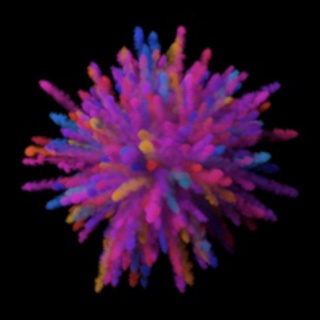
The scene shows a particle explosion shaded by the color of the particles. The smoke is emitted by tyFlow particles shaded by their vertex color. The RGB channel is turned on for the Phoenix Fire source and a Vertex Color map is connected in its slot. The smoke color is set to use the RGB channel in the rendering settings so that the smoke can use the particle's color.
The Phoenix Source uses the tyFlow mesh instead of the raw tyFlow particles, and this way it can access the vertex color. In order for the tyFlow vertex color data to be read correctly make sure the Particle interface option is disabled in the tyFlow settings.
Software used: tyFlow v 0.16127(BETA) from 11 August 2021, Phoenix 4.41, 3ds Max 2018

