This page gives some basic details about the Reflection Glossiness render element and how it is used in compositing.
Overview
The Reflection Glossiness Render Element stores the image's reflection glossiness as a grayscale image that represents the degree of Reflection Glossiness set for materials in the scene. White areas have the most reflection glossiness, while dark areas have little.
The amount of reflection glossiness for a material is set by its Reflection Glossiness parameter. For example V-Ray Material (VRayMtl) has a Reflection Glossiness parameter, and VRayFastSSS2 has a Specular glossiness parameter that goes in the Reflection Glossiness render element.
Parameters
This render element is enabled through the Render Elements tab of the Render Setup window in 3ds Max and displays its parameters in a rollout at the bottom of the window:
VRayVFB – When enabled, the render element appears in the V-Ray Virtual Frame Buffer.
Deep output – Specifies whether to include this render element in deep images.
Common Uses
This render element can be baked to a texture for use within a real-time engine.
3ds Max
Unreal Engine 4
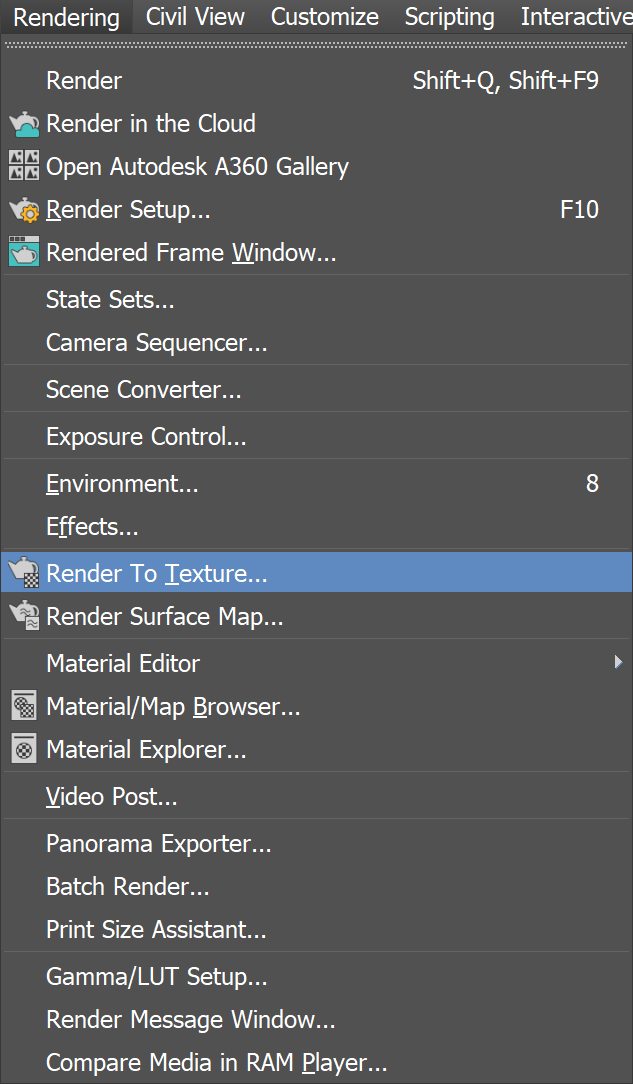
Open the Render To Texture window from the drop-down or by pressing zero.
Click Add to choose a render element, and scroll through the list that appears to find VRayMtlReflectHighlightGlossiness.
Select the appropriate Width and Height. Under Mapping Coordinates be sure to select Use Existing Channel if the object already has UV Mapping applied.
Select the three dots next to File Name and Type to select an output location before clicking Render to begin baking.
Import the maps into a real-time engine. The following example is Unreal Engine 4.


