This guide outlines how to override materials in a scene, detailing workflows in Houdini and methods to modify V-Ray and non-V-Ray materials' properties in Solaris.
Overview
V-Ray provides the Material Overrides feature for easy overriding of any material in the scene, or applying a completely different one. It is useful for:
Debugging the scene by applying a gray shader globally.
Adding matte properties to specific objects in the scene using the Wrapper material.
Changing object visibility properties by applying the Render Stats material.
Changing the object appearance by applying an Override material.
Changing/Overriding/Disabling the displacement or subdivision.
V-Ray also makes use of Solaris native features for overriding material properties.
Download test scene files: Download Scene Files
Want to follow along but don’t have a license? Download Free Trial
Houdini Workflow
This workflow applies to Houdini only.
1. Go to V-Ray Renderer ROP > Objects tab > Material Overrides tab.
2. Enable Material Overrides and add a new override using the + button.
3. Under the Objects parameter, select an object to apply the override material to.
- This can be a single object, e.g. “/obj/object_A”
- This can be a set of objects, e.g. “/obj/object_A /obj/object_B”
- This can be a pattern, e.g. “*” for all objects in the scene
- This can be an isolated pattern, e.g. “*_A” → this only selects object_A
4. Select the Material to use for overriding.
Optional: Enable the Use Displacement from Override Material option to override the displacement/subdivision settings for the selected objects. If the override material has a Displacement VOP inside, it is used. If such a VOP is not present, no displacement is applied to the selected Override For objects.
5. Render. Now the selected material should be used for the selected objects.

Here are some simple examples for overriding a material with Material Override.


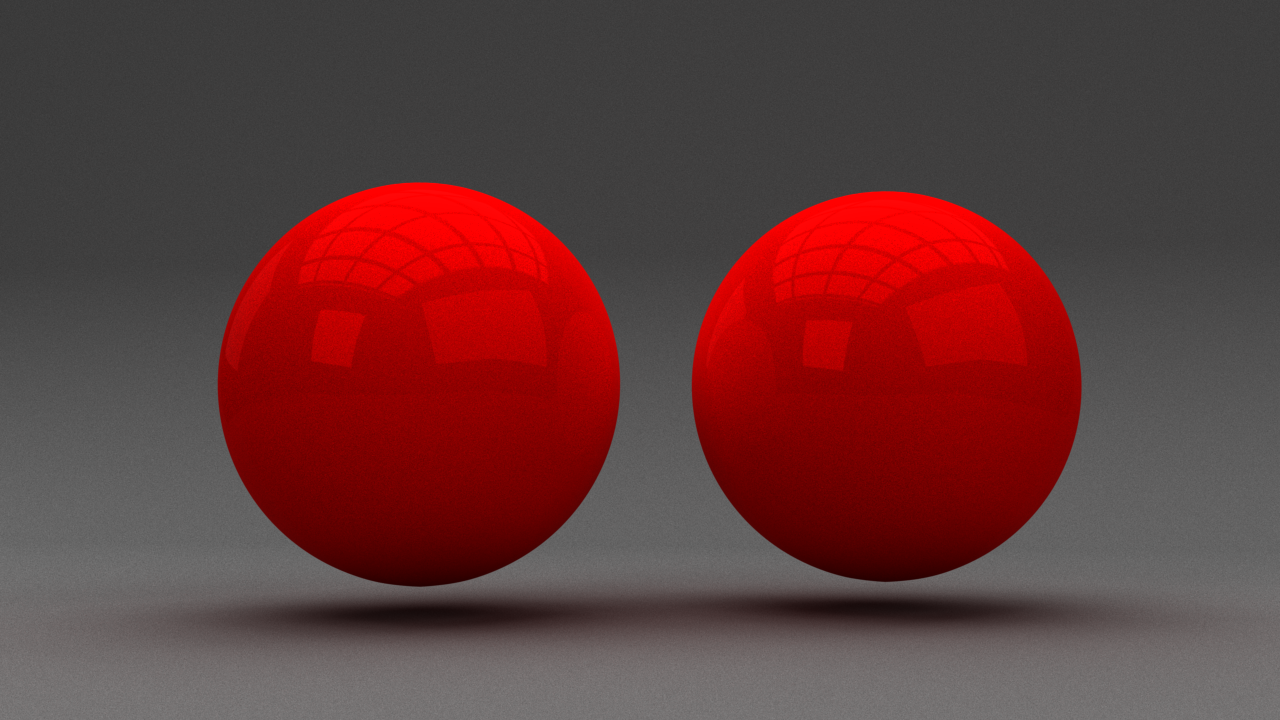
Material Override is off
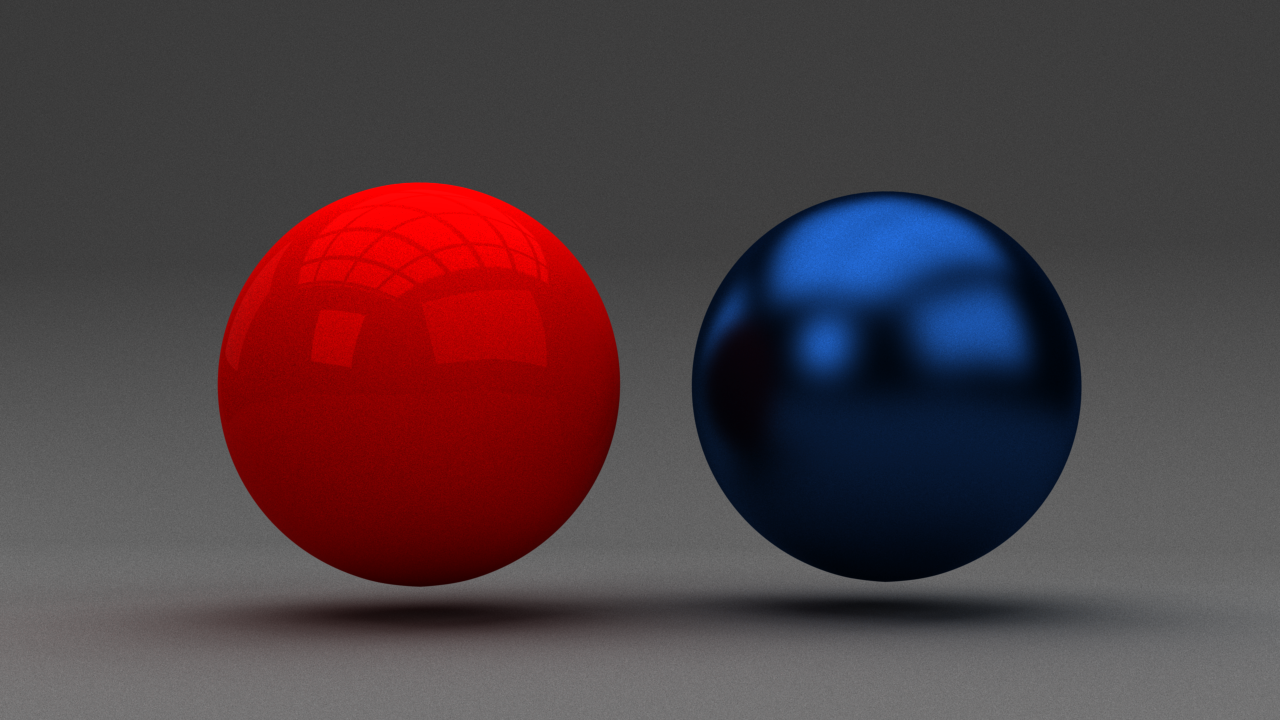
Single Object's material is overridden
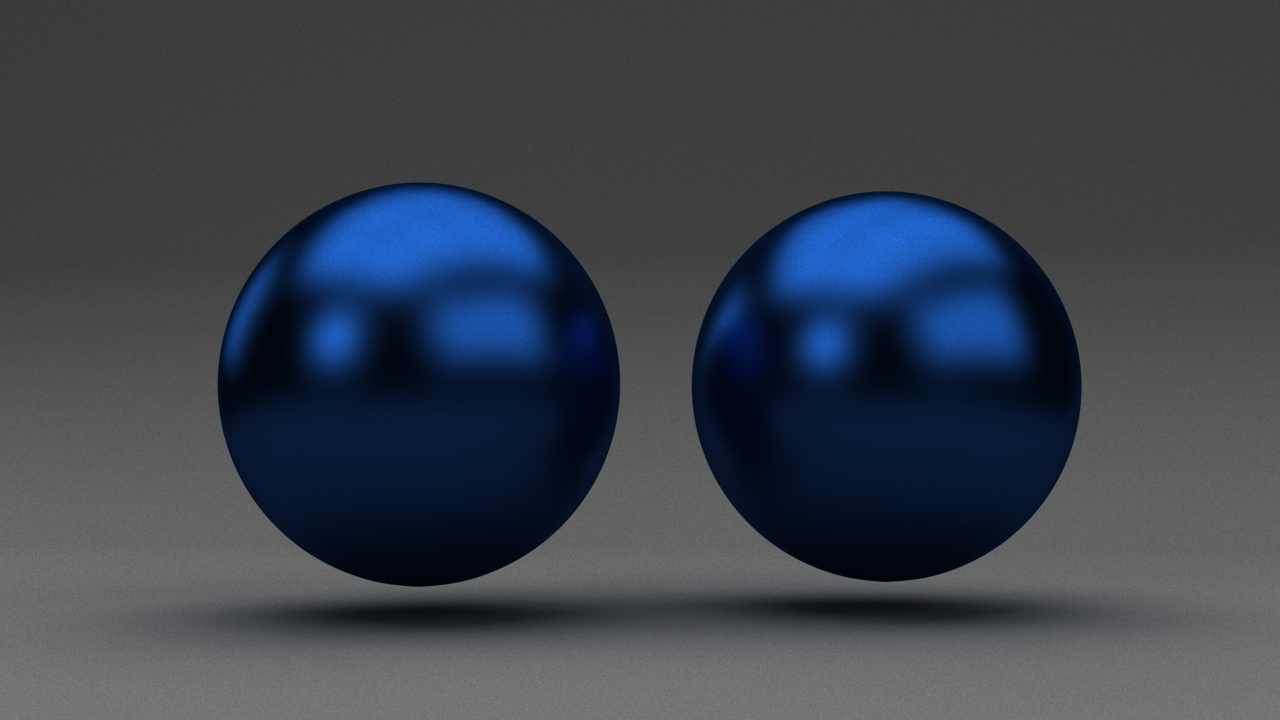
Multiple Objects' materials are overridden
In V-Ray for Houdini, a Referenced Shader VOP node is now available. It can be used to (as its name implies) reference another node – when you do this, you get the entire shading network up to the node that is being referenced. This means that you could reference your final material and use that as an override material, applying e.g. a Render Stats after it and assigning it to the geometry. This works for any VOP node, e.g. textures, displacement, etc.
The overrides can affect the displacement as well – there is a toggle that specifies whether the original object’s displacement is used, or the one coming from the override material. This has two major uses:
- Disabling the Displacement for an object by saying Use Displacement from Override Material and not supplying any displacement in the override mtl.
- Changing the Displacement tessellation by applying a new displacement with lower quality settings.
The following regex-style notations are supported as wildcards, when the Pattern is set to Pattern of Attribute:
* - matches any number of any characters including none ("Law*" matches "Law", "Laws", or "Lawyer")
? - matches any single character ("?at" matches "Cat", "cat", "Bat" or "bat")
[abc] - matches one character given in the bracket ("[CB]at" matches "Cat" or "Bat")
[a-z] - matches one character from the range given in the bracket ("Letter[0-9]" matches "Letter0", "Letter2")
Solaris Workflows
These workflows apply to Solaris only.
Geometry Spreadsheet
1. Go to the Geometry Spreadsheet panel and locate the material you wish to alter.
2. Right-click the material parameter in Details and select Edit Parameter. This automatically creates a new node - Edit Properties.
3. In the Edit Properties node parameters, tweak the material property. Repeat the steps for each material parameter you want to change.


Original colors
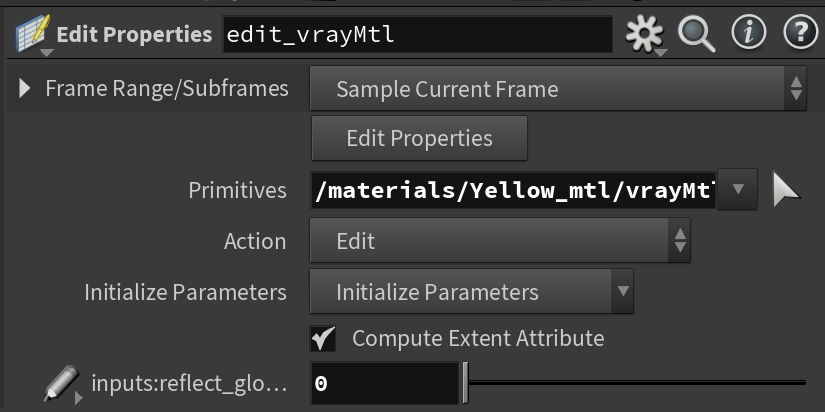
Reflection Glossiness is reduced to 0 in the Edit Properties node

Reflection Glossiness of Yellow material is overridden
Edit Material LOPs
For more information, see the SideFX tutorial here.
1. Create an Edit Material Properties LOP (right-click in /stage > Materials > Edit Material Properties) and chain it to the other nodes.
2. Add the path or directly drop the material/texture you want to edit into the Primitives.
3. Click Create Parameters.
4. Choose Set or Create for the USD parameters you want to override.

You can also fetch the material network and alternate whatever you want inside it. Note that this workflow works only for non-V-Ray materials such as MaterialX materials.
1. Create an Edit Material Network LOP (right-click in /stage > Materials > Edit Material Network) and chain it to the rest of the nodes.
2. Fill the Material Path to the material you want to edit, and then click Load to fetch the material VOPs inside the Edit Material Network LOP.
3. Dive inside the edit Material Network LOP. Select the parameters you want to alter and set the new values for them.

Original Materials
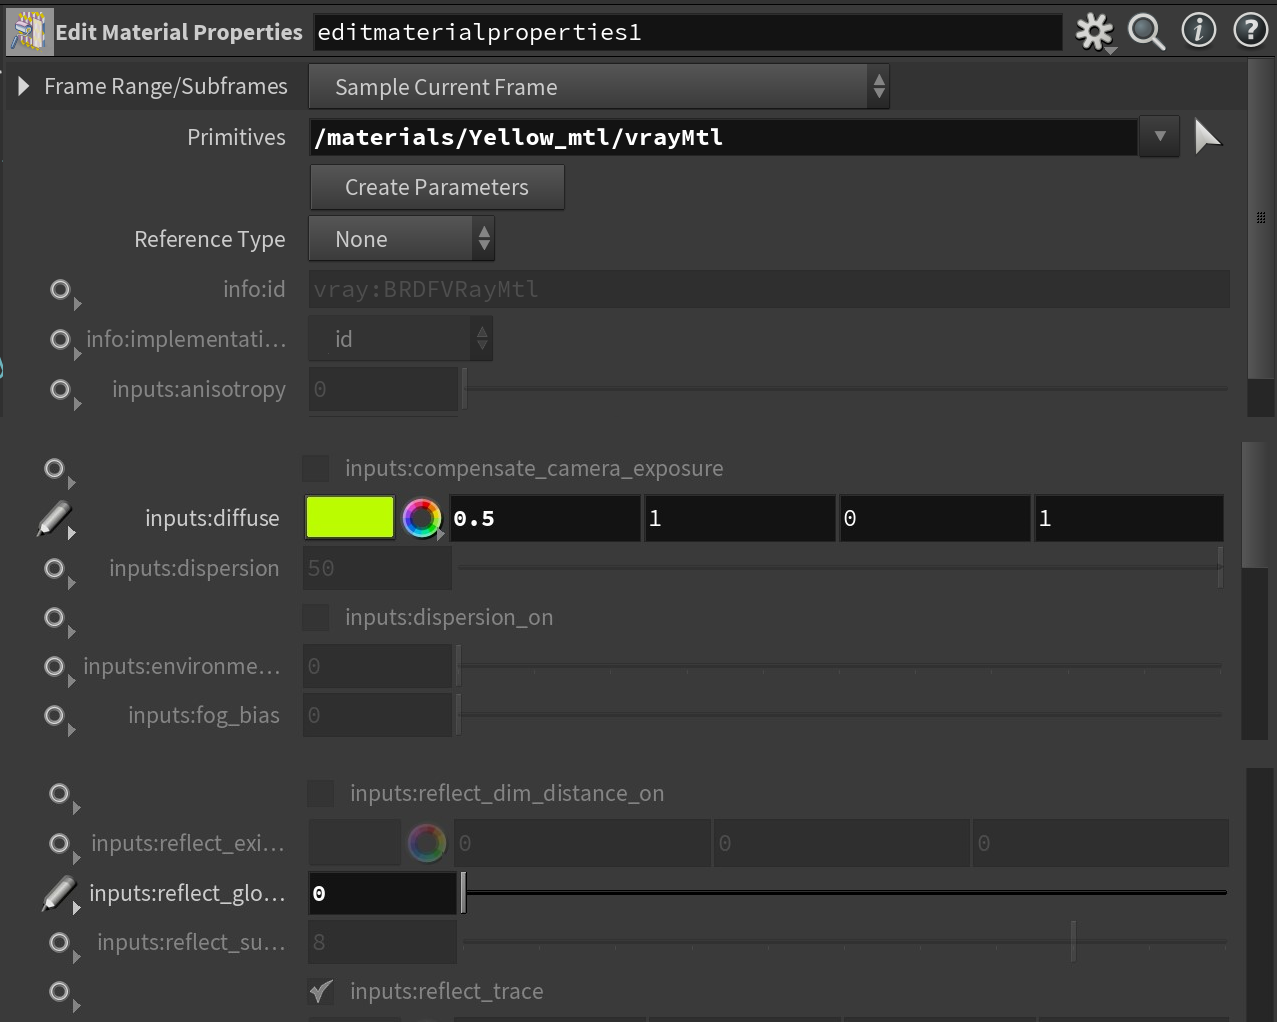
Diffuse Color is changed to green and Reflection Glossiness is reduced to 0 in the Edit Material Properties node
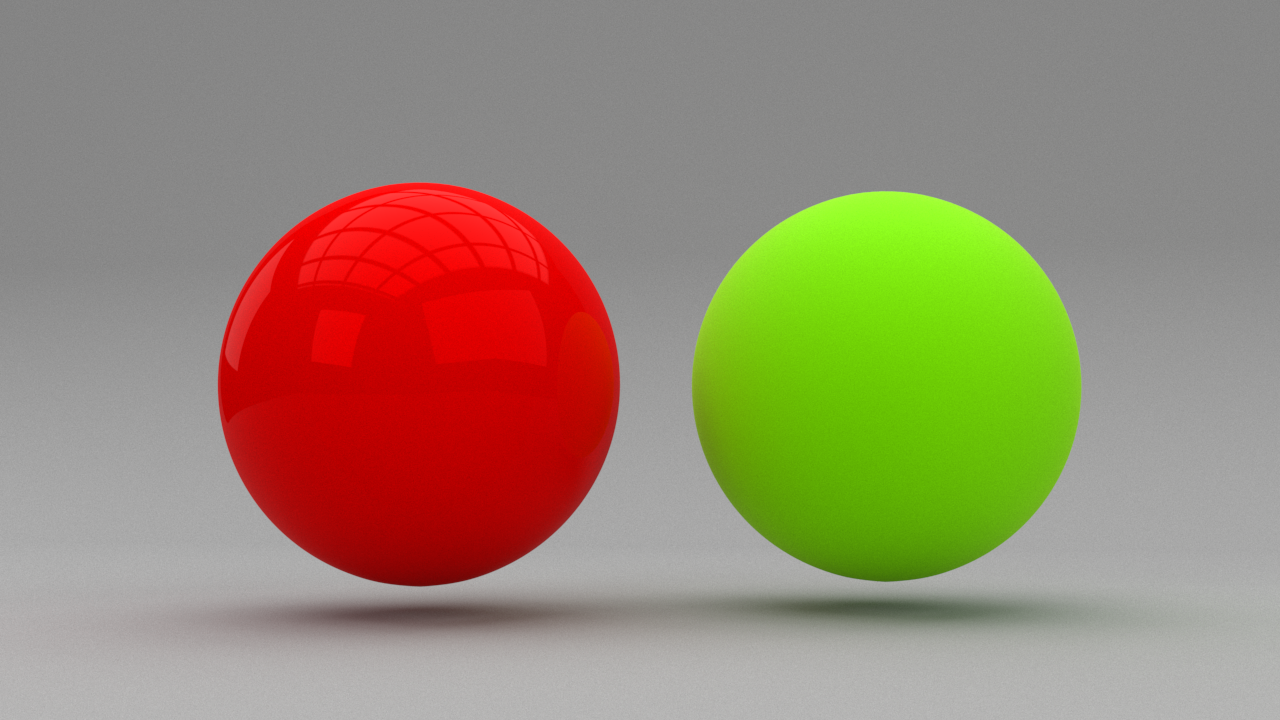
Diffuse Color and Reflection Glossiness of Yellow material are overridden