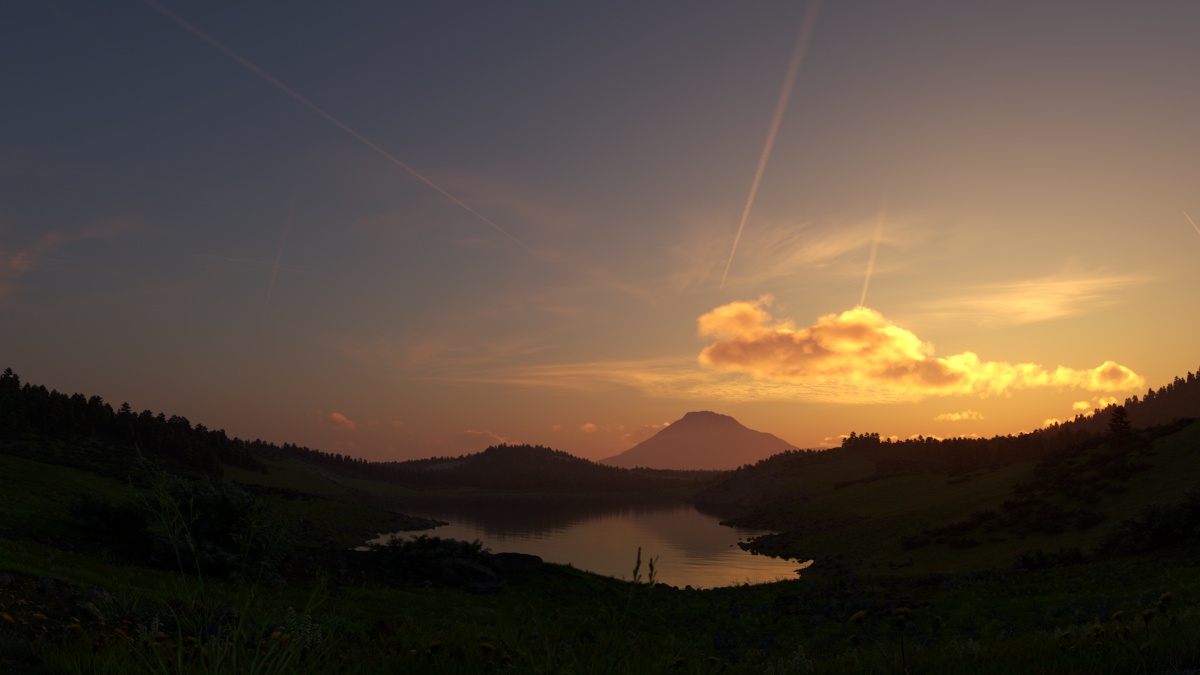
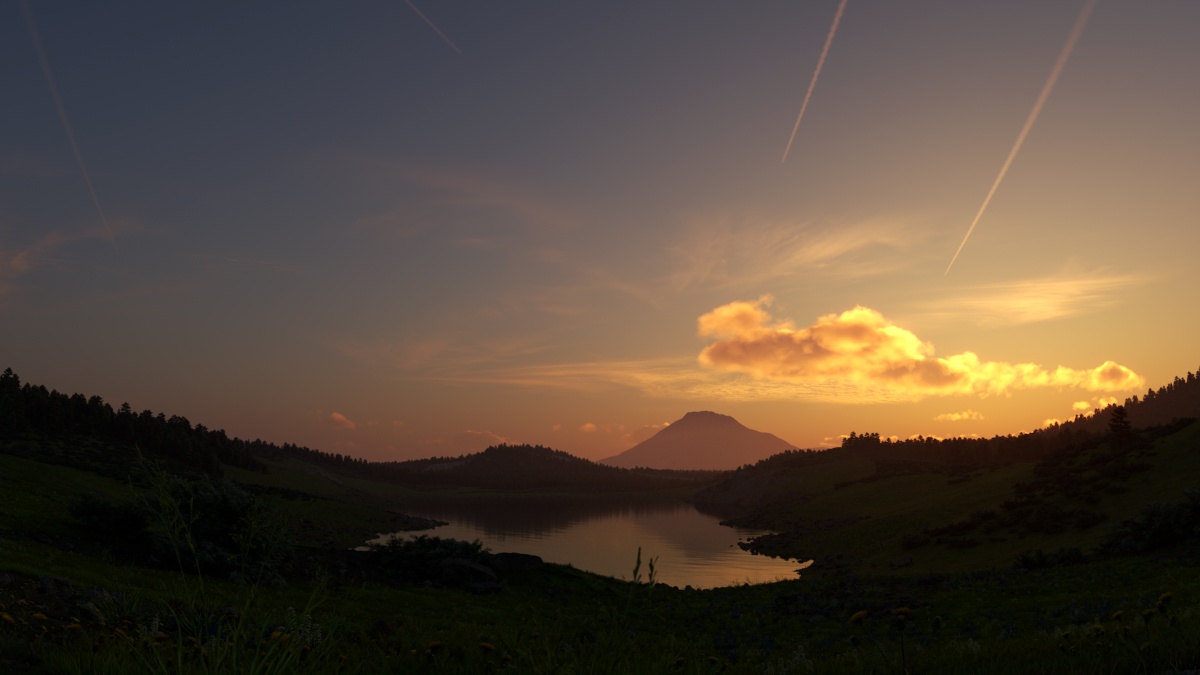
©BBB3viz

This page describes the use of V-Ray's physically accurate sun and sky system.


Overview


The VRaySun and VRaySky are special features which are provided by the V-Ray renderer. Developed to work together, the VRaySun and VRaySky reproduce the real-life Sun and Sky environment of the Earth. Both are coded so that they change their appearance depending on the direction of the VRaySun. Refer to the VRaySky page for more details about the texture.

The V-Ray Sun and Sky are based largely on the model presented in the paper A Practical Analytic Model for Daylight. For a more complete list of references, please see the References section.


||V-Ray Toolbar|| > V-Ray Sun button > Click and drag in a viewport


||V-Ray menu|| > Create > Lights > V-Ray Sun


||Create menu|| > Lights > V-Ray > V-Ray Sun > Click and drag in a viewport


||Command panel|| > Create tab > Lights > Choose V-Ray from dropdown > VRaySun > click and drag in a viewport


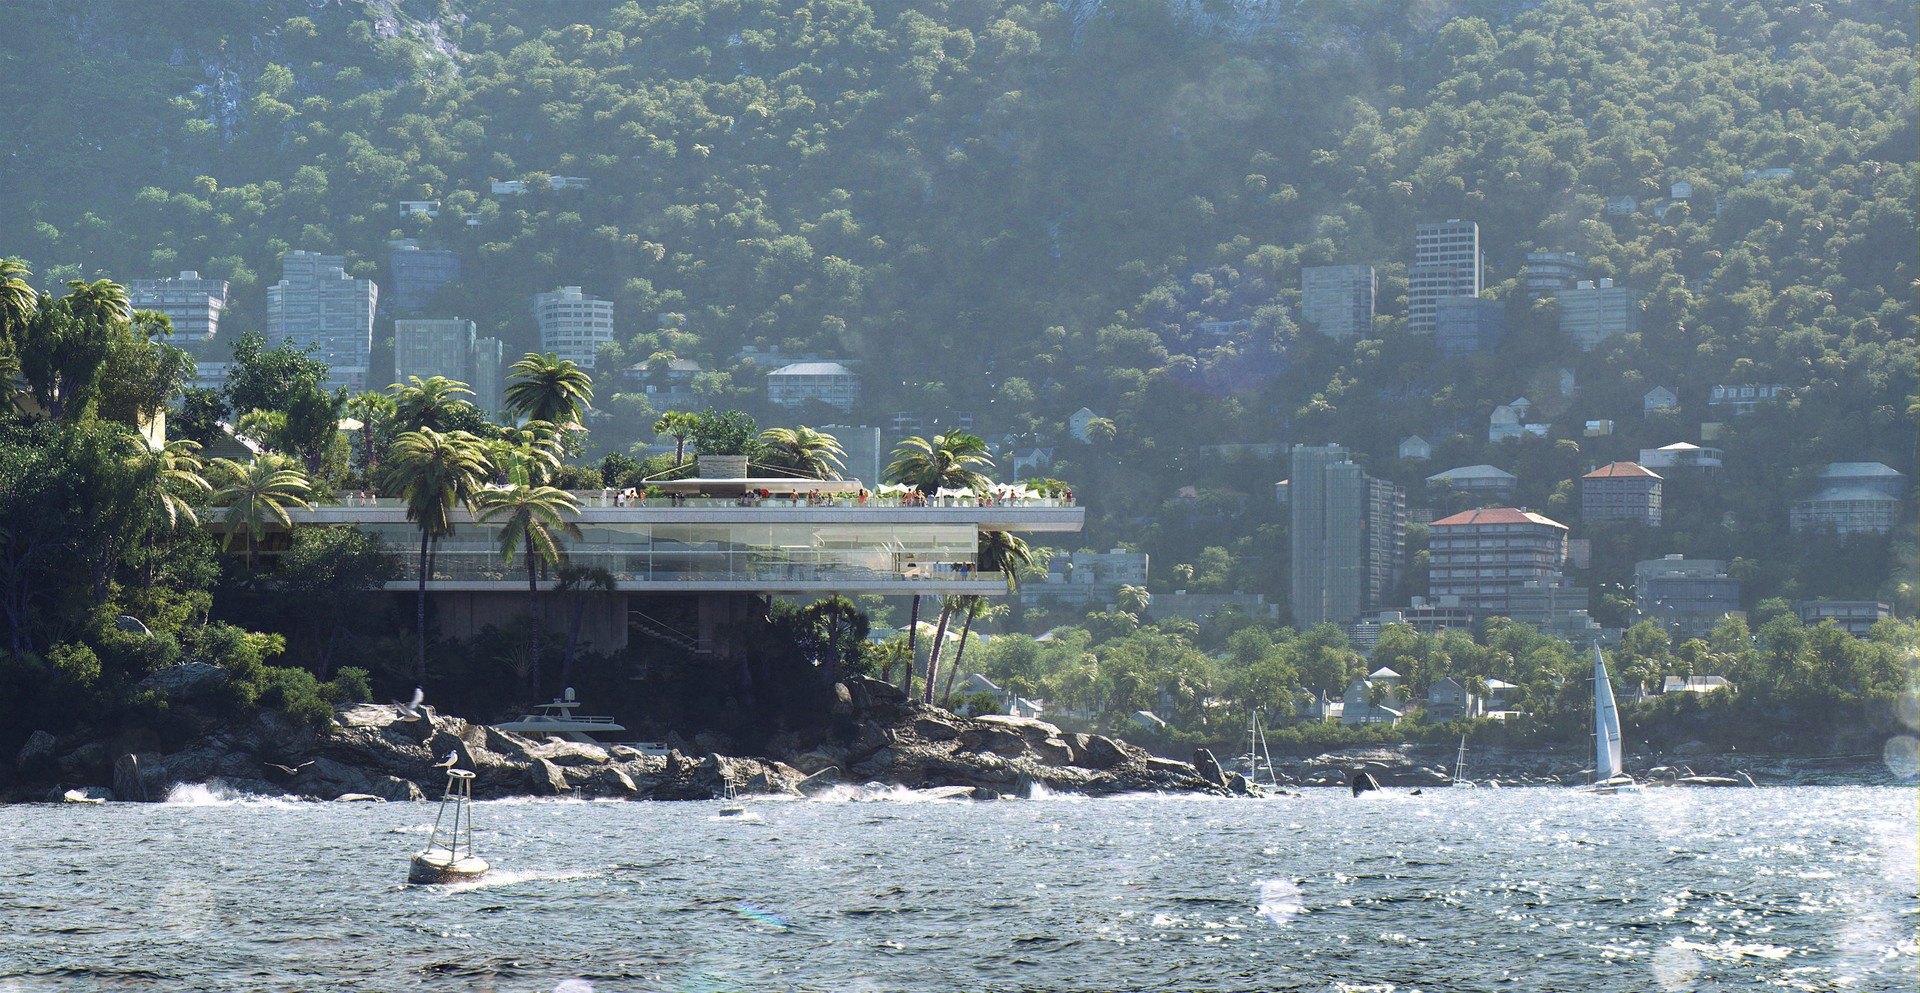
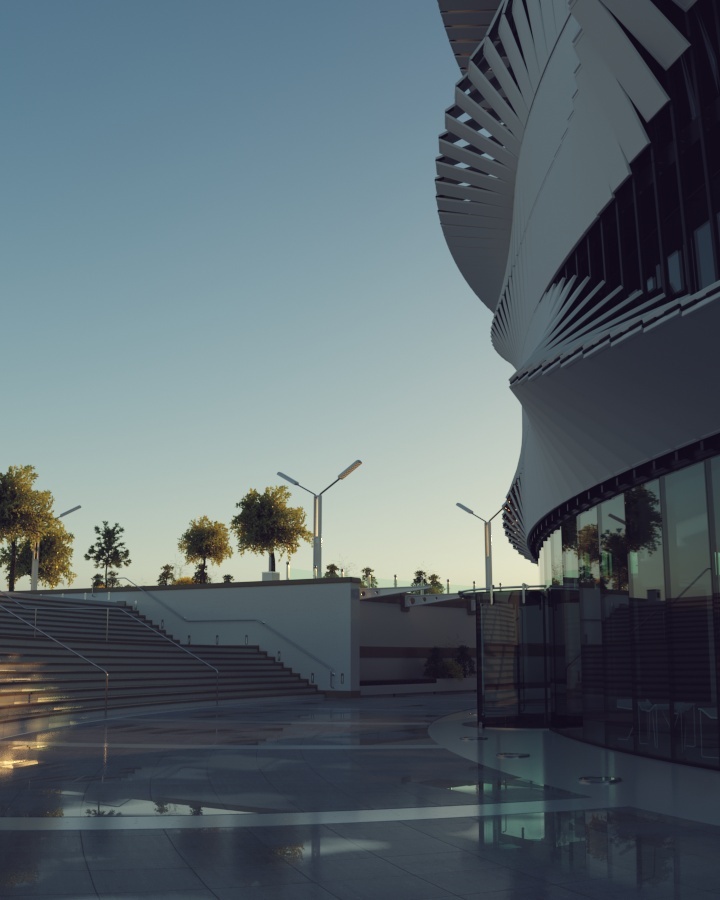
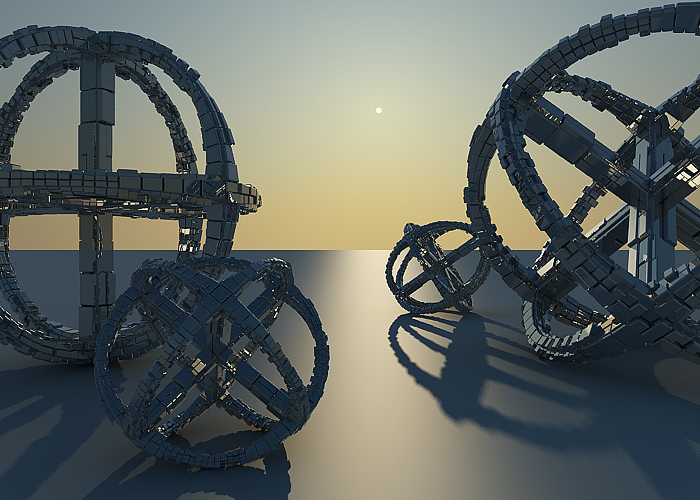
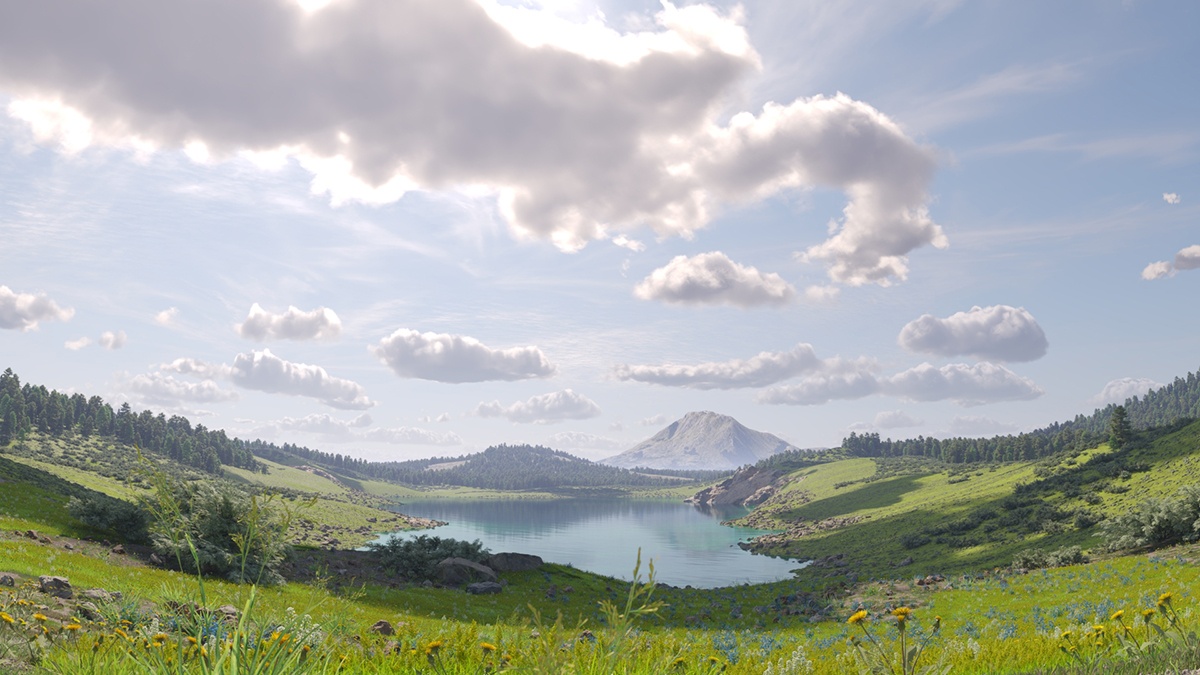
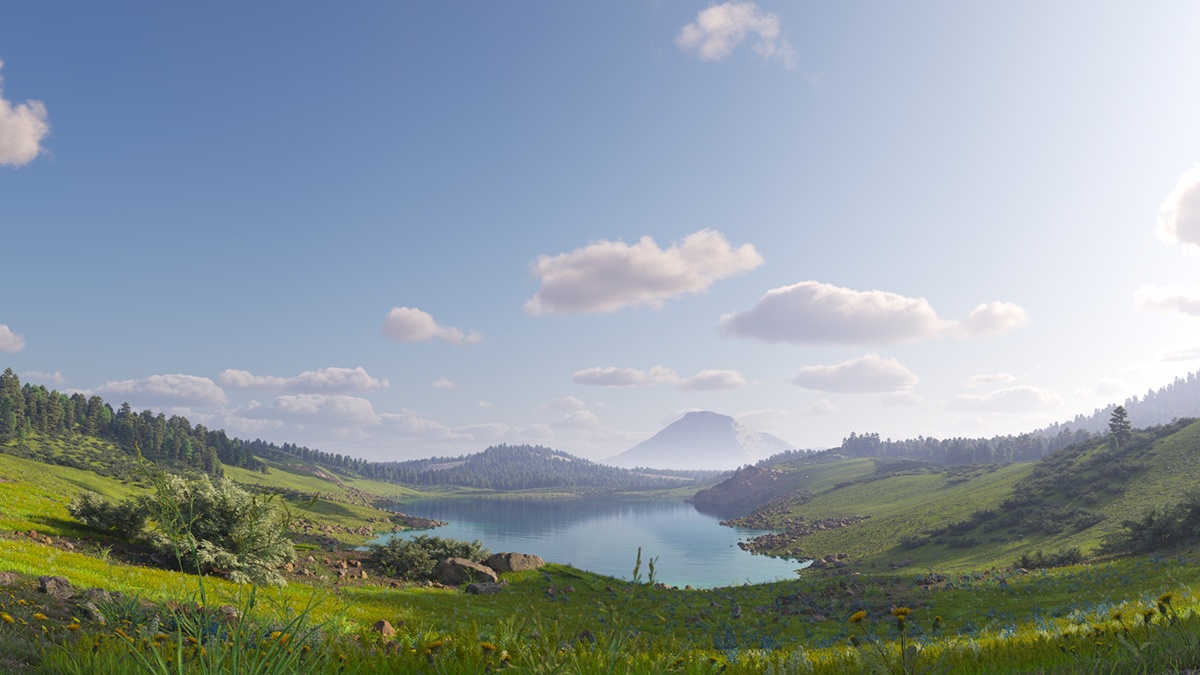
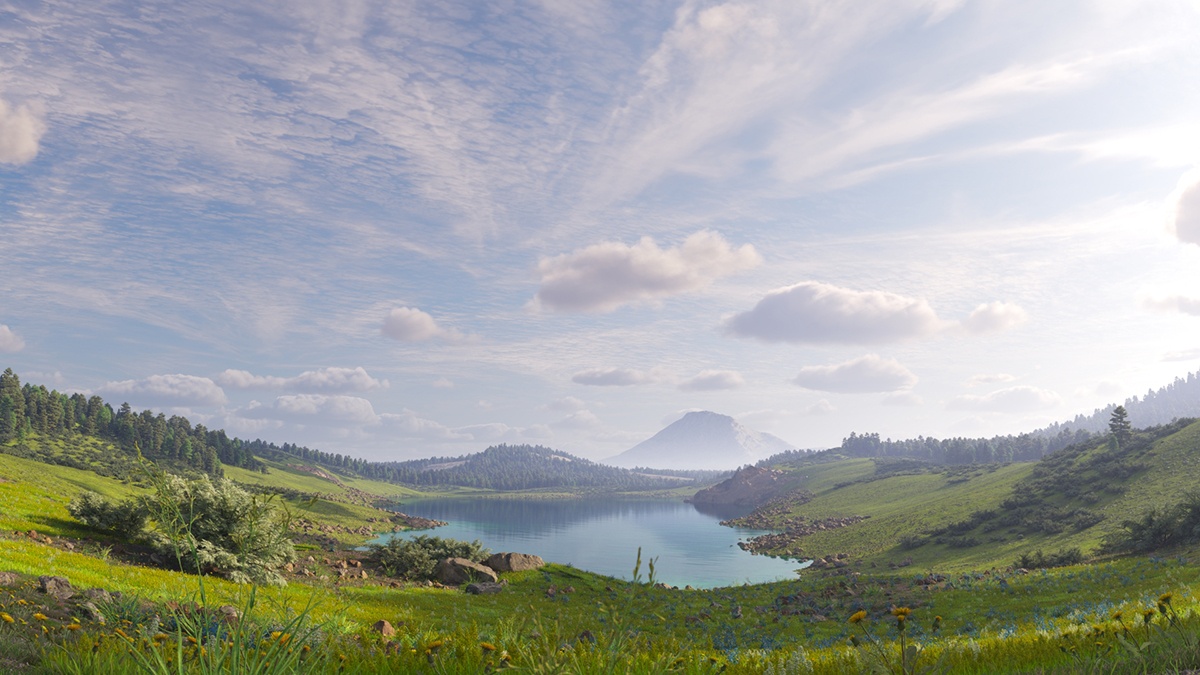
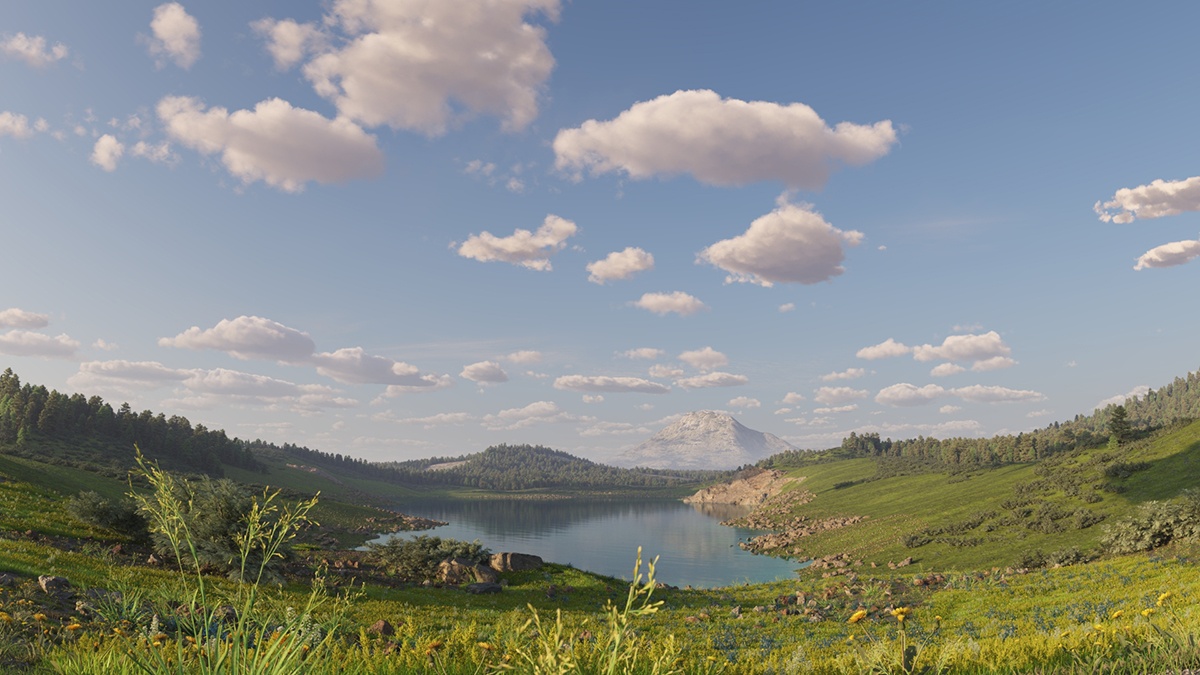
Image courtesy of Tamas Medve


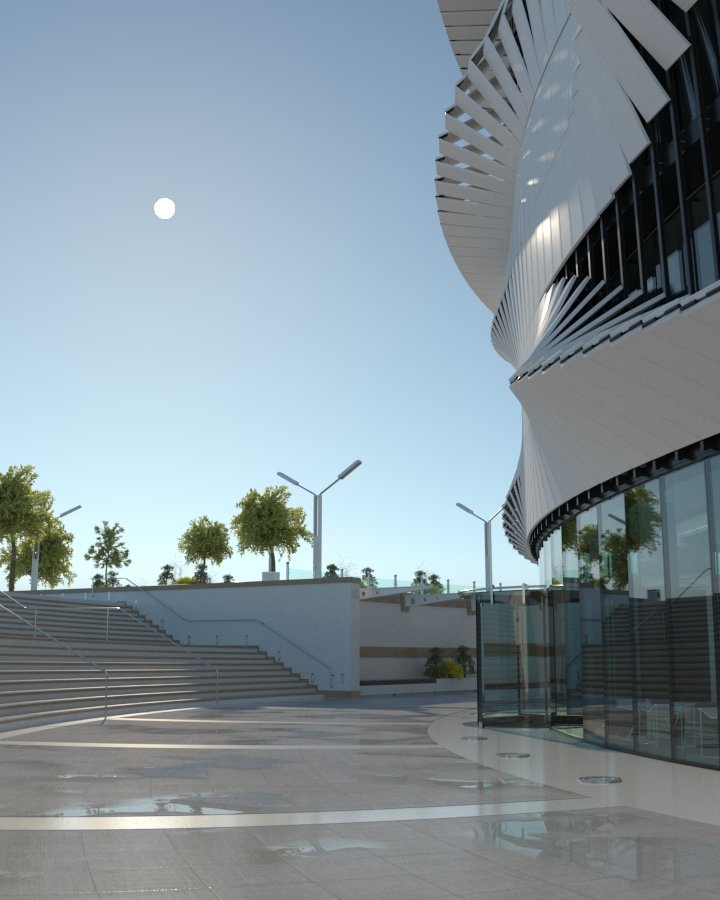
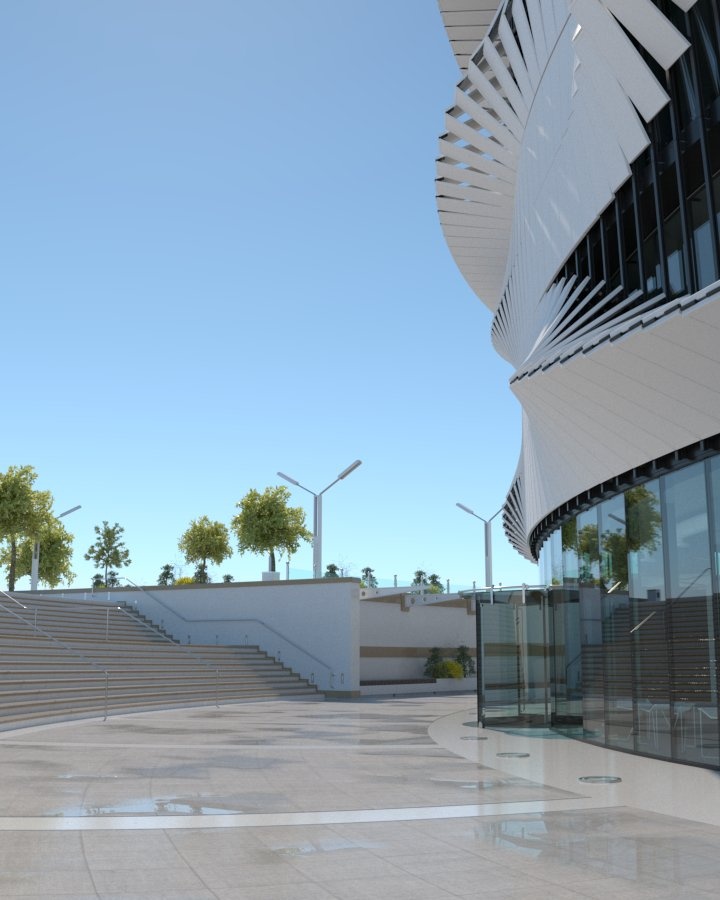
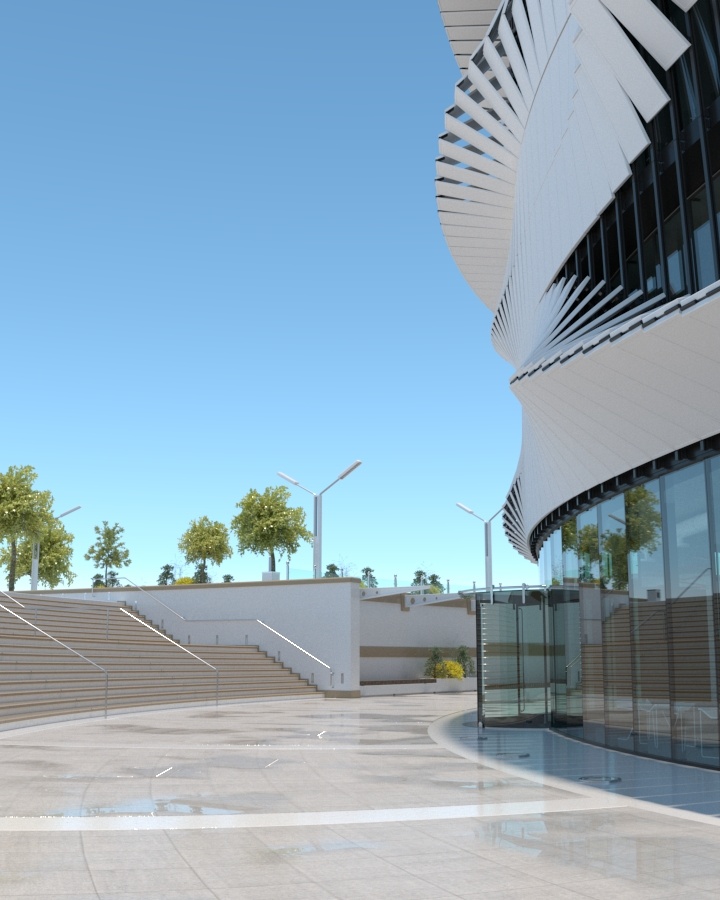
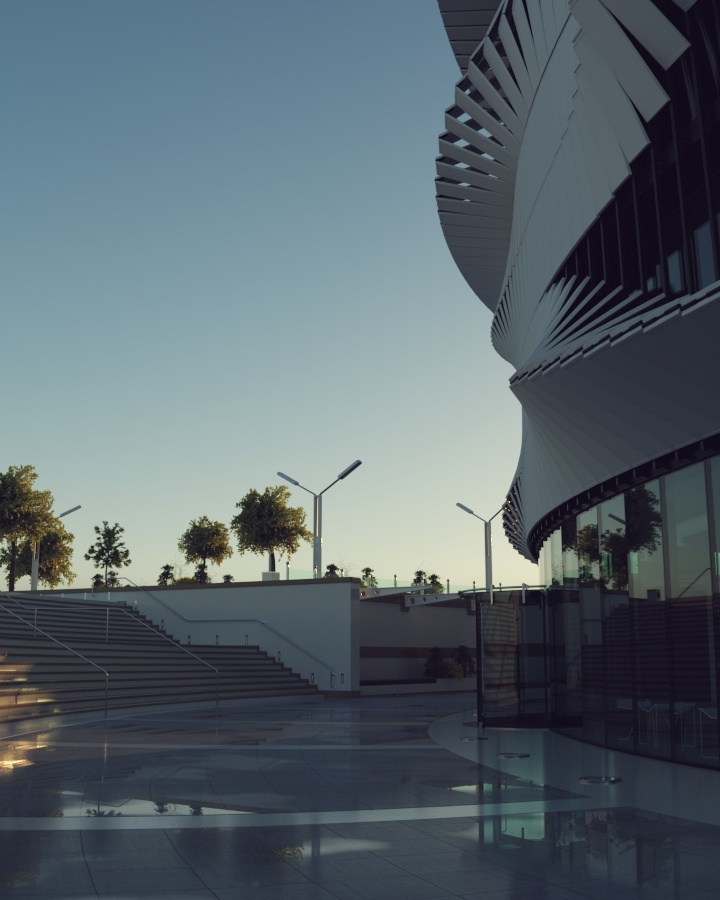
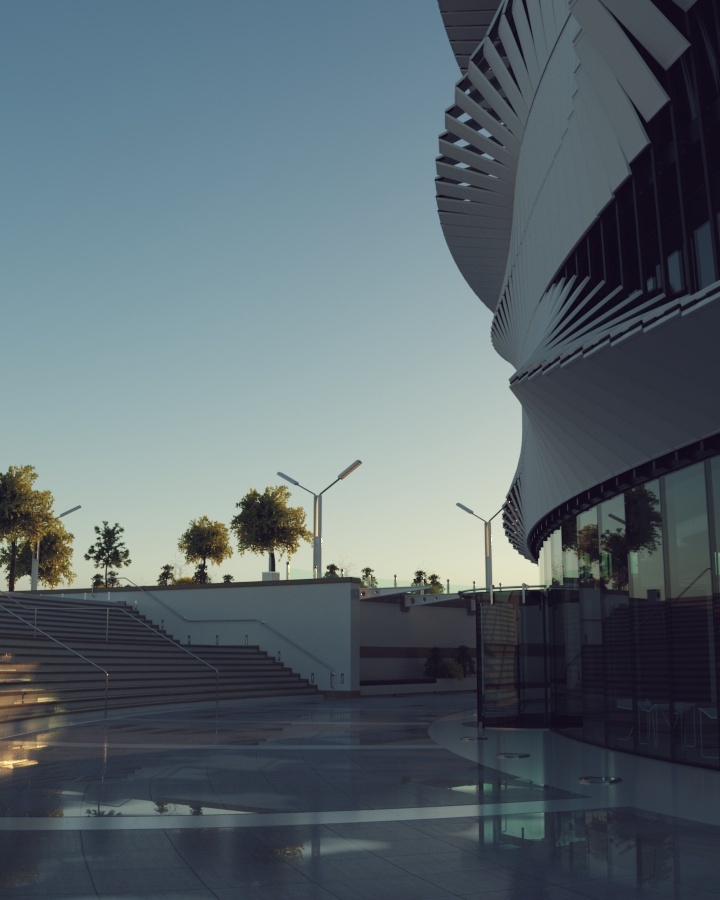
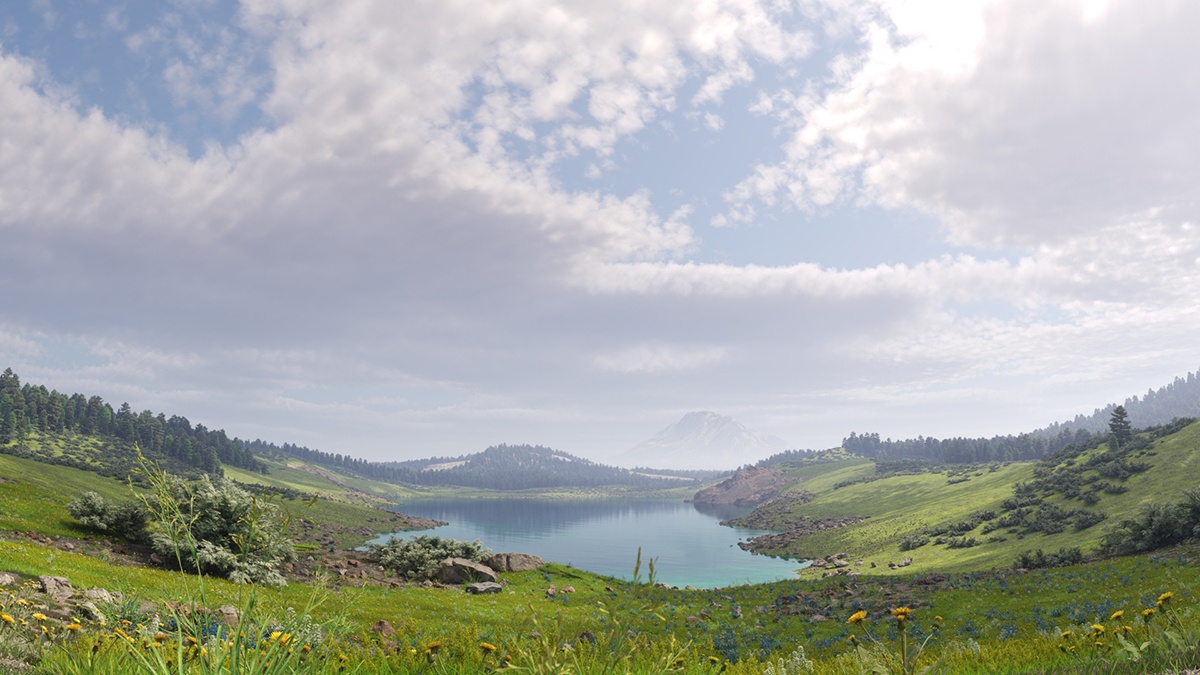
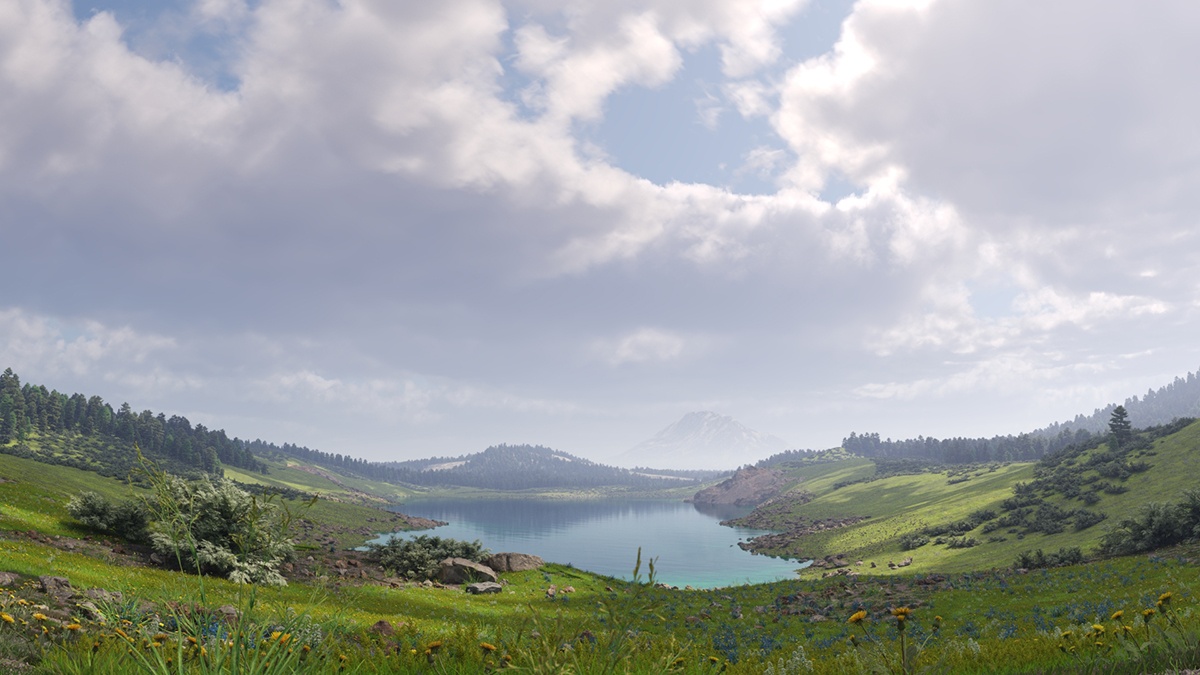
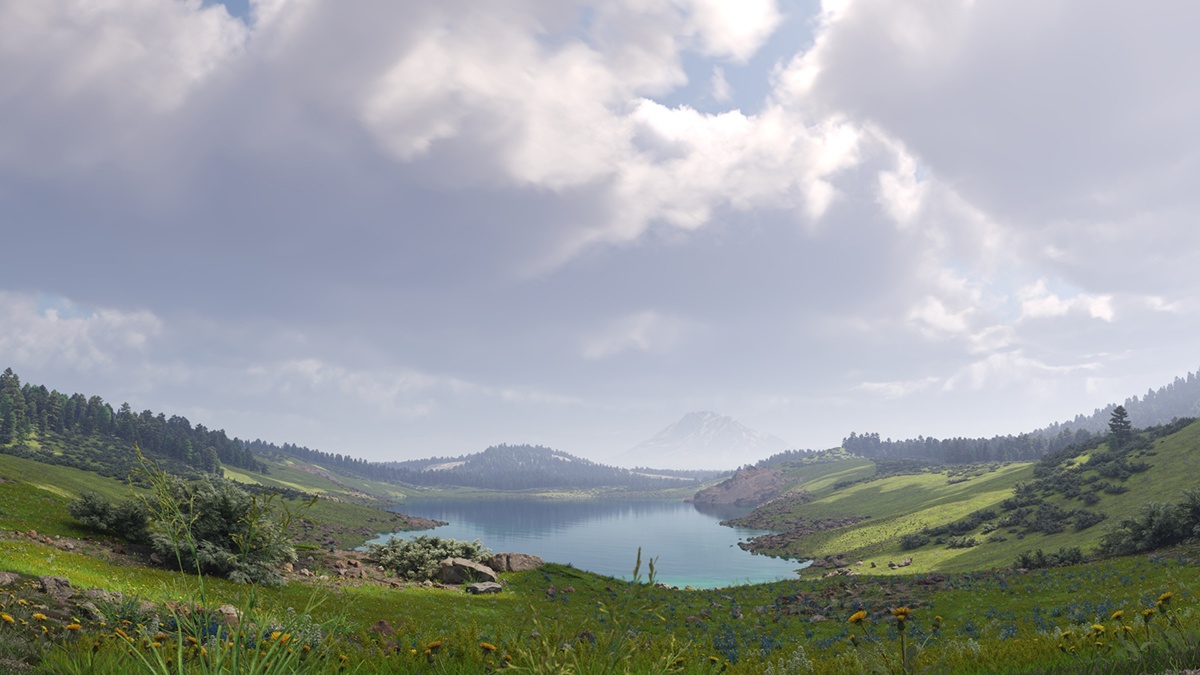
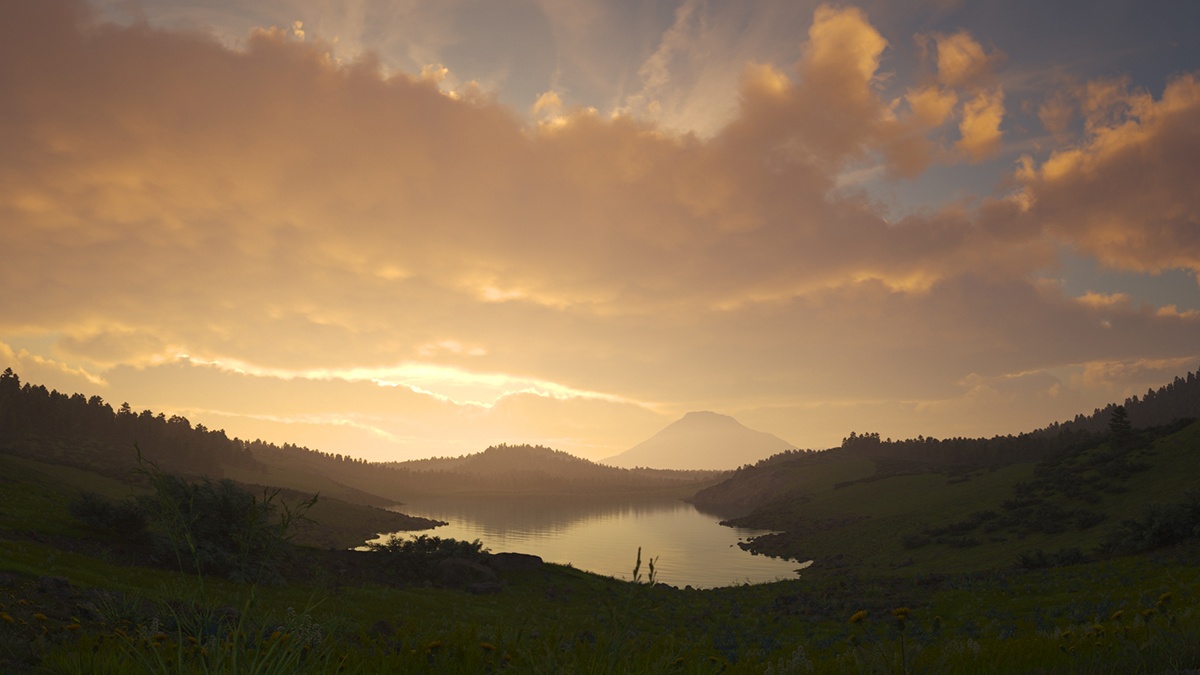
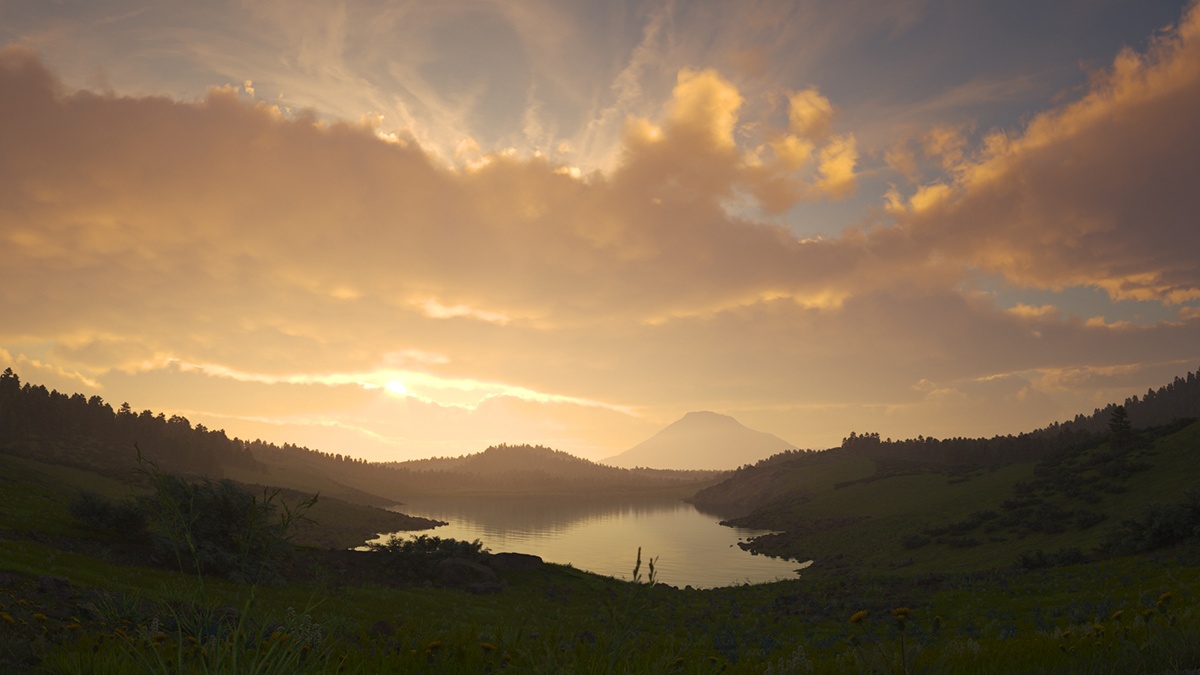
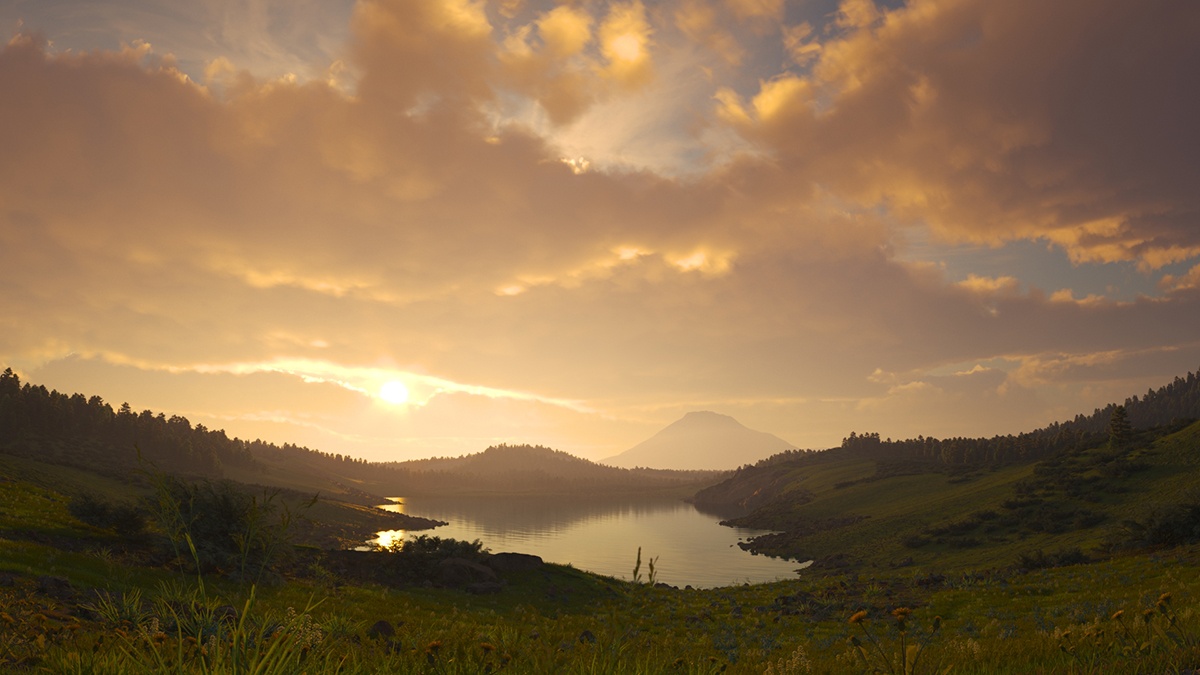
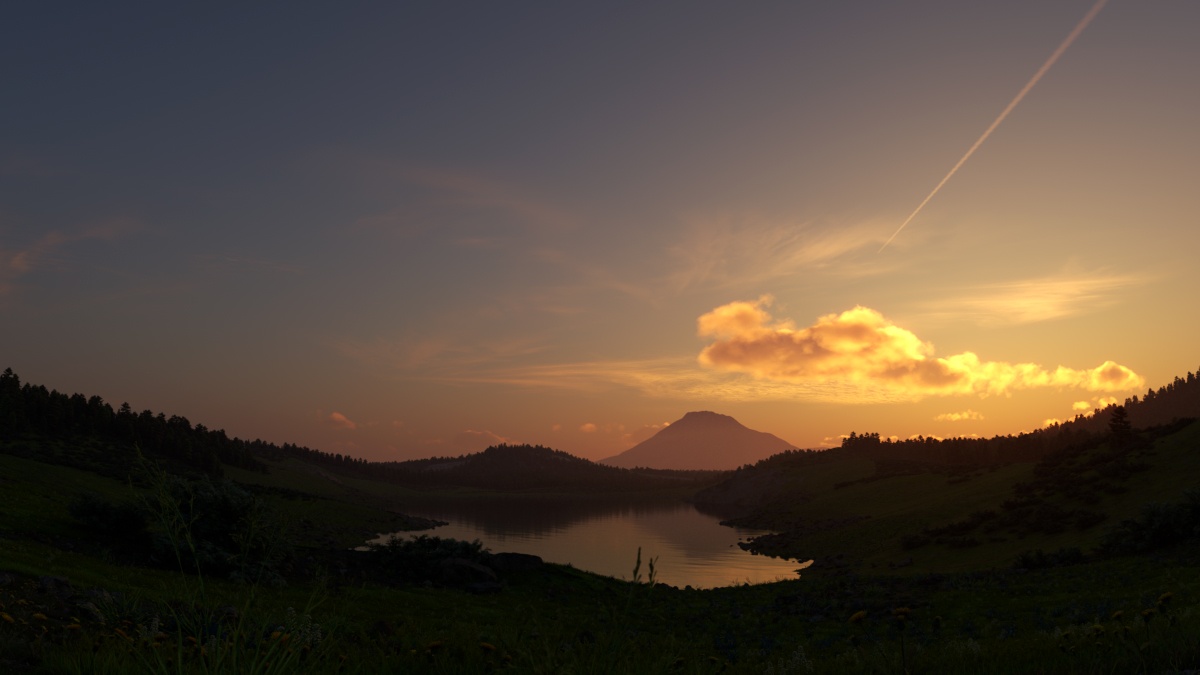
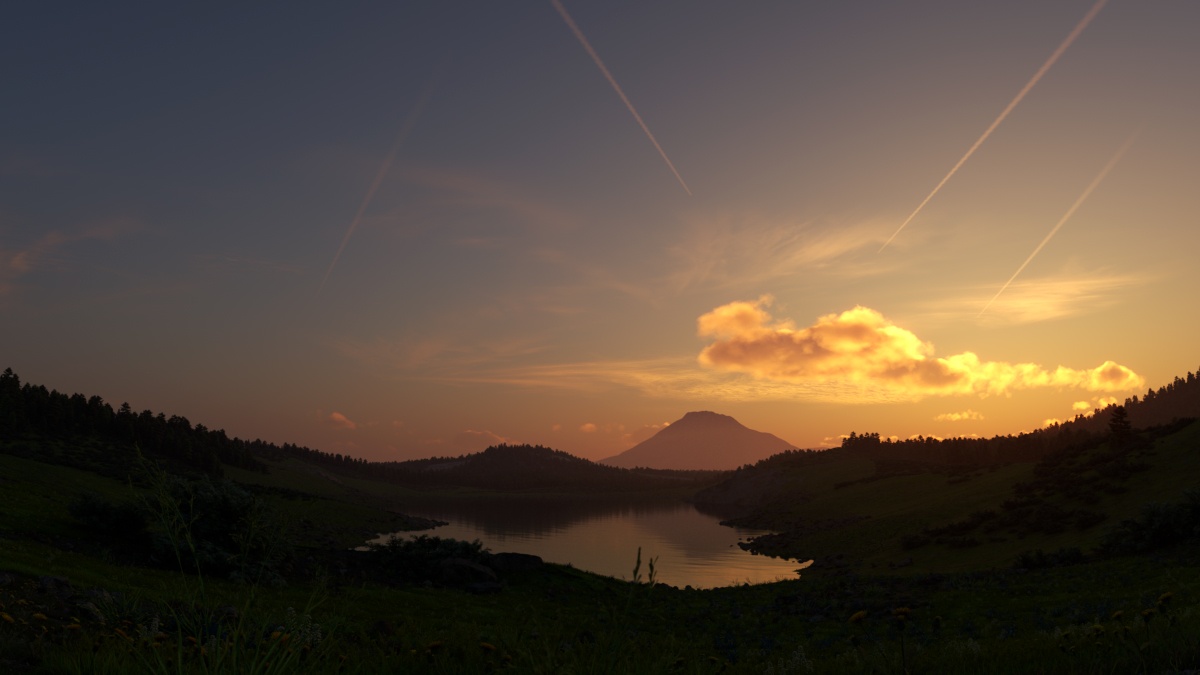
Example: Direction of the VRaySun Light


This example demonstrates the effect of the sun direction. The Sun is positioned such as its rays hit the ground at certain degrees. Note how in addition to the scene brightness, the sun position also changes the appearance of the sky and the sun light color.


5 degrees

25 degrees

45 degrees

90 degrees


Sun Parameters


You can also specify the VRaySun as the sun type inside a 3ds Max Daylight system.

Enabled – Turns on and off the sun light.

Intensity multiplier1 – An intensity multiplier for the VRaySun. Since the sun is very bright by default, you can use this parameter to reduce its effect. 

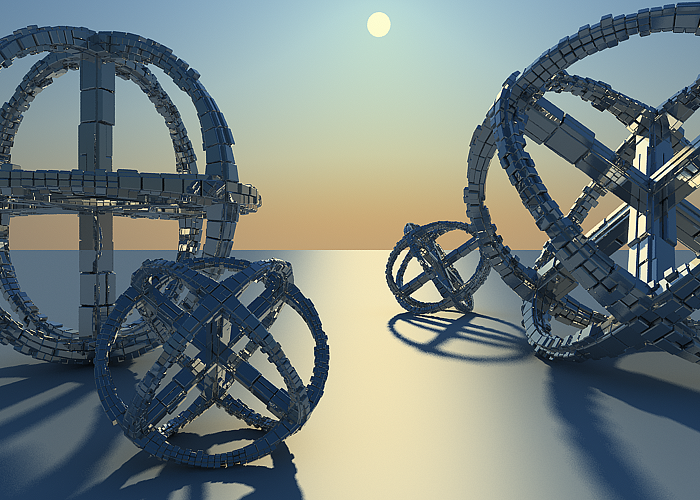
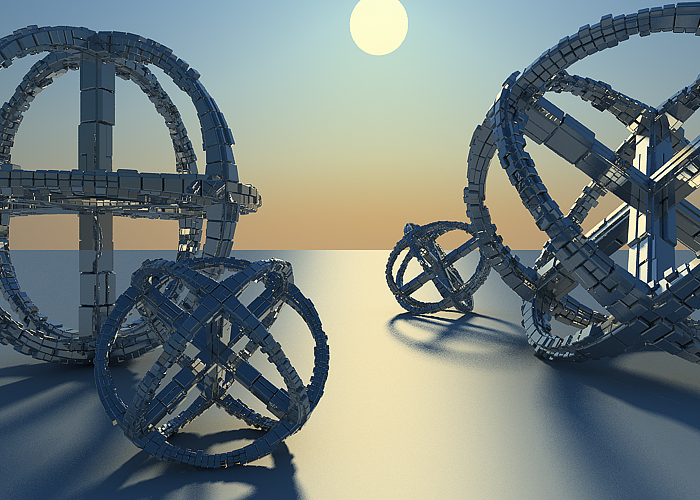
Size multiplier – Controls the visible size of the sun. This affects the appearance of the sun disc as seen by the camera and reflections, as well as the blurriness of the sun shadows. For more information, see The Size Multiplier Parameter example below.

Filter color – Changes the color of the sun and depends on the Color mode parameter.

Color mode – Affects the way the color in the Filter color parameter affects the color of the sun.

filter – Shifts the hue of the V-Ray Sun and Sky system towards the color specified in the Filter color field. 
direct
 – Sets the color of the V-Ray Sun to match the color in the Filter Color parameter. In this case the intensity of the light does not depend on the V-Ray Sun's position in the sky and is controlled through the intensity multiplier. 
override
 – Sets the color of the V-Ray Sun to match the color in the Filter Color parameter but the intensity of the light still depends on the V-Ray Sun's position in the sky.


Example: The Size Multiplier Parameter


This example demonstrates the effect of the Size multiplier parameter. Notice how changes in this parameter affect both the visible sun size and the shadow softness (however overall illumination strength remains the same).

Enabled: on, Turbidity: 3.0, Intensity multiplier: 0.01 


Size multiplier is 4.0

Size multiplier is 10.0

Size multiplier is 40.0


Sky Parameters


Sky model – Specifies the procedural model that is used to generate the VRaySky texture.

Hosek et al. – The VRaySky procedural texture is generated based on the Hosek et al. method.
Preetham et al. – The VRaySky procedural texture is generated based on the Preetham et al. method.
CIE Clear – The VRaySky procedural texture is generated based on the CIE method for clear sky.
CIE Overcast – The VRaySky procedural texture is generated based on the CIE method for cloudy sky.
PRG Clear Sky - The VRaySky procedural texture is generated based on the PRG Clear Sky method which has enhanced sunrise and sunset sky.

Ground albedo – Changes the color of the ground.

Indirect horiz. illum. – Specifies the intensity (in lx) of the illumination on horizontal surfaces coming from the sky.

Blend angle – Controls the size of the gradient formed by VRaySky between the horizon and the actual sky.

Horizon offset – Offsets the horizon from the default position (the absolute horizon).

Turbidity – Determines the amount of dust in the air and affects the color of the sun and sky. Smaller values produce a clear and blue sky and sun as you get in the country, while larger values make them yellow and orange as, for example, in a big city. For more information, see The Turbidity Parameter example.

Ozone – Affects the color of the sun light. Available in the range between 0.0 and 1.0. Smaller values make the sunlight more yellow, larger values make it blue. For more information, see The Ozone Value example.  

Altitude Controls the observer's altitude in meters. As the altitude increases, sky clarity improves, and the horizon line becomes less defined.

Night blueness – Controls how black the sky is in complete night. A value of 0 makes the sky completely black, while a value of 1 makes the sky slightly blue. Night blueness controls how the sky behaves for solar elevations lower than -12°. If Night blueness is set to 0, when the Sun goes from -12° to -18°, the sky fades into complete black. By increasing the value of the Night blueness, the black is being replaced with increasingly blue sky. If the Night blueness is set to 1, the sky at -18° and lower looks the same as for -12°, but without the orange wedge on the horizon caused by the Sun.


Example: The Turbidity Parameter


This example demonstrates the effect of the Turbidity parameter. Generally, this controls the amount of dust particles in the air. Notice how larger values cause the sun and the sky to become yellowish while smaller values make the sky clear.

Enabled: on, Intensity multiplier: 0.01, Size multiplier: 1.0 


Turbidity is 2.0

Turbidity is 4.0

Turbidity is 8.0


Example: Ozone Value


The Ozone parameter affects only the color of the light emitted by the sun. Higher values cause the color mapping mode to change. This example demonstrates the looks achieved with several different color mapping modes. See also the section on Color mapping for more details.

Enabled: on, Turbidity: 2.0, Intensity multiplier: 1.0, Size multiplier: 1.0. 


Ozone: 0.0

Ozone: 0.5

Ozone: 1.0


Options


Exclude – Opens the 3ds Max Exclude/Include window for selection of objects to be excluded or included in illumination and/or shadow-casting for this light.

+ – Adds objects to the Incl/Excl list by picking them in the viewport.

- – Removes objects from the Incl/Excl list by picking them in the viewport.

Invisible – When enabled, makes the sun invisible, both to the camera and to reflections. This is useful to prevent bright speckles on glossy surfaces where a ray with low probability hits the extremely bright sun disk.

Affect diffuse – Determines whether the VRaySun is affecting the diffuse properties of the materials.

Affect specular – Determines whether the VRaySun is affecting the specular of the materials. The multiplier controls the suns contribution to specular reflections.

Affect atmospherics2 – Specifies whether the light influences the atmospheric effects in the scene. The value determines the amount of involvement.

Cast atmospheric shadows – When enabled, the atmospheric effects in the scene cast shadows.


Sampling


Shadow bias – Moves the shadow toward or away from the shadow-casting object (or objects). Higher values move the shadow toward the object(s), while lower values move it away. If this value is too extreme, shadows can "leak" through places they shouldn't or "detach" from an object. Other effects from extreme values include moire patterns, out-of-place dark areas on surfaces, and shadows not appearing at all in the rendering. For more information, see The Shadow Bias example.  

Photon emit radius – Determines the radius of the area where photons would be shot. This area is represented by the green cylinder around the Sun's ray vector. This parameter has effect when photons are used in caustics. See the Photon Emission Radius example for more information.

Max2024_VRay7_VRaySun_sampling


Example: Shadow Bias


Enabled: on, Turbidity: 2.0, Intensity multiplier: 1.0, Size multiplier: 1.0. Notice how the shadows move towards the center of the render, that is towards the shadow casting object when the value is higher. 


Ozone: 1.0

Shadow Bias 0.0

Shadow Bias 7.0

Shadow Bias 15.0

Shadow Bias 30.0


Example: VRay Sun and Sky with Different Color Mapping Types


In addition to the parameters of the sun and sky, their appearance also depends on the selected color mapping mode. This example demonstrates the looks achieved with several different color mapping modes. See also the section on Color mapping for more details.

Enabled:  on,  Height Z:  800,  Turbidity:  3.0, Intensity multiplier: 0.01,  Size multiplier: 1.0


Color mapping: Exponential

Color mapping: HSV exponential

Color mapping: Intensity exponential


Clouds


Clouds on – Enables the cloud system.

Ground shadows – When disabled, the entire scene is covered by a single shadow or fully illuminated depending on whether the sun is blocked by a cloud at the current camera position. This is useful for smaller scenes and speeds up the rendering process. When enabled, V-Ray calculates the shadows precisely at every point of the scene. This provides a lot more definition to the shadows but may slow down the rendering process. It is helpful in larger scenes where the effect of the clouds is more visible. See the Clouds shadows example.

Density – Controls the density of the cumulus and stratus types of clouds. A value of 1 fills up the sky with clouds. See the Clouds Density example.

Density multiplier – A multiplier to the Density parameter. The larger the value, the darker the sky becomes at the horizon. Setting a value of 0 results in no clouds, regardless of the Density value.

Variety – Controls the variety of the cumulus and stratus types of clouds. See the Clouds Variety example.

Seed – Generates a random value, based on the given number, to change the pattern of the clouds and the Contrails.

Cirrus amount – The maximum value of 1 fills the sky with cirrus clouds. Decreasing the value, lowers the presence of such clouds. When set to 0, the cirrus clouds are completely gone. See the Cirrus Amount example.

Offset X (m) – Moves the cloud system by X axis. See the Clouds Offset example.

Offset Y (m) – Moves the cloud system by Y axis. See the Clouds Offset example.

Height (m) – Clouds position in height. See the Clouds Height example.

Thickness (m) – Lower values make the cumulus and stratus types of clouds thin and sheer/lucent, while higher values make them full and heavy. See the Clouds Thickness example.

Phase X (%) – Controls the phase by X axis, can be used to fine-tweak the cumulus and stratus clouds appearance. The appearance of the clouds loops at 0, 100, 200, etc. This parameter can be animated to resemble natural clouds appearance. See the How to add and animate clouds, without an HDRI example.

Phase Y (%) – Controls the phase by Y axis, can be used to fine-tweak the cumulus and stratus clouds appearance. The appearance of the clouds loops at 0, 100, 200, etc. This parameter can be animated to resemble natural clouds appearance. See the How to add and animate clouds, without an HDRI example.

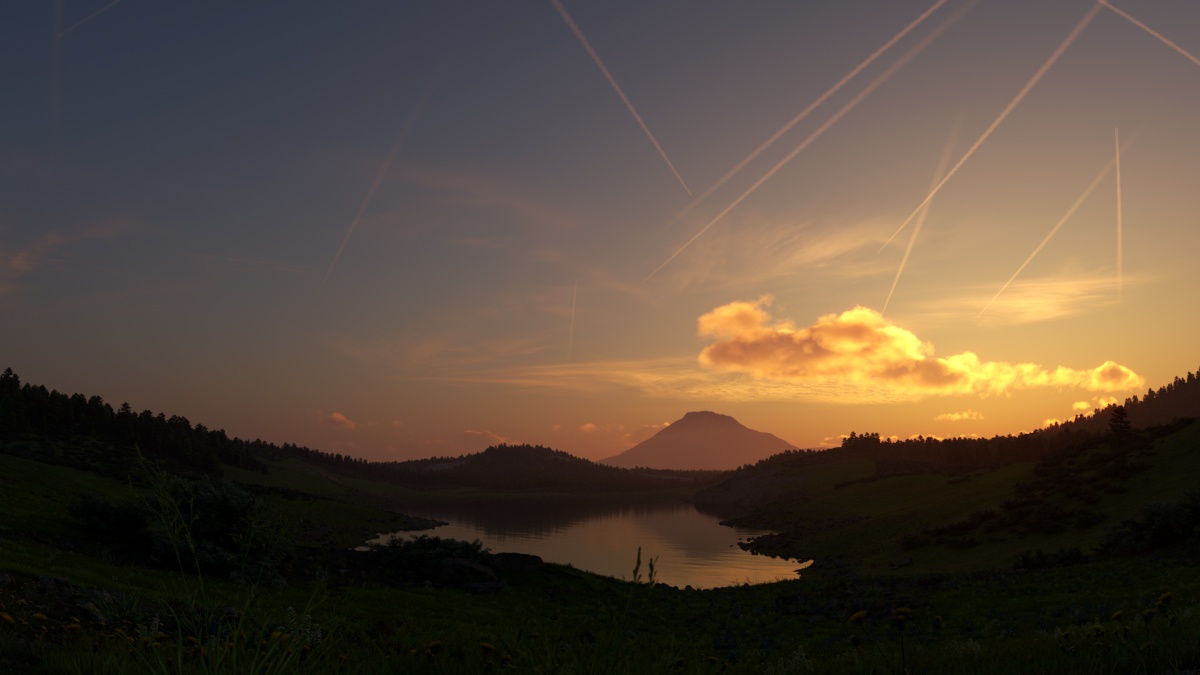
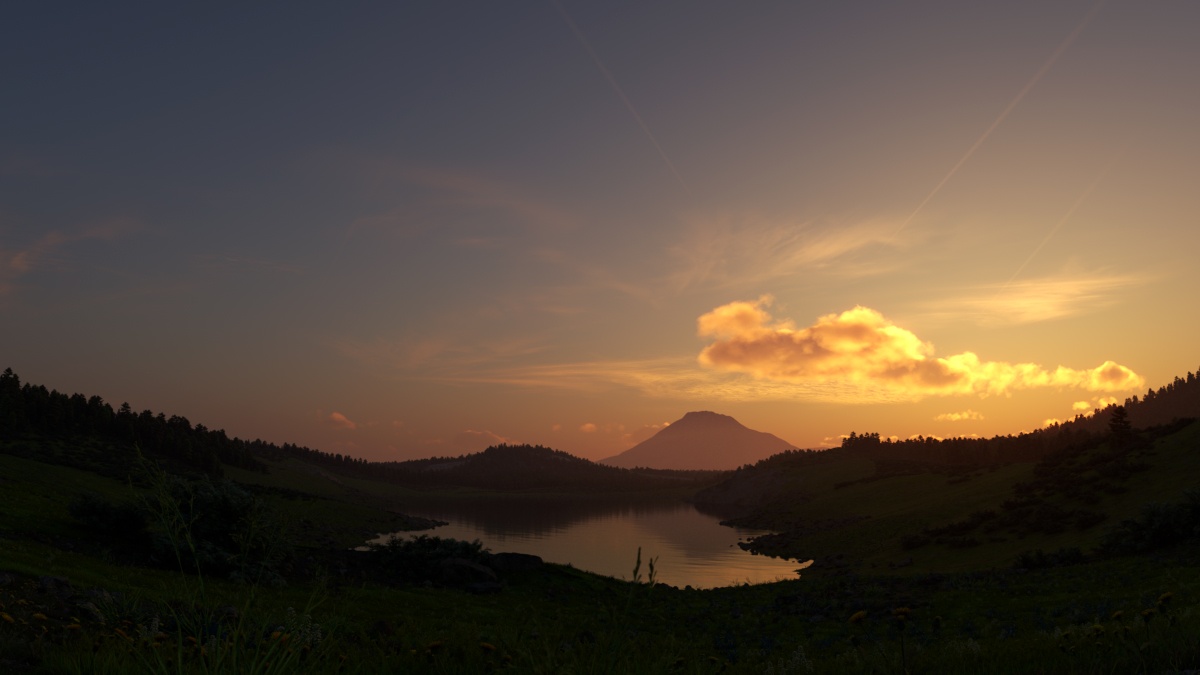
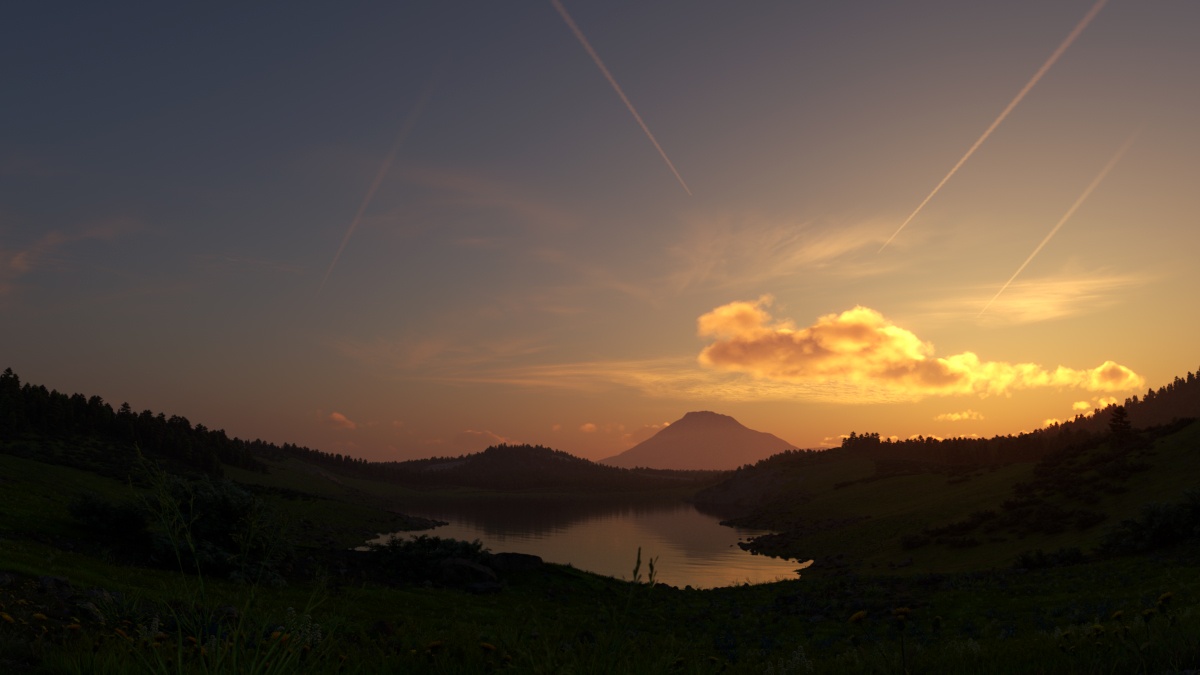
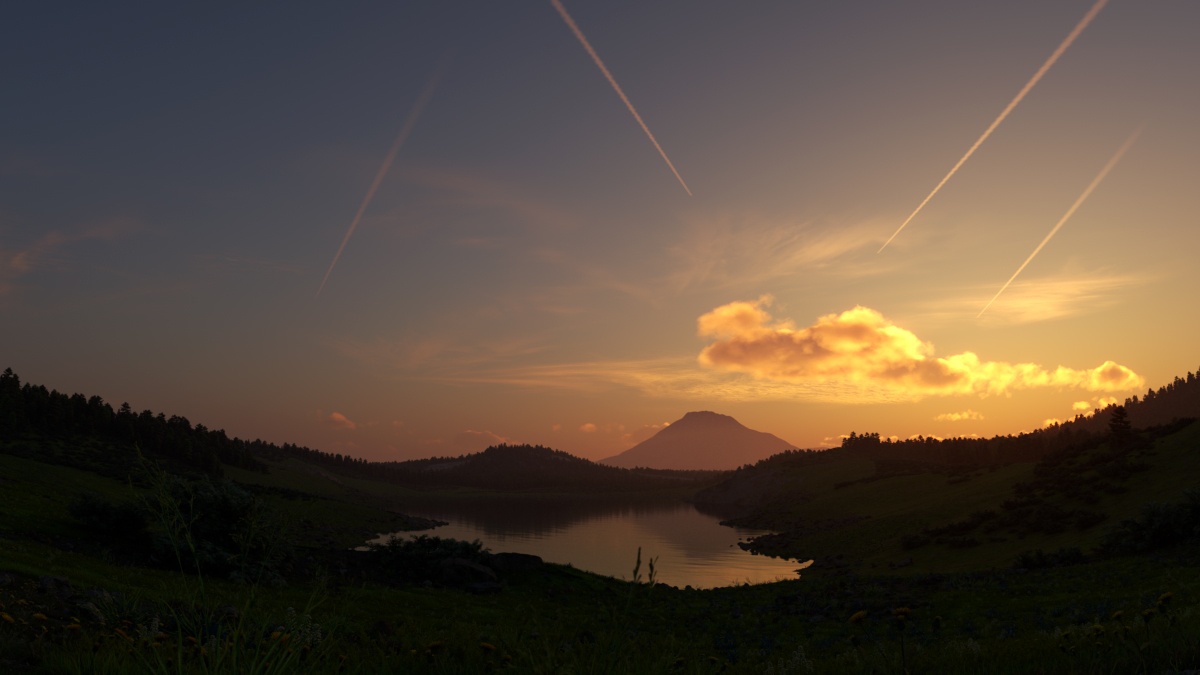
Enable contrails – When enabled, plane contrails are simulated in the sky.

Number of contrails – Determines the number of contrails generated. See the Number of Contrails example for more information.

Contrails strength – Determines the opacity of the contrails. Lower values create less opaque trails, which look older. See the Contrails Strength example for more information.

Contrails distortion – Determines the amount of distortion in the contrails. See the Contrails Distortion example for more details.

Contrails offset X/Y (m) – Offsets the contrails by a given value, according to the X or Y axis. See the Contrails Offset example for more information.

Contrails time – Determines how far the contrails progress along the sky. See the Contrails time animation for more details.


Night Sky


Simulates a realistic procedural night sky, complete with the Moon, stars, and the Milky Way. As part of the Sun & Sky system, Night Sky allows users to create accurate nighttime environments based on real-world positioning.

If VRaySun is set as part of the 3ds Max Daylight system, location, date and time are considered by the Daylight system.

If VRaySun is not part of the Daylight system, both the Moon and the stars can be positioned manually.


Stars & Milky Way

Enabled – Enables the appearance of stars in the night sky.

Size multiplier - Controls the size of the stars. A default value of 1 renders the stars with radius of 1 pixel, a value of 2 makes the stars twice as large. If set to 0 the stars are rendered with the minimum size possible.

Size difference - Controls the size difference between faint and bright stars. When set to 0, all stars have the same size, and a value of 1 makes the brightest stars twice as large, the second magnitude stars (e.g. Polaris) keep their size, and the faintest stars disappear.

Brightness – Controls the brightness of the stars as seen directly in the sky or in perfect mirror reflections/refractions. See the Brightness example below.

Intensity mult. – Controls the intensity of the scene illumination cast by the stars. See the Intensity example below.

Latitude – Determines the Night Sky latitude, where -90° means the sky shows over the South Pole, and 90° means the sky shows over North Pole. If VRaySun is used inside the 3ds Max Daylight system, then this parameter is hidden and the value from the Daylight system automatically applies. See the Latitude example below.

Longitude – Determines the Night Sky longitude, where 0 is the Prime Meridian, and 90 is 90° to the East of the Prime Meridian. If VRaySun is used inside the 3ds Max Daylight system, then this parameter is hidden and the value from the Daylight system automatically applies. See the Longitude example below.

Milky Way mult. – This is a multiplier of the brightness of the Milky Way.


Example: Brightness

The Brightness parameter controls the brightness of the stars in this example.

Brightness = 0.5

Brightness = 1

Brightness = 2


Example: Intensity 

The Intensity parameter controls the intensity of the stars in this example.

Intensity = 1

Intensity = 4

Intensity = 8


Example: Latitude

The Latitude determines where the sky is shown from. Where -90° means that the sky shows over the South Pole, and 90° means the sky shows over North Pole

Latitude = - 90

Latitude = 0 

Latitude = 90


Example: Longitude

This example shows the Longitude of the Night Sky. The Prime Meridian is at 0, and 90 is located 90° east of the Prime Meridian.

Longitude = 0

Longitude = 90

Longitude = 180


Moon


Enabled - Enables the appearance of the Moon in the night sky.

Size Multiplier - Controls the visible size of the Moon. Affects the appearance of the Moon disc as seen by the camera and reflections, as well as the blurriness of the Moon shadows.

Brightness – Controls the brightness of the Moon as seen directly in the sky or in perfect mirror reflections/refractions. See the Brightness example below.

Intensity mult. – Controls the intensity of the scene illumination cast by the Moon. See the Intensity example below.

Glow mult. – This is a multiplier for the glow around the Moon. A value of 0 disables the glowing effect.

Filter color – Filter color is a color tint for the appearance and illumination cast by the Moon. The default white (1, 1, 1) color means no change of color.

Azimuth – Specifies the Moon azimuth angle measured from the scene North to Eastward. A value of 90 aligns with the X-axis in 3ds Max or East. 

Elevation – Controls the angle between the Moon and the ground. A value of 0 makes the Moon to be exactly at the horizon, and a value of 90 makes the Moon in the zenith.

Phase – Specifies the phase of the Moon, where a value of 0 is full Moon, 90 is first quarter, 180 is new Moon, and 270 the last quarter. See the Phase example below.

Rotation – Rotates the Moon disc in the sky, where 0 makes it match the Moon appearance in its highest point when observed in the Northern hemisphere, and 180 corresponds to the Southern hemisphere.

Edit in viewport – Selects the Moon as a sub-object of the VRaySun, so it can move separately from the VRaySun and be set in a custom position manually. This option is not available when VRaySun is used in the Daylight system.


When VRaySun is set as part of the 3ds Max Daylight system, you can access its parameters directly from the Daylight system options. To see its options make sure that in the Daylight system > Daylight Parameters VRaySun is set as the Sunlight.

Azimuth, Elevation, Phase and Rotation parameters are override parameters and can be enabled separately in the Daylight settings.


Example: Brightness

The Brightness parameter controls the brightness of the moon in this example.

Brightness = 0.025

Brightness = 0.05

Brightness = 0.01


Example: Intensity

The Intensity parameter controls the intensity of the moon in this example.

Intensity = 0.25

Intensity = 0.5

Intensity = 1


Example: Phase

This example shows how the Phase parameter controls the Phases of the moon where 0 is full moon and 180 is new moon. 

Phase = 0

Phase = 90

Phase = 180


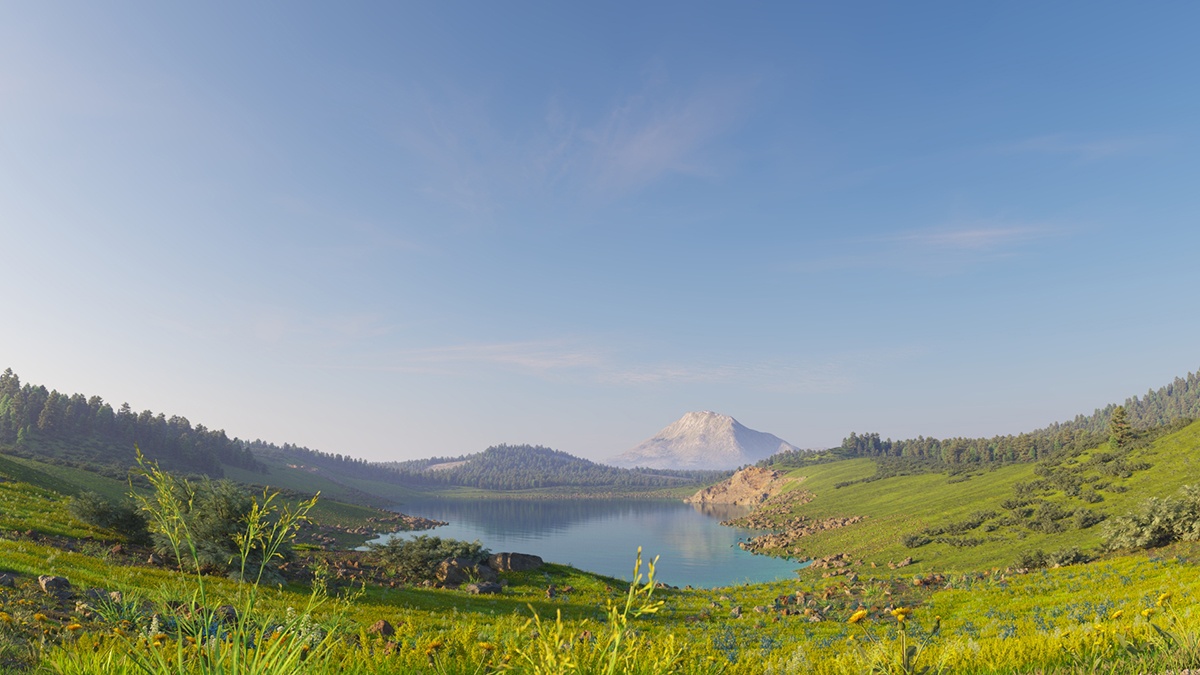
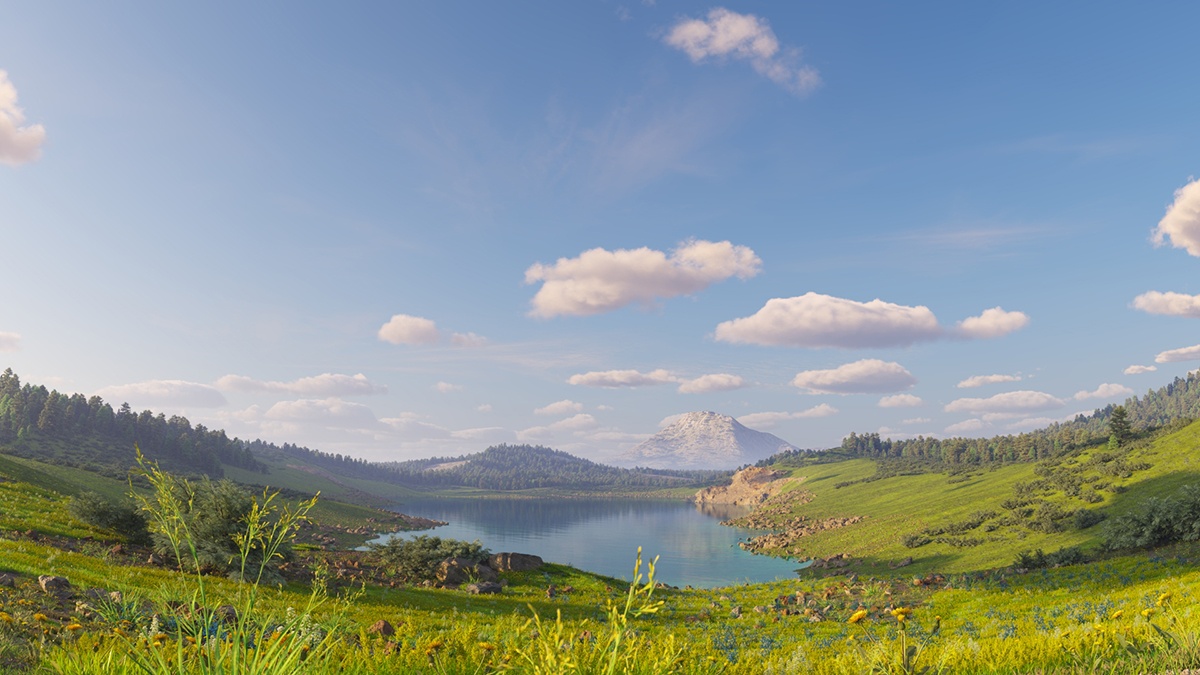
Example: How to add and animate clouds, without an HDRI


Example: Clouds Density

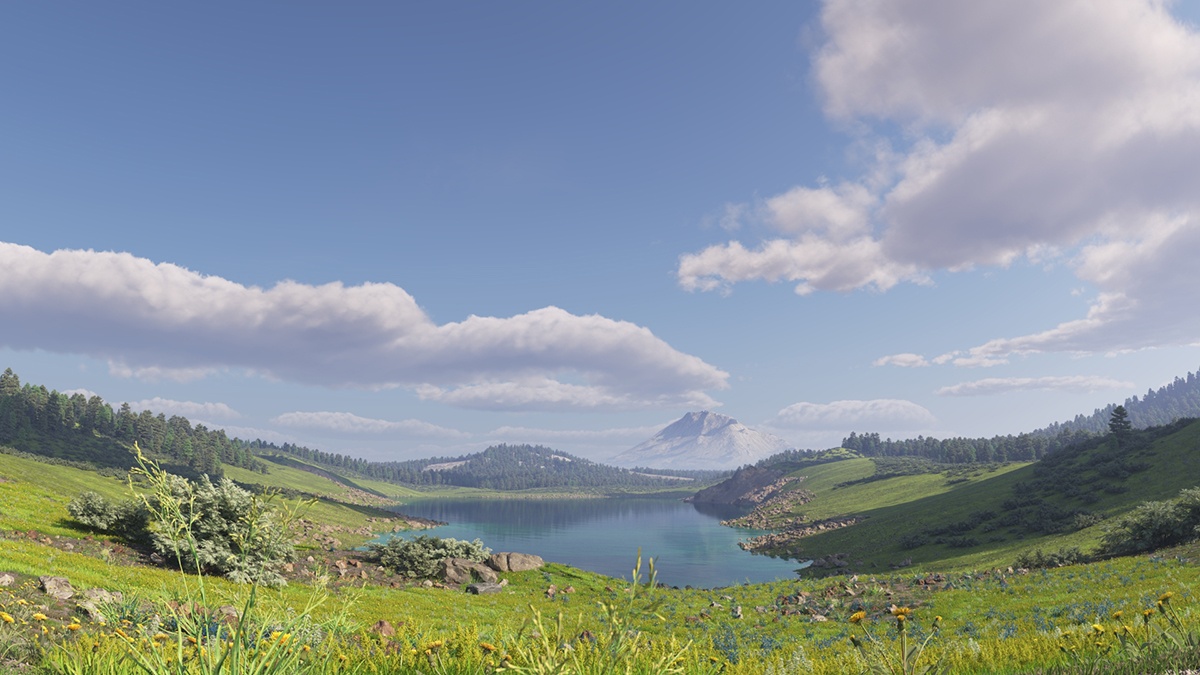
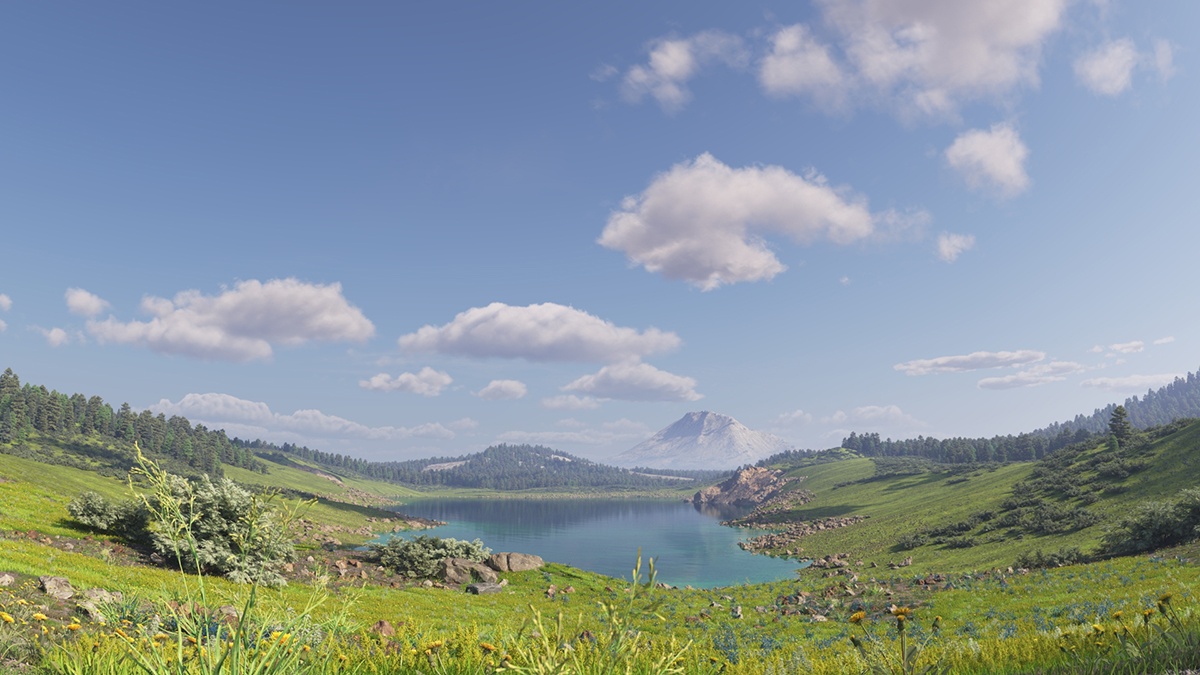
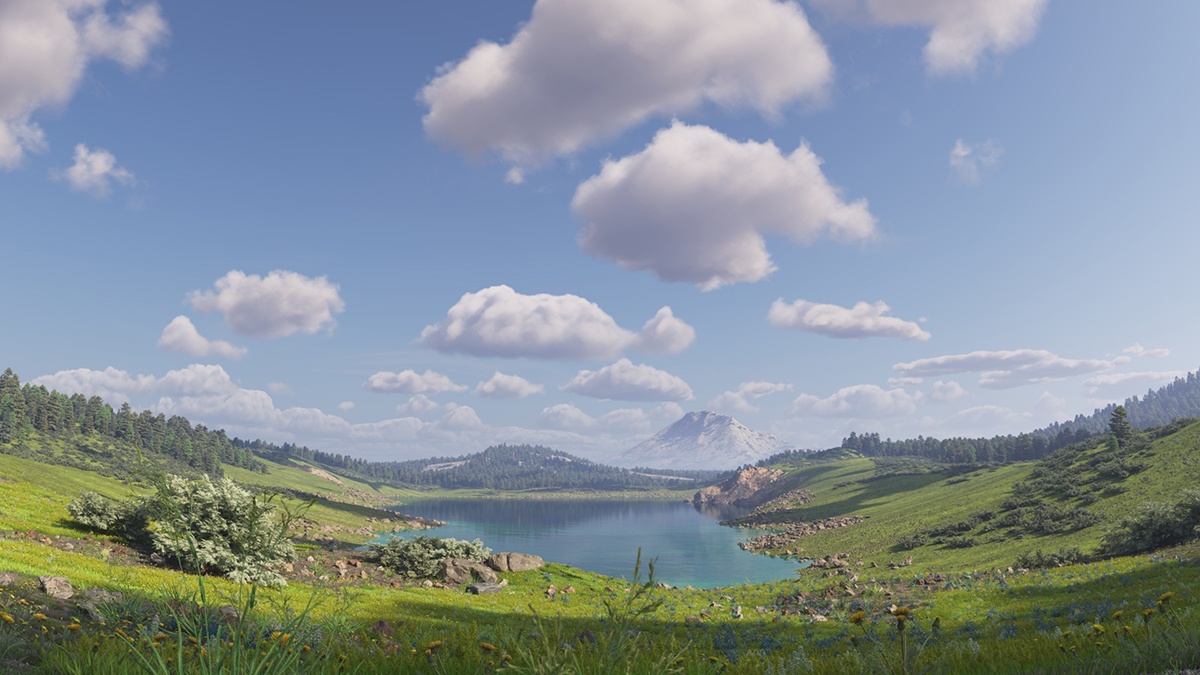
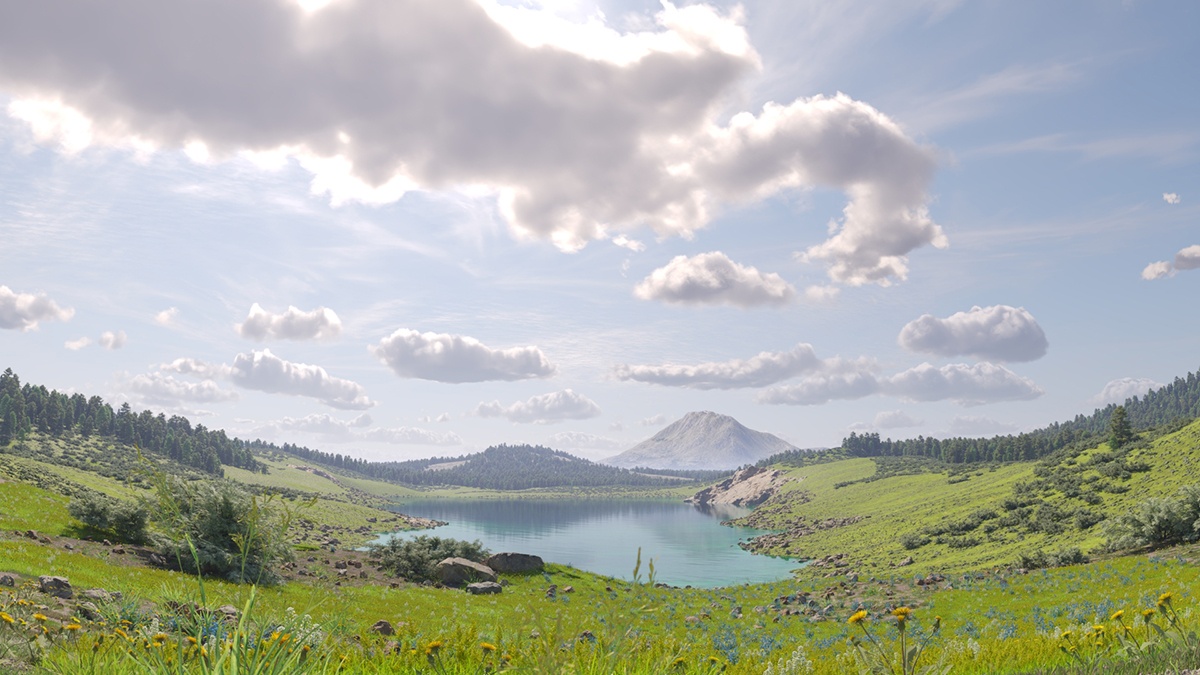
The Density parameter controls the amount of clouds in the sky. The higher the value, the higher the amount of clouds appearing in the render.


Density = 0

Density = 0.4

Density = 0.8


Example: Clouds Variety

This example shows the effect of the Variety parameter on the clouds' distribution and look.


Variety = 0

Variety = 0.5

Variety = 1


Example: Clouds Shadows

This examples shows the effect of the Ground Shadows option.


disabled

enabled


Example: Cirrus Amount

This example shows how increasing the Cirrus Amount increases the appearance of the cirrus clouds in the render.


Cirrus amount = 0

Cirrus amount = 0.5

Cirrus amount = 1


Example: Clouds Height

This example shows how the clouds change their position in the sky with increasing the Height value.


Height = 500

Height = 1000

Height = 1500


 Example: Clouds Thickness

The Thickness parameter specifies how full the clouds are. Smaller values make them thinner and sheerer, while higher values make them look heavy.


Thickness = 200

Thickness = 500

Thickness = 800


Example: Clouds Offset

The following example demonstrates how changing the Offset X and Offset Y parameters affects the appearance of the clouds.


No offset

Offset X = -250, Offset Y = 0

Offset X = -250, Offset Y = 500


Example: Number of Contrails

Note that the contrails are spread randomly across the sky. In most cases, the camera does not capture all of the contrails.


Number of contrails 5

Number of contrails 20

Number of contrails 40


Example: Contrails Strength

This example shows how the strength parameter makes the contrails more visible and prominent in the sky.


Contrails strength 0.1

Contrails strength 0.5

Contrails strength 1.0


Example: Contrails Distortion

The Contrails distortion parameter is used to achieve some variety in the trace line. Move the slider to see the example renders.


Contrails distortion 0.1

Contrails distortion 0.5

Contrails distortion 1.0


Example: Contrails Offset

The Contrails offset option introduces an offset along the X or Y direction in the sky. Move the slider to see the example renders.


Contrails offset X 0, Y 0

Contrails offset X 5000, Y 0

Contrails offset X 0, Y 5000


Example: Contrails Time


The frames in this animation show the Contrails time parameter with values ranging between 0 and 2.0, with a step of 0.2.


Notes


  1. By default, the VRaySun and VRaySky are very bright. In the real world, the average solar irradiance is about 1000 W/m^2 (see the references). Since the image output in V-Ray is in W/m^2/sr, you will typically find that the average RGB values produces by the sun and the sky are about 200.0-300.0 units. This is quite correct from a physical point of view, but is not enough for a nice image. You can either use Color mapping to bring these values to a smaller range (which is the preferred way) or you can use the Sun intensity multiplier to make the sun and sky less bright. Using the VRayPhysicalCamera with suitable values also produces a correct result without changing the sun and sky parameters.
  2. The Affect atmospherics option has no effect on VRayAerialPerspective as this atmospheric effect only simulates volumetric appearance.


References


Here is a list of references about the V-Ray Sun and Sky implementation, as well as general information about the illumination of the Sun.


Was this helpful?