This tutorial covers the easiest steps to create a simple fire material.
Overview
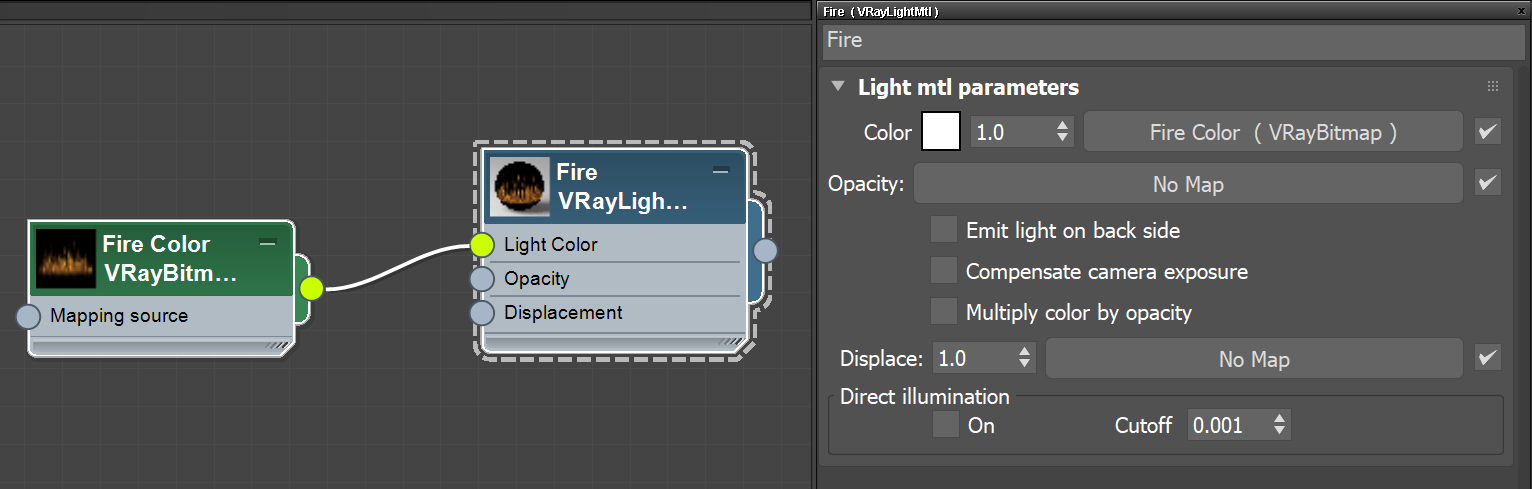
One of the easiest ways to create a fire material with V-Ray is to use the VRayLight material and plug VRay Bitmap textures to it.
The VRayLight material perfectly recreates self-illuminated surfaces such as fire. The VRayBitmap gives the color, form and texture of the fire material.
Note that a suitable fire image with good resolution parameters is needed for the bitmap texture. Download the image used for this tutorial from the Download button below.
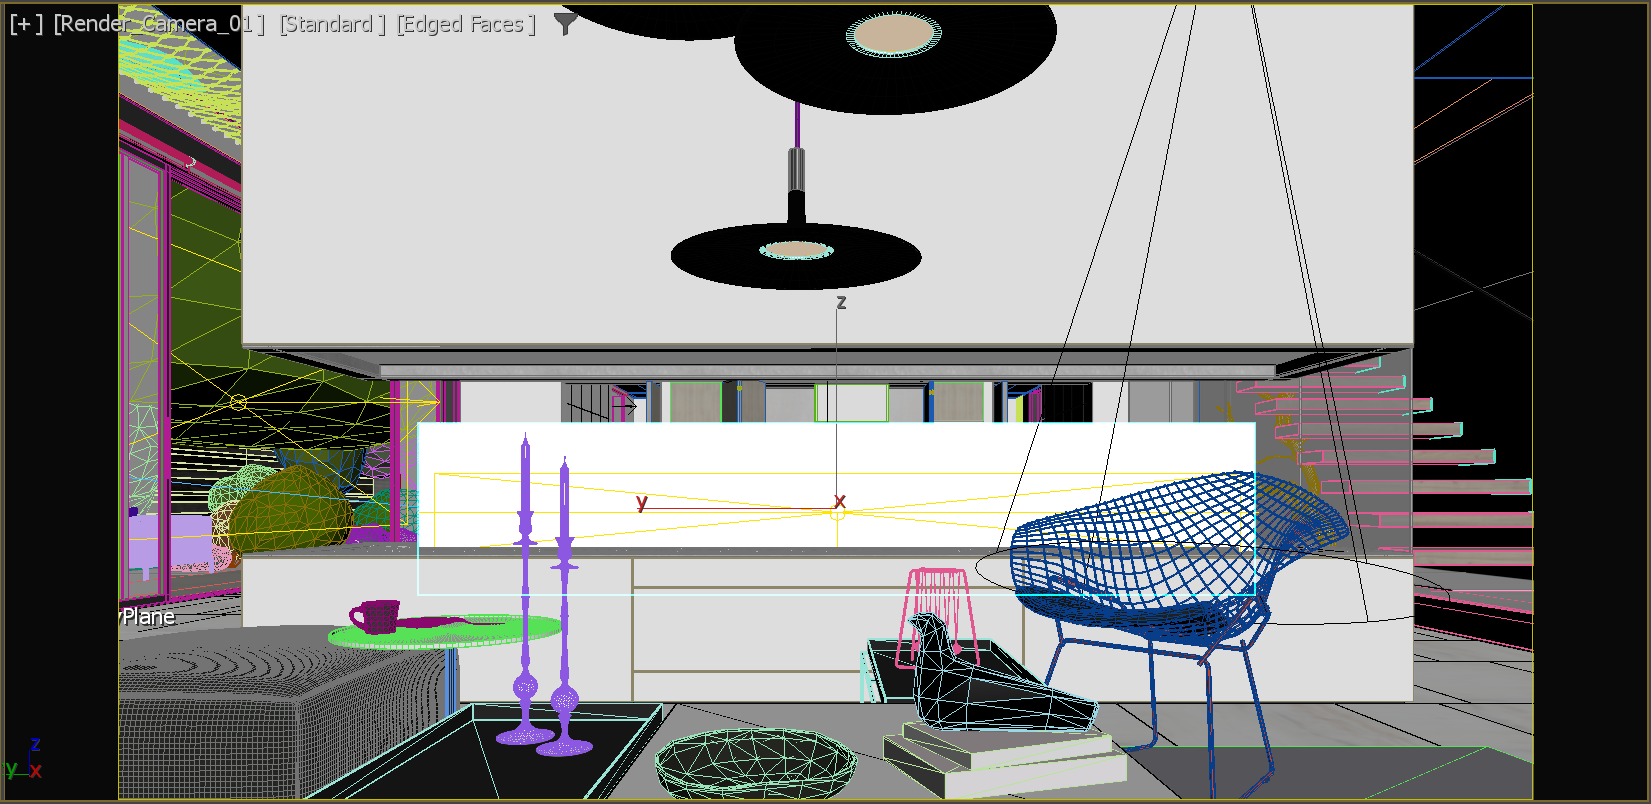
The scene used for this tutorial contains a simple room setting. The frontal shot is taken with our V-Ray Physical Camera that uses real-world camera settings for further realism. Most of the geometries are taken from our extensive Chaos Cosmos 3D assets library.
If you want to create a more realistic fire, use VRayVolumeGrid with a Phoenix file (.aur) loaded in it. This method is specifically useful for animated fire.
To download scene files: Download Assets
Want to follow along but don’t have a license?: Download Free Trial

Workflow
- Create a simple plane for the fire and select it in the viewport.
- In the Material Editor, create a VRayLight material and name it Fire. Assign the material to the selected plane.
- Plug a VRayBitmap texture to the VRayLight Color slot and load a fire image.
To avoid manipulation of the bitmap UV parameters, you can create the plane with the same size as the fire texture. Then scale it to fit the desired fireplace size.
Render.
Notice the black background surrounding the flames. To remove it and make the flames more pronounced, you have to manipulate the flames' transparency. There are two approaches for that: either use a new VRayBitmap as an opacity texture or re-use the same bitmap that is already bringing color to the VRayLightMtl and adjust it for opacity context with color corrections.
Let’s try the second approach.
- Plug a Color Correction texture to the Opacity slot of the VRayLight material, and then link the VRayBitmap output to the Color Correction's input.
- Set the Saturation to -100, Brightness to -0.332, and Contrast to 0.332. This removes the undesired black background.
Now let’s make some final tweaks on the VRayLight material.
- Enable the Compensate camera exposure option. This way it is easier to find the right values when tweaking the material.
- Raise or lower the Color multiplier to make the flames stronger or weaker. In this particular case, let's adjust the multiplier to 1.5 to boost the color.
- Enable the Emit light on back side option so the flames emit light from the back side of the plane as well.
Let's render.

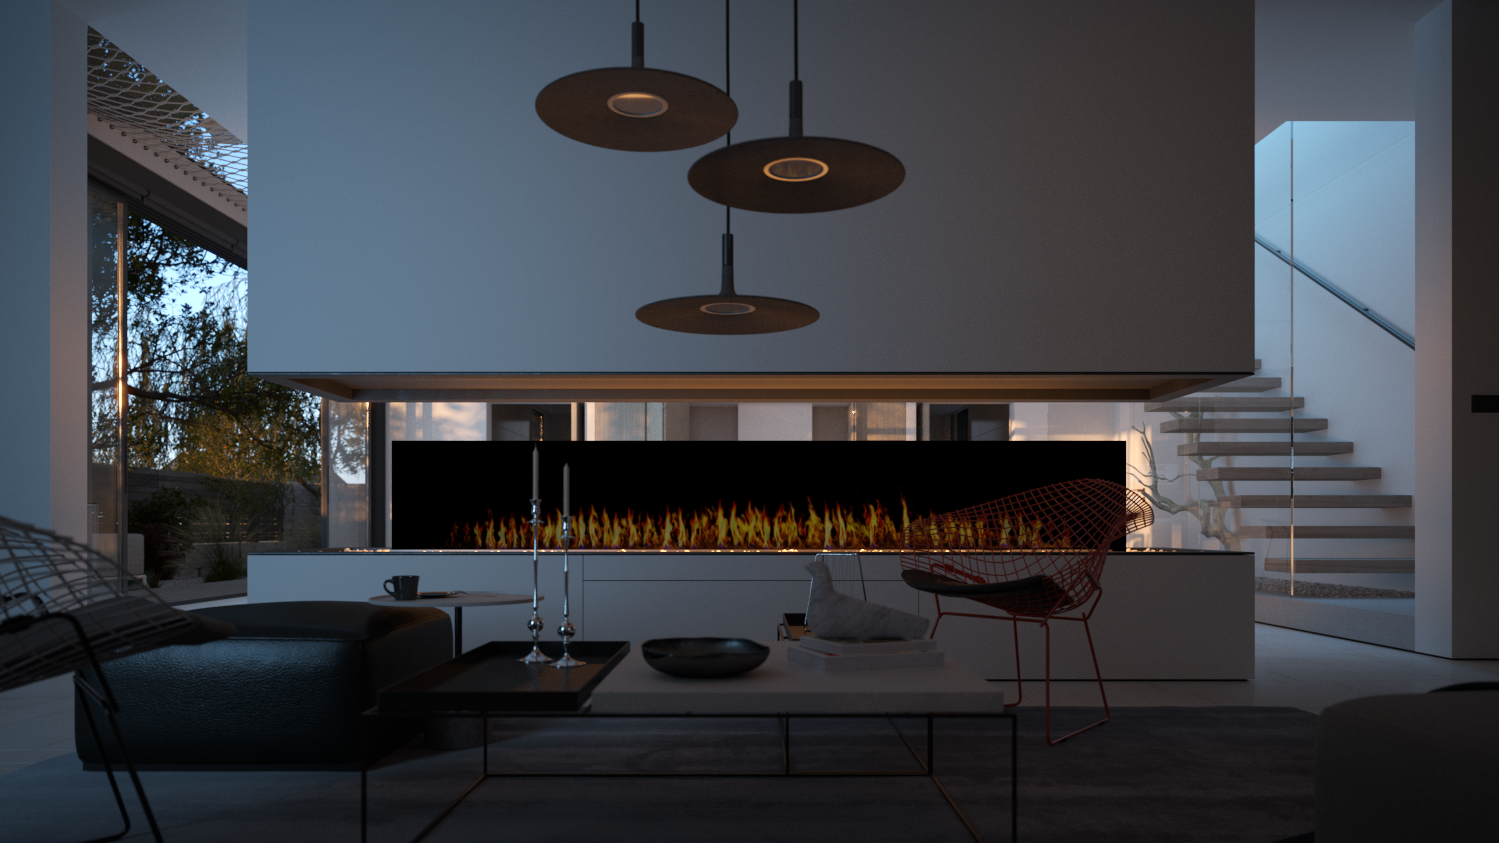
Final Result
With just a few quick and simple steps you have a fire material.