This page provides information on the V-Ray Bitmap Texture, previously known as VRayHDRI.
Overview
The VRayBitmap map can be used to load high dynamic range images (HDRI) and map them onto the environment. V-Ray supports most of the standard HDRI-environment mapping methods. The VRayBitmap texture can also be used to load other file formats.
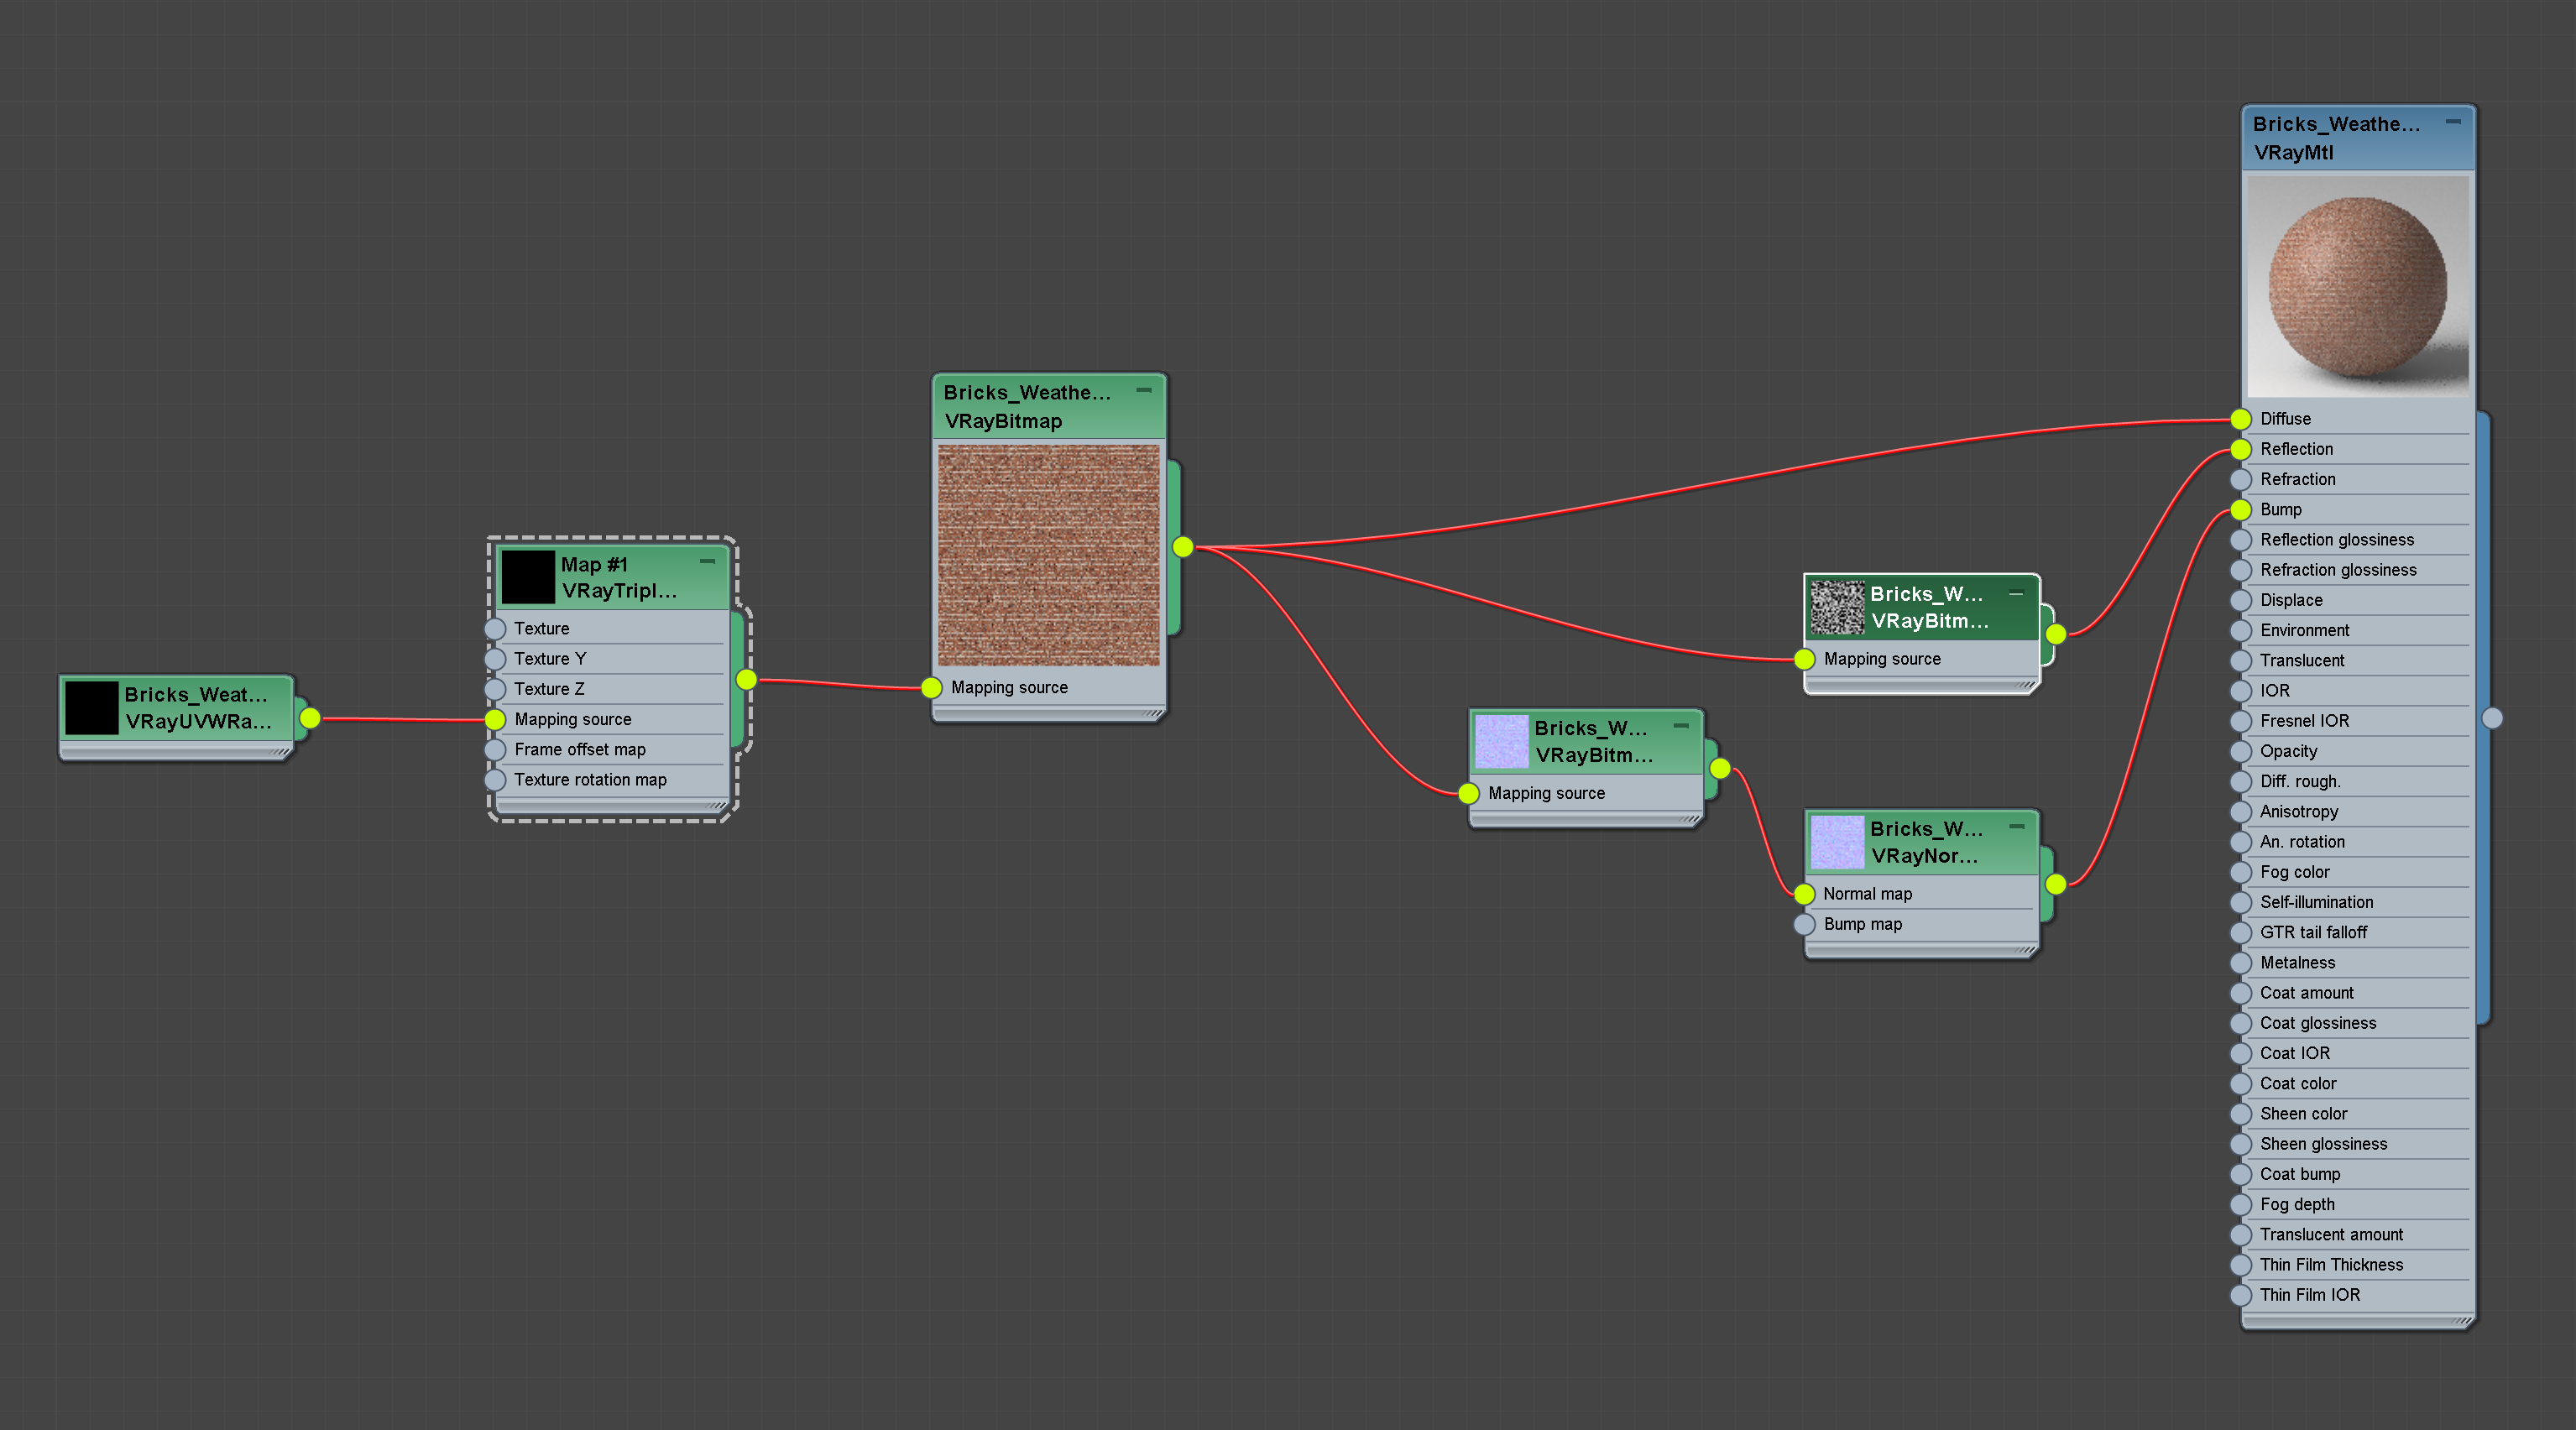
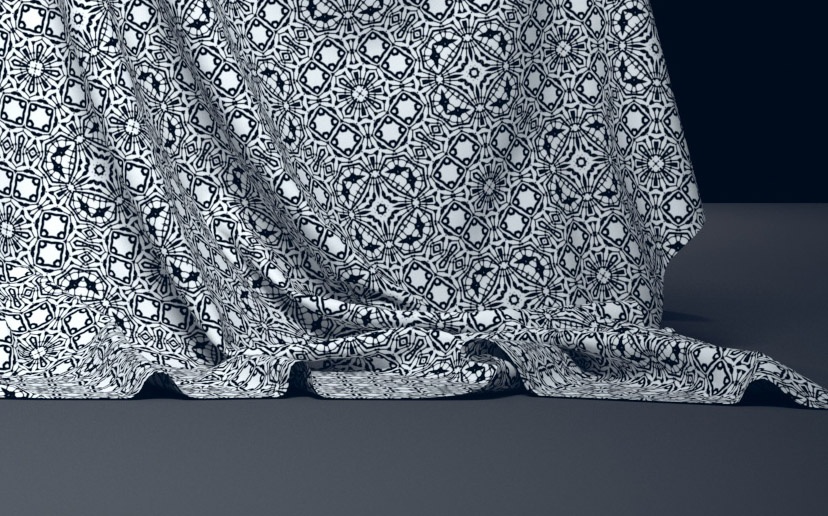
In the example shown, the VRayBitmap has been applied to the diffuse channel of a V-Ray material.
Since V-Ray 5.0 VRayHDRI texture has been renamed to VRayBitmap texture.
Tiled OpenEXR and TIFF Files
This texture can also be used to efficiently load tiled OpenEXR and tiled TIFF files (tiled TIFF files usually have a .tx or .tex extension). Tiled OpenEXR and TIFF files allow only portions of the textures to be loaded at various resolutions. This allows V-Ray to load only the parts of the textures that are needed for the rendering.
You can convert many common image file formats to tiled OpenEXR files using the img2tiledexr tool. You can also convert all files in a scene using the V-Ray Bitmap to VRayBitmap converter script. Conversion to tiled TIFF can be done using the maketx tool from the OpenImageIO library.
Tiled TIFF files have the advantage that they can store 8-bit color components, whereas OpenEXR stores at least 16 bits. This means that tiled 8-bit TIFF textures are smaller on the disk and take up less RAM while rendering.
Tags and Environment Variables in Bitmap Names
VRayBitmap allows the use of named tags enclosed with the characters < and >, which are replaced at render time with other strings.
Note: Textures that have any of the render-time tags listed below, aren't resolved properly by the 3ds Max Asset Tracker (i.e. when creating .zip archives of the scene). However, they work correctly with the V-Ray automatic transfer of assets for distributed rendering.
Tags for Multi-Tiles
Some modeling applications allow you to specify a different bitmap file for different portions of a model based on the UV coordinates of that model. For example, one file may be used for UVs in the range [0,0] x (1,1), another file may be used for UVs in [1,0] x (2,1) and so on. There are several ways to specify the correct file for each tile, and in each case, a different format for the file name is used in the File node. This is done by using special tags in the file name, which are replaced at render time with a particular string based on the UVs of the current shading point.
In the following section, we assume that each UV tile has unique integer coordinates (u,v) based on the integer part of the UVs inside it. For example, the UV tile [0,0] x (1,1) has coordinates (0,0), the UV tile [1,0] x (2,1) has coordinates (1,0) and so on.
Upper-case tags usually assume the tile coordinates start from 1, whereas lower-case tags assume the tiles start from 0.
Mari Tiles and the <UDIM> Tag
Mari forms the file name of textures using a four-digit number equal to 1000+(u+1+v*10). So the UV tile [0,0] x (1,1) is assigned the number 1001, UV tile [0,1] x (1,2) is assigned 1011 and so on. To specify a Mari-style tiled texture, use the <UDIM> tag in the file name, which is then replaced with the respective four digits, for example, my_texture_<UDIM>.exr becomes my_texture_1001.exr and so on during rendering.
Mudbox Tiles and the <UVTILE> Tag
Mudbox can form the file name in many ways, but the default format is to use _uU_vV in the file name where U=u+1 and V=v+1 are the tile coordinates plus one. So the UV tile [0,0] x (1,1) is marked with _u1_v1, UV tile [0,1] x (1,2) is marked with _u1_v2 and so on. To specify this format, use the <UVTILE> tag in the file name. If you use lower case letters <uvtile>, then the tile coordinates will start from 0, instead of one, so tile [0,0] x (1,1) will be resolved to _u0_v0 and so on. For example, my_texture<UVTILE>.exr becomes my_texture_u1_v1.exr and so on during rendering.
The $U and $V Tags
You can also specify the u and v coordinates of the tiles separately by using the $U and $V tags. Each of them is expanded to the respective 1-based coordinate of the tile. For example, if the file name is specified as my_texture_$U_$V.exr, this becomes my_texture_1_1.exr and so on. You can use lower-case tags to make the tile coordinates start from zero, instead of 1, for example my_texture_$u_$v.exr becomes my_texture_0_0.exr and so on.
You can put a number right after the $ sign to specify how many digits you want in the resulting tile coordinates, for example my_texture_$2U_$2V.exr is expanded to my_texture_01_01.exr and so on.
The <frameNum> tag
The frameNum tag can be used to specify an image sequence. V-Ray loads a sequence from the same path. To use the frameNum tag, just add <frameNum> to your texture filename.
For example, if the first image in the sequence is located at C:\textures\myImage.0001.png, change the string to C:\textures\myImage.<frameNum>.png and V-Ray will look for an image that corresponds to each frame within the animation range.
Environment Variables
You can include environment variables in the form ${VAR_NAME} which are replaced with the value of the respective environment variable during rendering. For example, if the file name is specified as ${TEX_PATH}\${PROJ_FOLDER}\mytexture.exr, then V-Ray looks up the environment variables TEX_PATH and PROJ_FOLDER and replaces the tags with their values. Suppose that TEX_PATH is set to c:\textures and PROJ_FOLDER is set to proj1, then the final bitmap file name will be expanded as c:\textures\proj1\mytexture.exr
User-Defined Properties
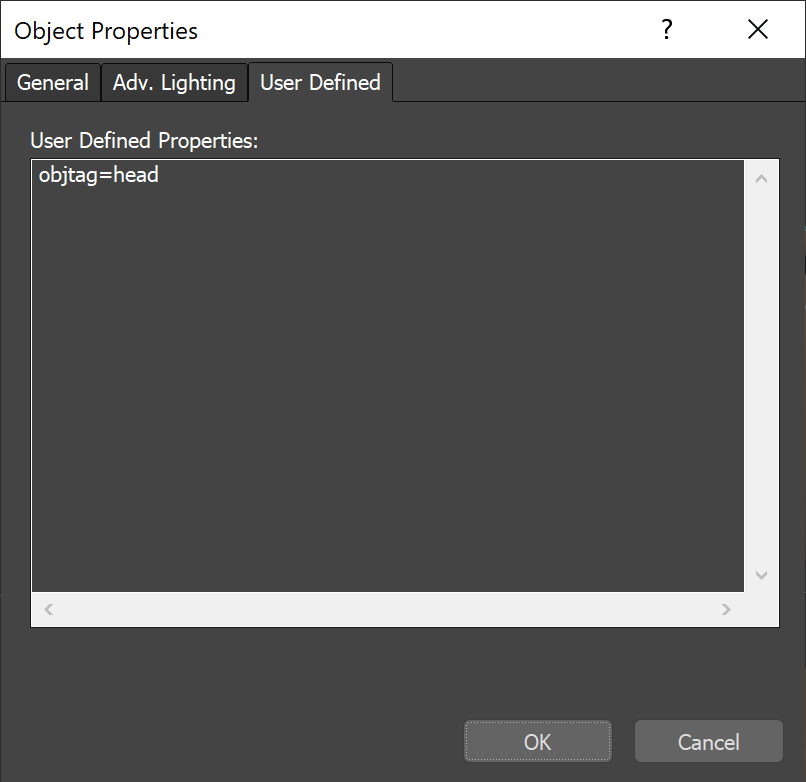
You can specify node user properties between the < and > brackets. At render time, V-Ray takes the tag name and looks it up in the node's User Defined properties for the shaded object to determine the value of the tag. This allows a single VRayBitmap texture to use different files on different scene nodes. For example, you could specify the file name in VRayBitmap as c:\path\to\texture\<objtag>_diffuse.png and then for the objects that use the material, in their Object Properties dialogue, add a User-Defined property string with values like objtag=head or objtag=body, etc. Then during rendering, V-Ray will attempt to load and use the texture file c:\path\to\texture\head_diffuse.png for the first object and c:\path\to\texture\body_diffuse.png on the second.
Parameters
Mapping
Ground Projection
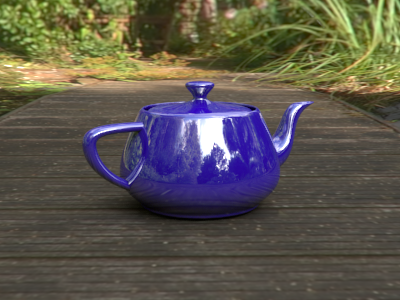
Example: Ground Projection
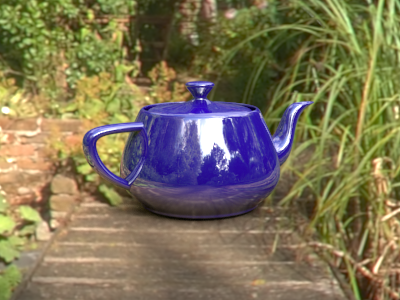
When Ground projection is disabled, though it almost looks like the teapot is sitting on the planks the perspective doesn't match. When Ground projection is enabled, the illusion that the teapot is sitting on the planks is more convincing as the perspective matches.
Processing
Example: The Interpolation Parameter
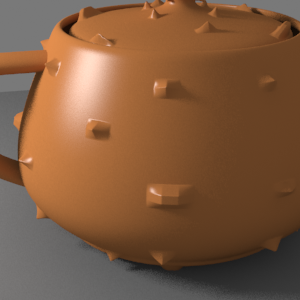
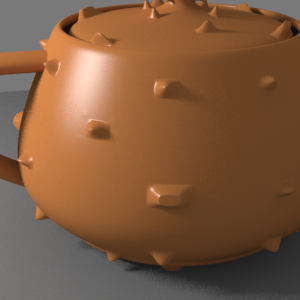
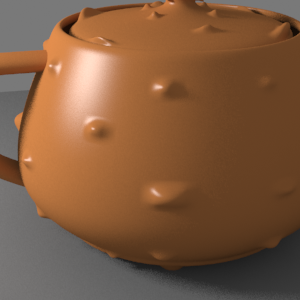
This example shows the effect of the different interpolation methods. The images below show a teapot displaced with this texture:
Displacement texture
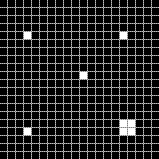
Zoomed displacement texture with pixel boundaries shown
Notice how the different interpolation methods produce slightly different results with different smoothness.
Interpolation is Bilinear
Interpolation is Bicubic
Interpolation is Biquadratic
Example: Filtering
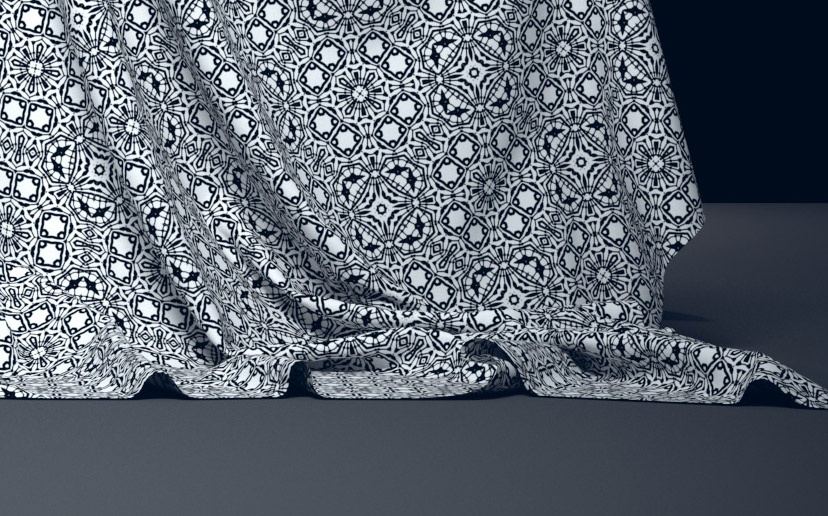
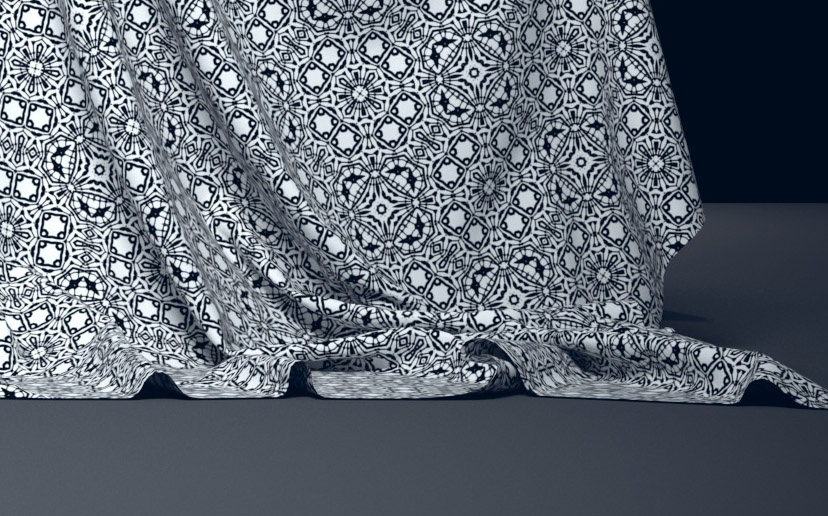
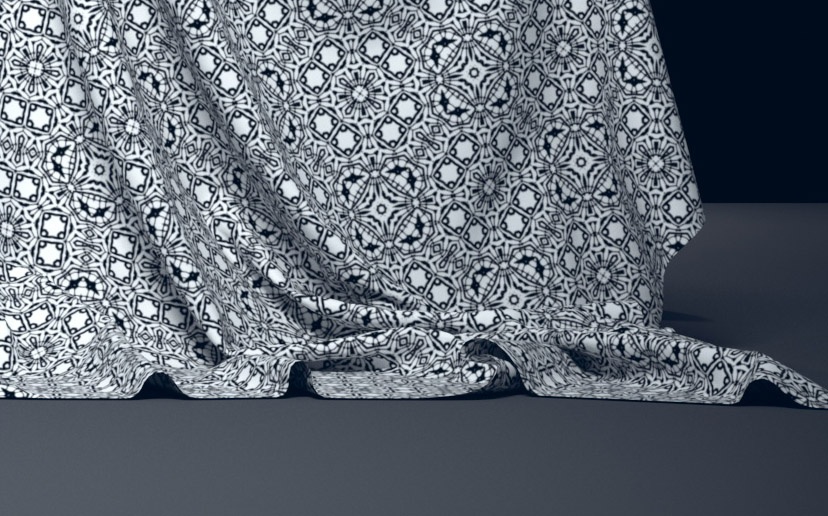
This example compares the three types of Filtering with switched off Filtering (Filter Multiplier set to 0,01). The Filter mult. parameter is set to 1 (the default value) for the three Filtering options.
Crop/Place
RGB and Alpha Source
Color space transfer function
Viewport
UDIM/UVTILE preview in material editor
Time
RGB color space
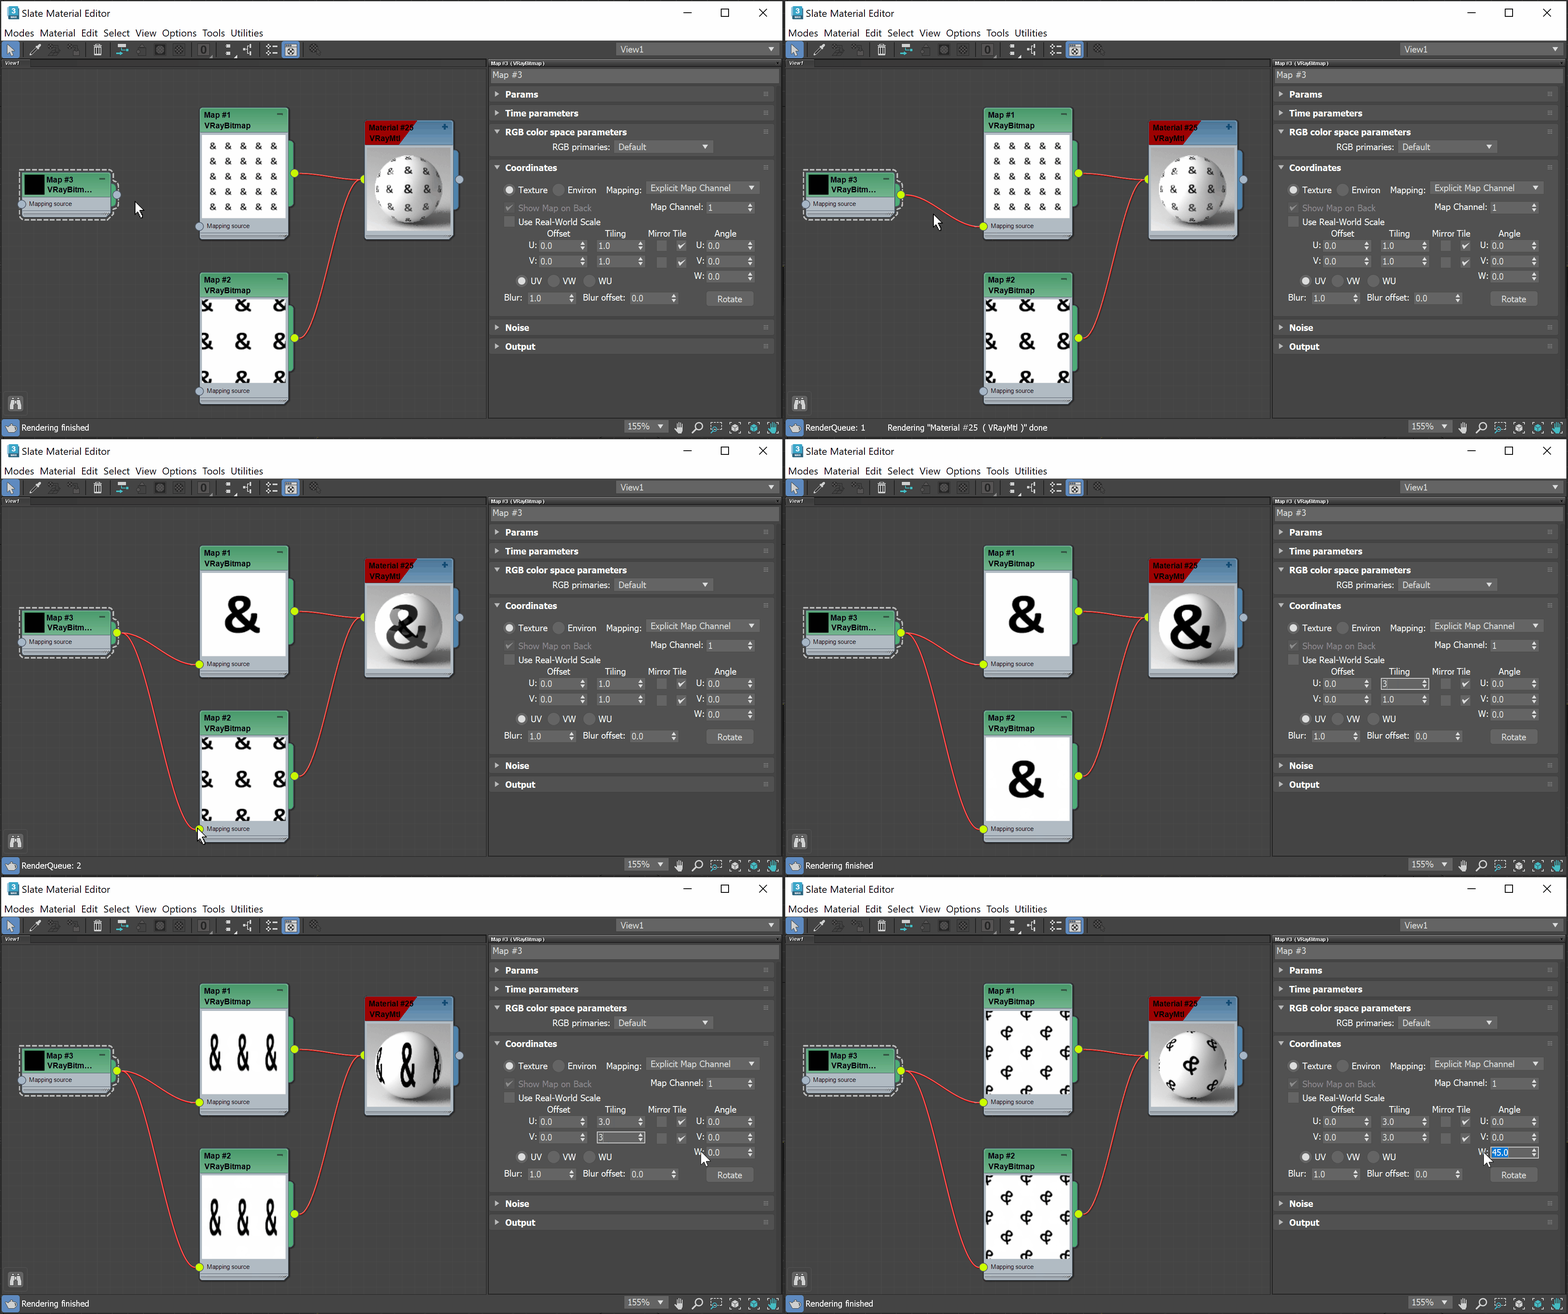
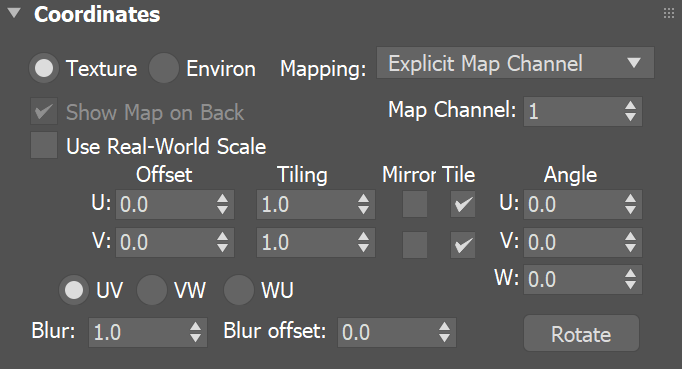
Coordinates
Bitmap to VRayBitmap converter
Notes
VRayBitmap loads the texture the first time it is needed during the actual rendering, rather than at the start of a frame. Textures that are not needed (for example, because their materials are not needed for the particular camera angle) aren't loaded at all.
- When using tiled OpenEXR or TIFF textures, it is recommended to turn on the Filter maps for GI option in the Global Switches section; otherwise V-Ray will be forced to almost always load the most detailed version of the texture.

