This page gives an overview of the Matte Shadow Render Element and how it may be used in compositing.
Overview
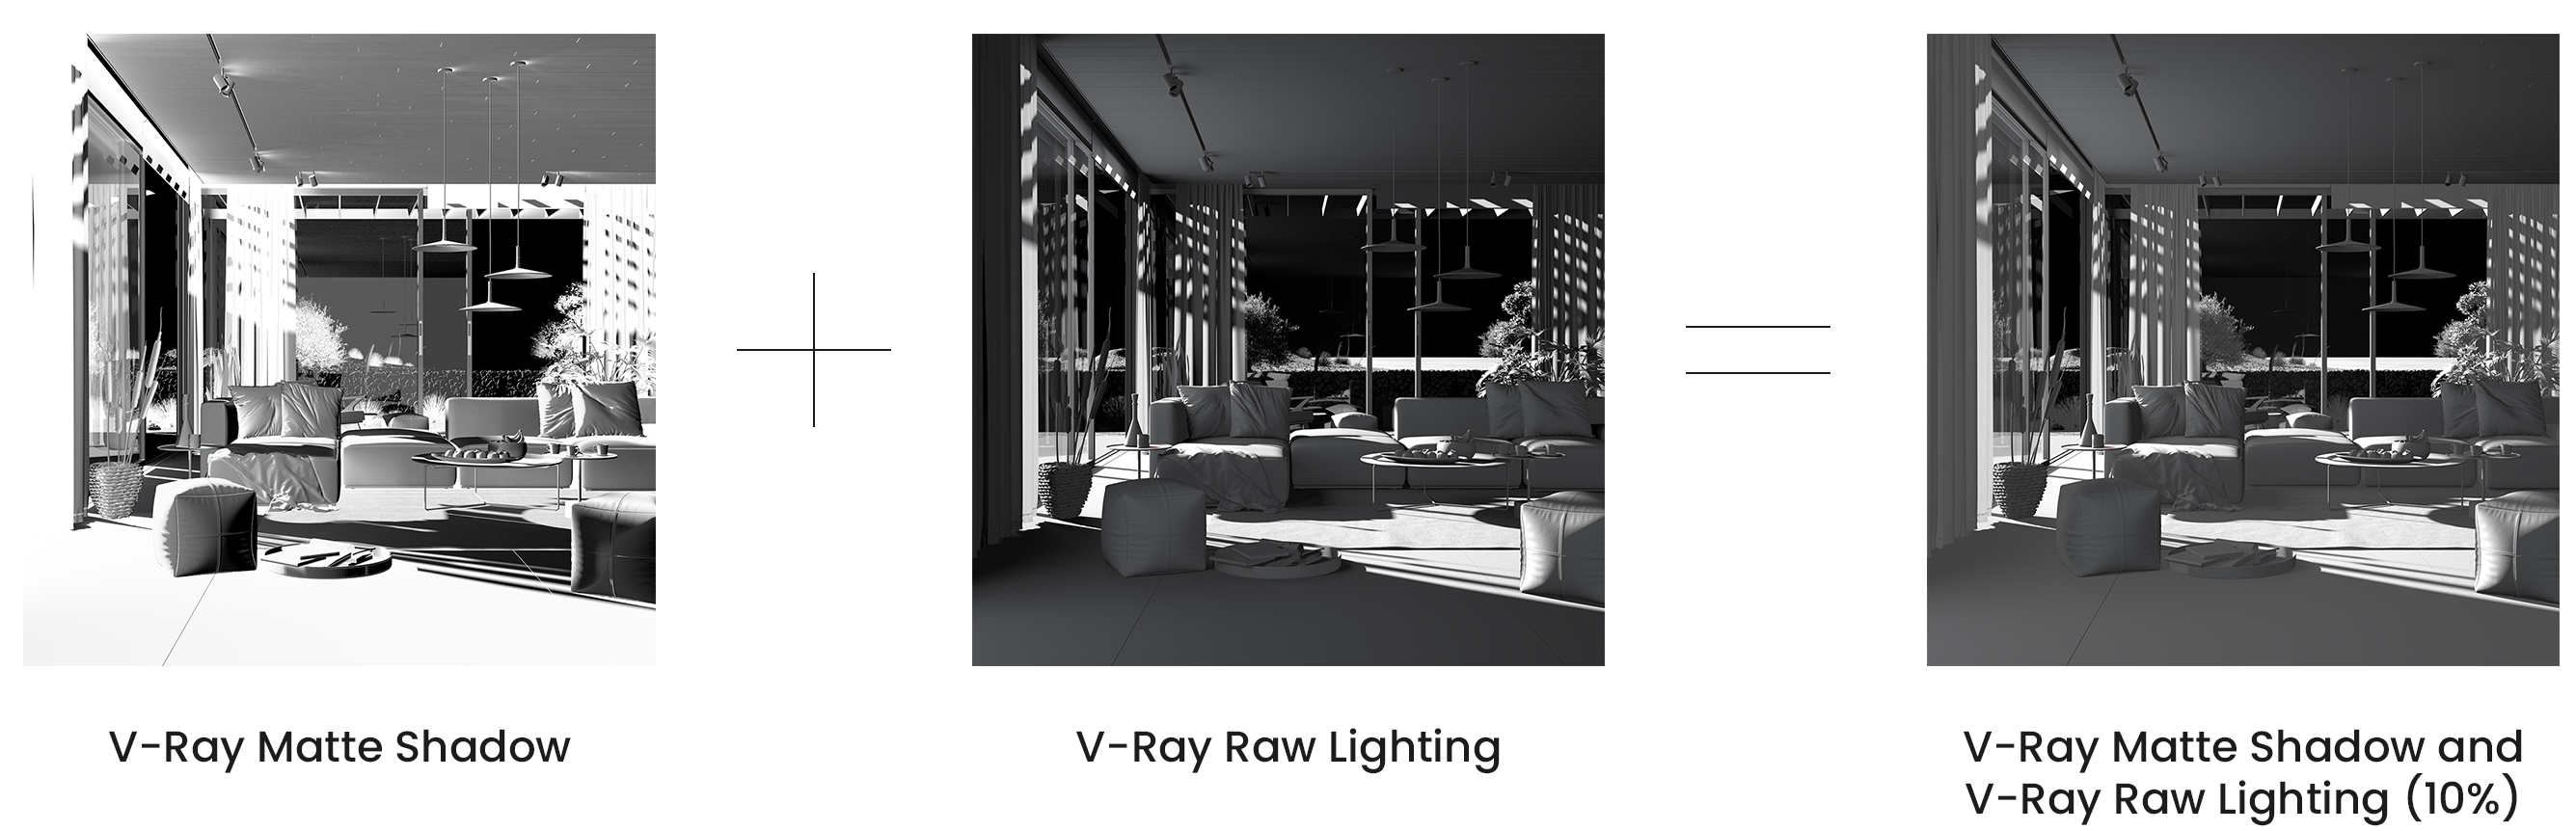
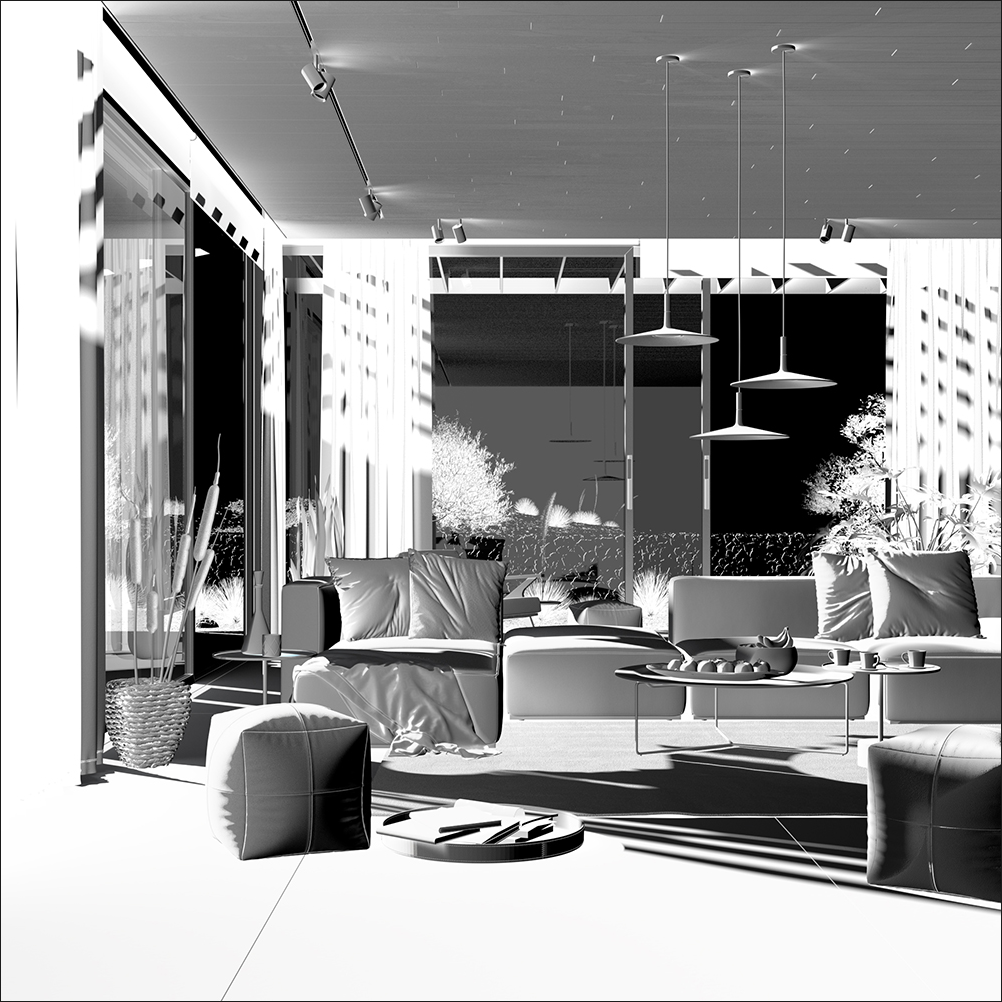
The Matte Shadows Render Element shows areas where light doesn't reach. Compare with the Raw Shadow Render Element, which gives areas of cast shadows. While technically not part of the Beauty render elements, the Matte Shadow Render Element can be used to lighten cast shadows by adding it to the Raw Lighting Render Element. It can also be used to assist in adding 3D elements to a background image or footage in the composite.

Parameters
This render element is enabled through the Render Elements tab of the Render Setup window in 3ds Max and displays its parameters in a rollout at the bottom of the window:
VRayVFB – When enabled, the render element appears in the V-Ray Virtual Frame Buffer.
Deep output – Specifies whether to include this render element in deep images.
Color mapping – Applies the color mapping options specified in the Color mapping rollout (Render Setup window > V-Ray tab) to this render element. This option is disabled by default.
Multiplier – Sets the overall intensity of the render element, where 1.0 is the standard multiplier.
Denoise – Specifies whether to denoise this render element.

Common Uses
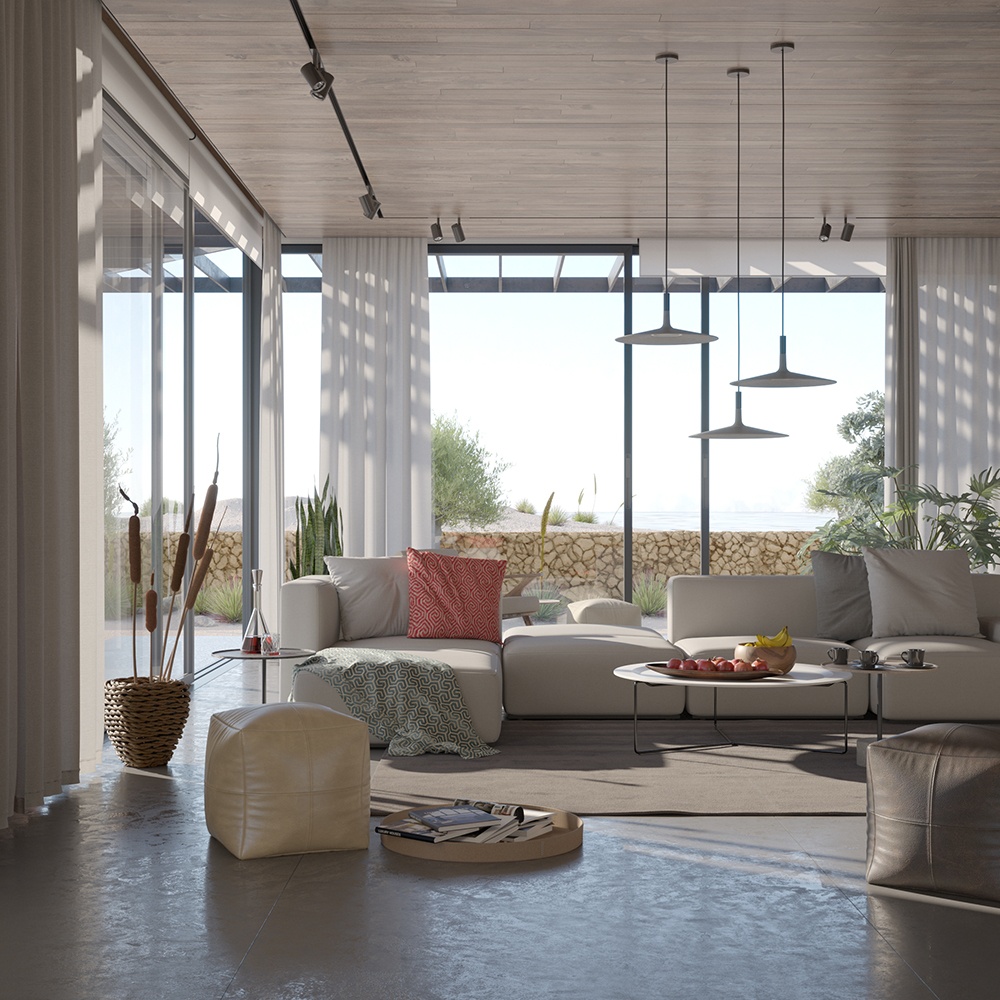
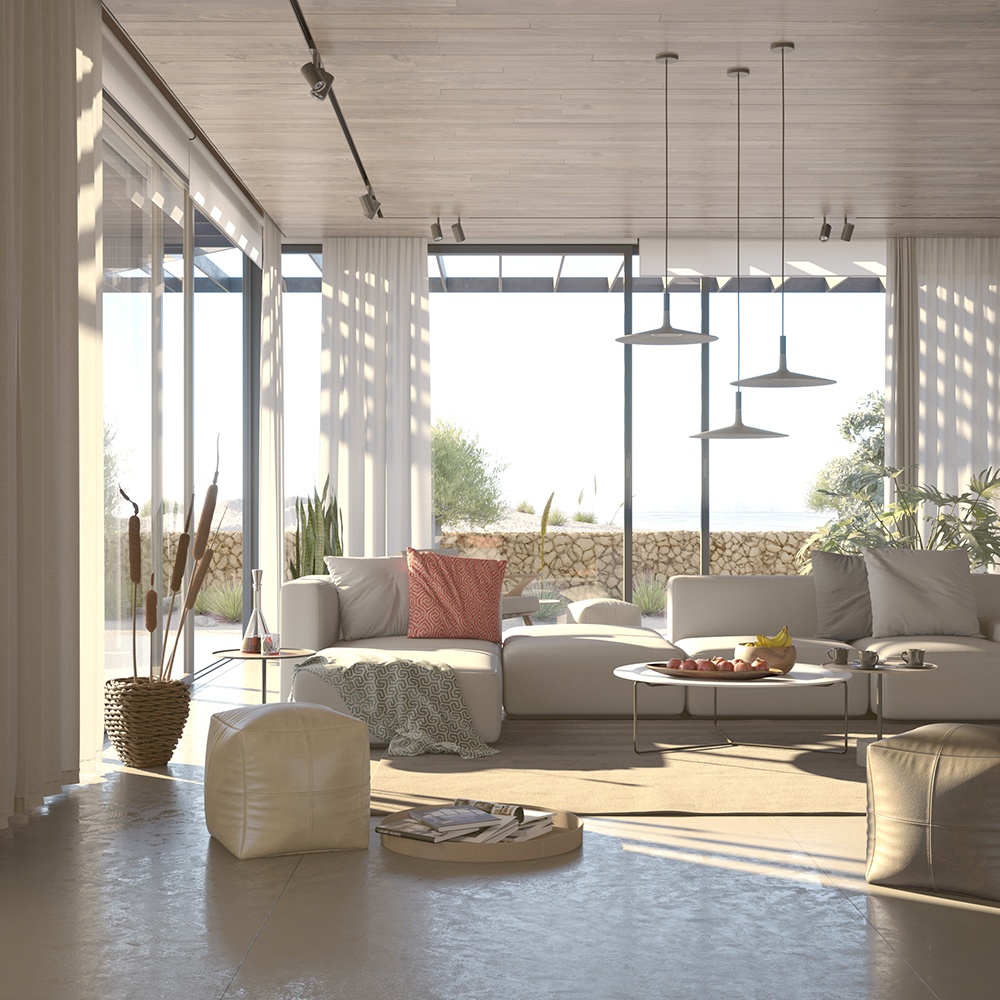
The Matte Shadows Render Element is useful for changing the appearance of shadowed areas in compositing or image editing software. In the example, the shadows are brightened and tinted with a warmer tone using the Matte Shadows RE. See the render before and after compositing.
Underlying Compositing Formula
VRayMatteShadow + VRayRawLighting