This page provides information on the VRayDenoiser node.
Overview
The V-Ray Denoiser takes an existing render and applies a denoising operation to it after the image has been completely rendered out via normal means. The denoising operation detects areas where noise is present and smooths them out. Images can also be denoised using the Standalone Denoise Tool included with the installation of V-Ray for Nuke.
Because the V-Ray Denoiser operates on other render elements rather than being part of the rendering process itself, the denoising operation does not require rerendering of the scene.
The V-Ray Denoiser has three preset options for its settings: Mild, Default, and Strong. Parameters can also be adjusted directly by using the Custom preset.
To download the standalone VRayDenoiser tool for Nuke, click on the Download button. V-Ray Denoiser tool is available for Windows and Linux OS.
UI Path: ||Toolbar|| > V-Ray Menu icon > Render > VRayDenoiser
Using the Denoiser
When rendering, the V-Ray Denoiser Render Element automatically adds a few render elements which are required by the denoising algorithm. Some of them are standard render elements like Diffuse and Reflection Filter. A few special render elements are also generated:
- The noiseLevel (Noise Level) render element is the amount of noise for each pixel in greyscale values, as estimated by the V-Ray image sampler.
- The defocusAmount (Defocus Amount) render element is non-black only when depth of field and motion blur are enabled, and contains the estimated pixel blurring in screen space.
- The VRayDenoiser render element, when generated, contains the final image that results from noise removal.
Inputs
The VRayDenoiser node has one input connection.
Input – Connect this input to a VRayRenderer node, a read node exr, or a vrayimg node.
Parameters
Preset – Offers presets to automatically set Strength and Radius values. For more information, see the Denoising Presets example below.
Mild – Applies a more subtle level of denoising than the Default preset.
Default – Applies mid-level denoising.
Strong – Applies a stronger level of denoising than the Default preset.
Custom – Allows the Strength and Radius parameters to be set to custom values.
Radius – Specifies the area around each pixel to be denoised. A smaller radius will affect a smaller range of pixels, while a larger radius will affect a larger range which will increase the noise removal. This value is automatically set by the Preset selection, but can be changed when Preset is set to Custom.
Strength – Determines how strong the denoising operation will be. This value is automatically set by the Preset selection, but can be changed when Preset is set to Custom.
Threshold – Specifies the threshold for denoising when the noiseLevel render element is missing, which can happen when rendering without the Denoiser Render Element or when trying to denoise an image that is imported without the noiseLevel channel. This value typically set to equal to the Noise Threshold for Antialiasing in V-Ray.
Frame Blend – Use adjacent frames when denoising animations. This reduces flickering between adjacent animation frames.
Use Device – Specifies the hardware to use for the denoising calculation. The following options are available:
CPU – Denoising will be calculated by the CPU.
GPU – Denoising will be calculated by the GPU.
All OpenCL devices – Denoising will be calculated by all available OpenCL devices. If OpenCL is not available, the CPU will be used by default.
Channels
The Channels tab is used to select which channels VRayDenoiser uses to denoise the image. The dropdowns select the appropriate channels from the input.
Auto Fill Channels – When enabled, automatically selects the appropriate channels from the source input.
Suggested Render Settings
While the denoiser can be quite effective at removing noise, it is not perfect; very noisy images can lead to artifacts and loss of image detail. For most scenes, use the Adaptive image sampler with the Color Threshold parameter set to 0.05 or lower. Additionally, the denoiser works best when the noise levels across the image are similar (e.g. when the noiseLevel channel is as close to uniform gray as possible), so using very low sampling is not recommended.
Example: Denoising Presets
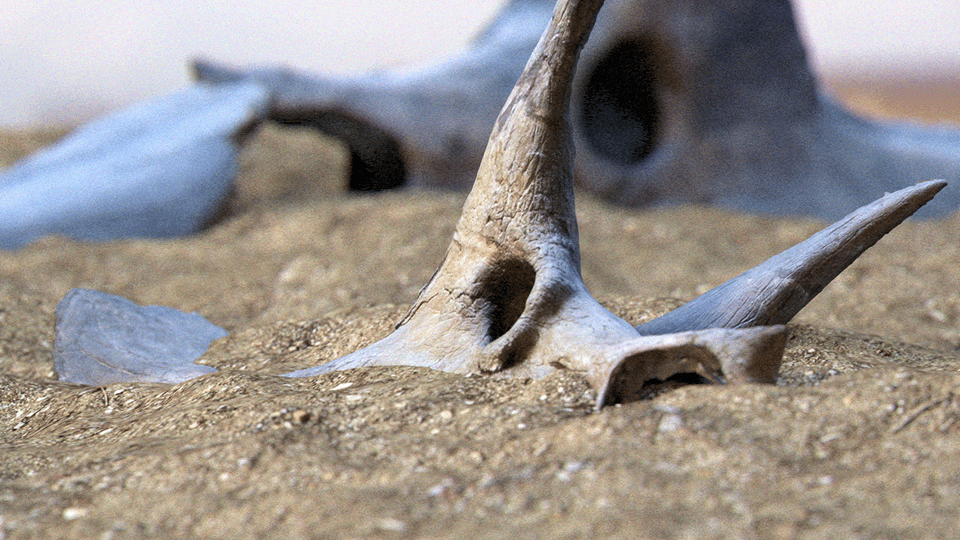
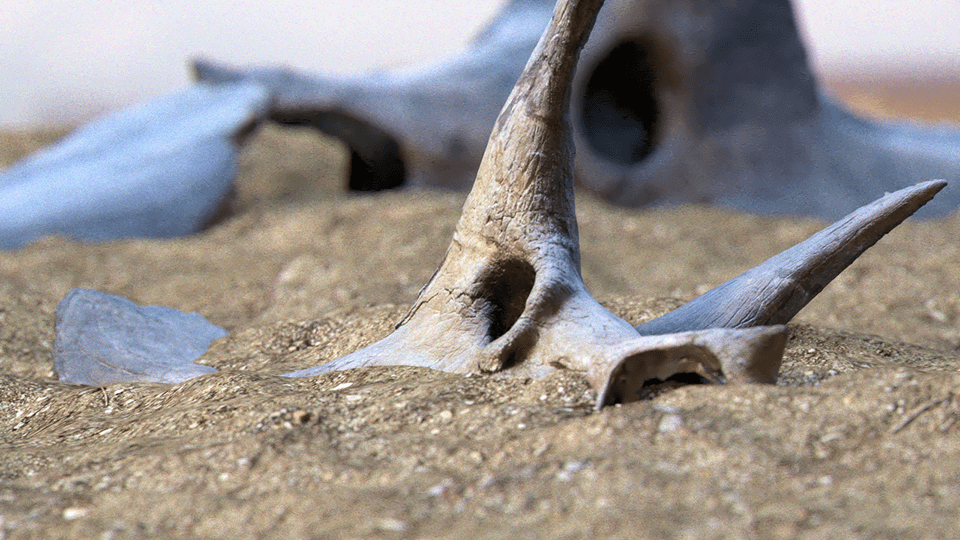
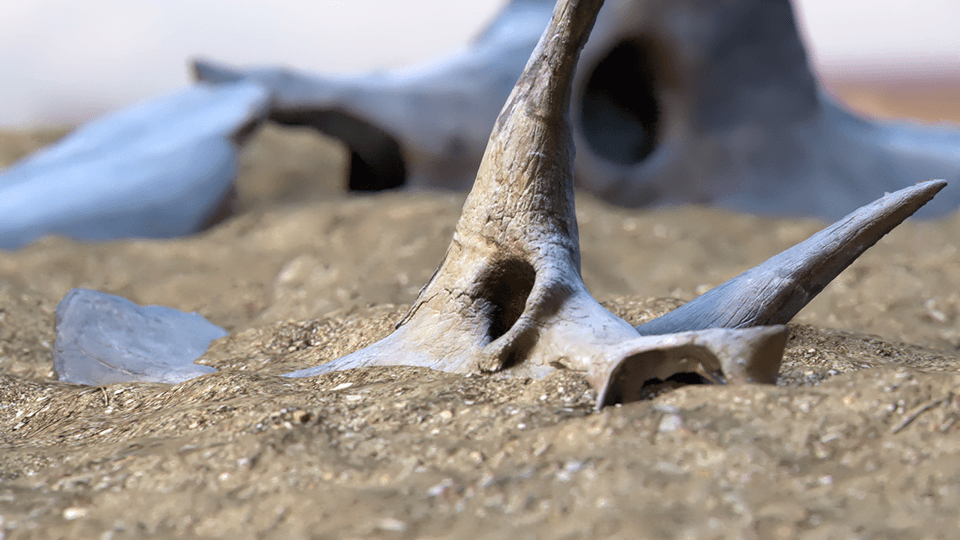
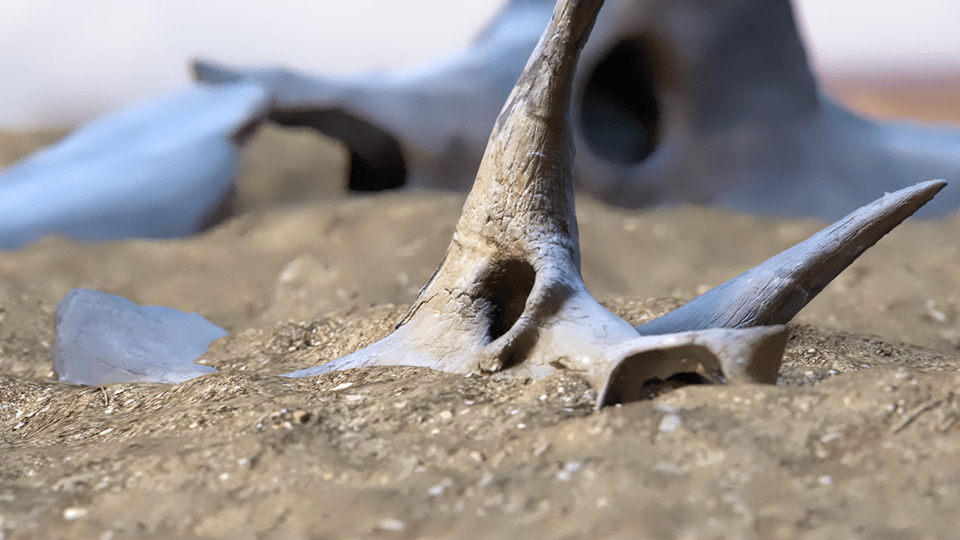
The example below illustrates how VRayDenoiser works using the presets. A purposely noisy render was set up using to leave plenty of noise in the render. To better see the noise level in each image, click the image to see it at full size.
Note that the more aggressively the V-Ray Denoiser is set, the more detail gets lost, especially behind the glass blast screen.
Output prior to denoising
Denoised Output (Mild Preset)
Denoised Output (Default Preset)
Denoised Output (Strong Preset)
Denoised Output
(Custom Preset: Strength: 5, Radius: 10)
Denoised Output
(Custom Preset: Strength: 10, Radius: 20)
Notes
Image denoising takes place after the frame has been rendered, so the results of denoising will not show up until all rendering has finished.
Textures or materials such as V-Ray Car Paint that could be considered to have a purposely noisy look are not considered "noisy" by VRayDenoiser, and are not affected by the noise removal process.


